- By Admin
- Integro
- The frustrating mystery of the cold floor patch
- Why some parts of your floor stay stone cold
- Tracking down the thermal leaks and resistance breaks
- How a simple thermal camera saved one homeowner thousands
- Stop covering your floors with heavy rugs and ignoring the multimeter
- Getting back the uniform warmth you actually paid for
- People also ask
The frustrating mystery of the cold floor patch

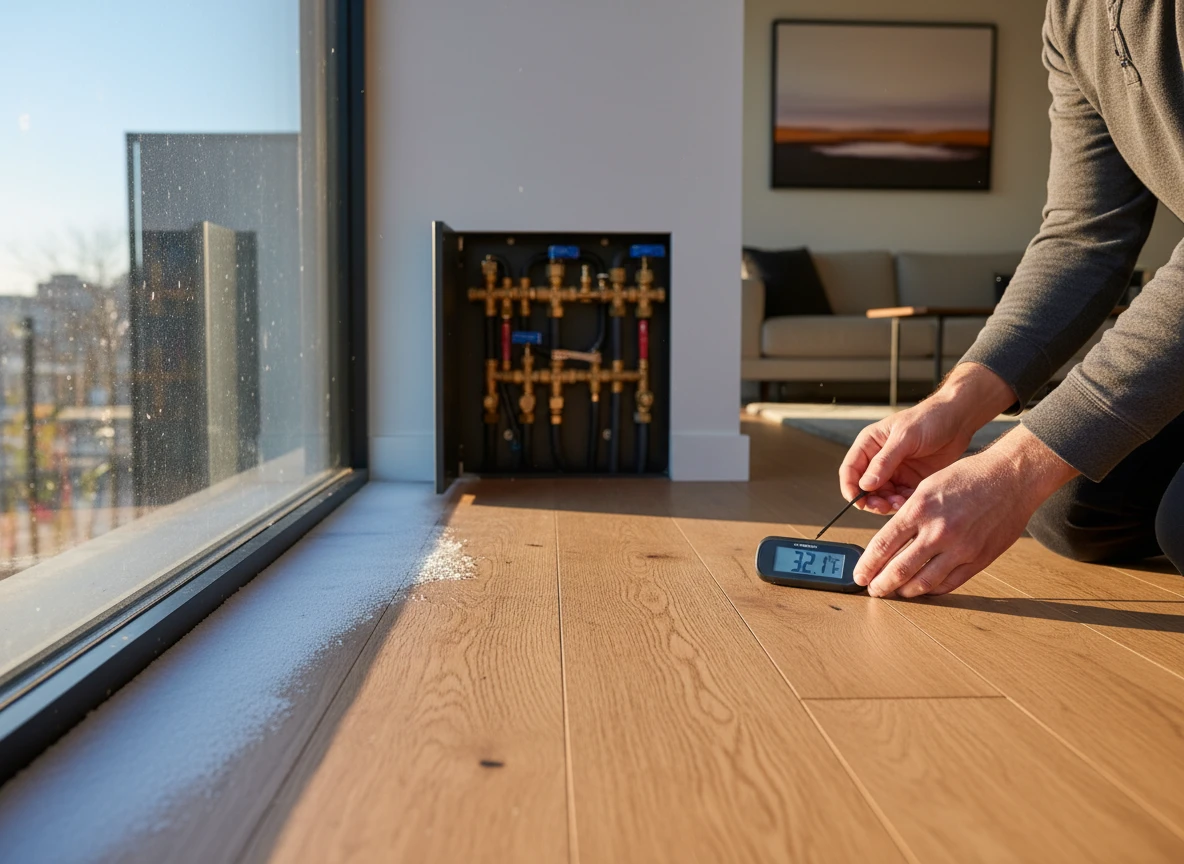
Imagine stepping out of bed on a freezing winter morning, walking across a beautifully warm tile floor, and suddenly freezing your toes on an icy patch right in the middle of the room. It's a jarring experience that immediately ruins the comfort of your home. You've bought an electric underfloor setup for uniform warmth, so why does it feel like a patchwork quilt?
When a system fails to heat evenly, many homeowners assume the worst. They picture jackhammers, dust, and thousands of dollars wasted on ripping up expensive tiles. But the reality is that a cold spot rarely means the entire system is ruined. At Integro Process Heating Solutions, we analyze thermal dynamics daily, and we've found that most heating discrepancies stem from simple, correctable installation errors or thermal blocks rather than catastrophic wire failures.
What actually causes these cold zones? It might be a nicked resistance wire from the installation phase, inconsistent cable spacing, or even a thick, rubber-backed rug trapping the heat. Sometimes, choosing inappropriate materials can completely choke your system's output, as explained in our guide on electric floor heating systems and how they interact with different materials.
And this is where methodical troubleshooting comes in. Instead of jumping to costly demolition, you can use electrical resistance testing and thermal imaging to pinpoint the exact source of the failure. This guide will walk you through diagnosing these issues step-by-step. We'll help you identify whether you're dealing with a misplaced sensor, a localized physical break, or subfloor heat loss.
Granted, some complex electrical breaks can be tricky to locate without specialized equipment, and results will vary depending on your floor type. But taking a systematic approach first will save you time, money, and unnecessary stress. Let's look at how you can isolate the issue before calling in the heavy machinery.
Why some parts of your floor stay stone cold
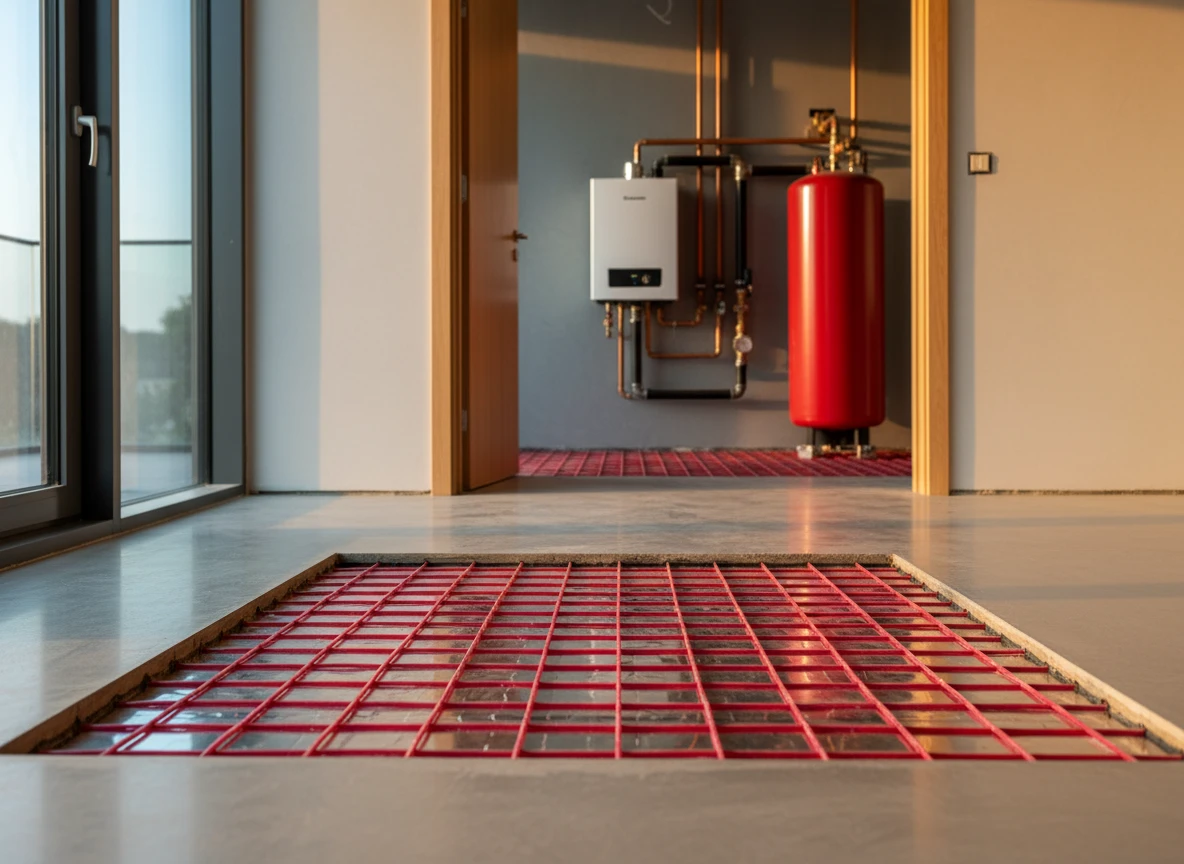
Around 40% of the thermal energy generated by electric floor heating systems can be lost to downward heat sink effects when installed directly over uninsulated concrete slabs. This thermodynamic reality explains why specific zones of your floor remain stubbornly cold while others warm up. When we analyze residential thermal profiles at Integro Process Heating Solutions, we consistently find that uneven heating is rarely a random failure; it is a measurable consequence of thermal bridging or electrical resistance anomalies.
Without high-density insulation boards beneath the heating element, the subfloor acts as a massive thermal sponge. Heat naturally takes the path of least resistance. If a concrete slab or crawl space is uninsulated, it draws thermal energy downward faster than the floor finish can radiate it upward. This thermal drain becomes highly localized if there are physical gaps in the insulation barrier, though the exact surface impact varies depending on the thermal conductivity of your tiles. In these scenarios, the electric radiant floor heating systems struggle to reach target temperatures, cycling endlessly without ever warming the surface evenly.
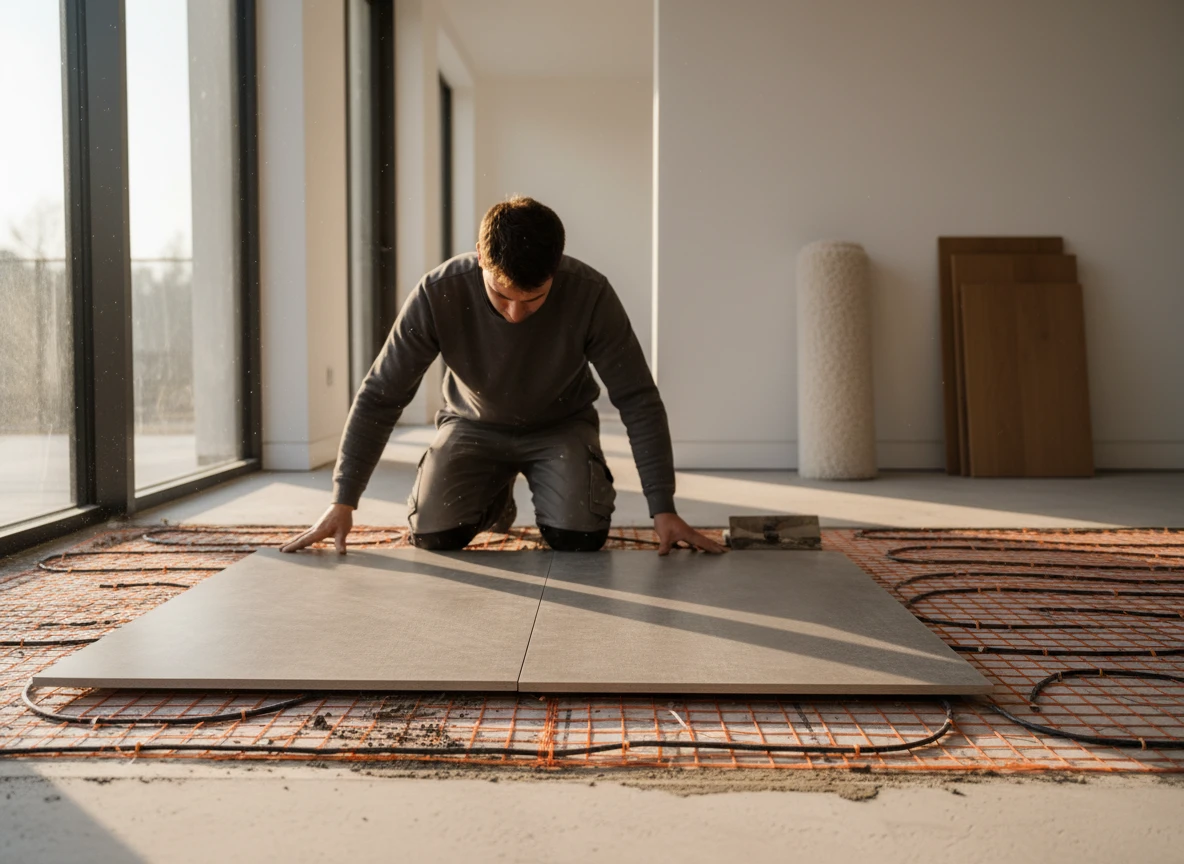
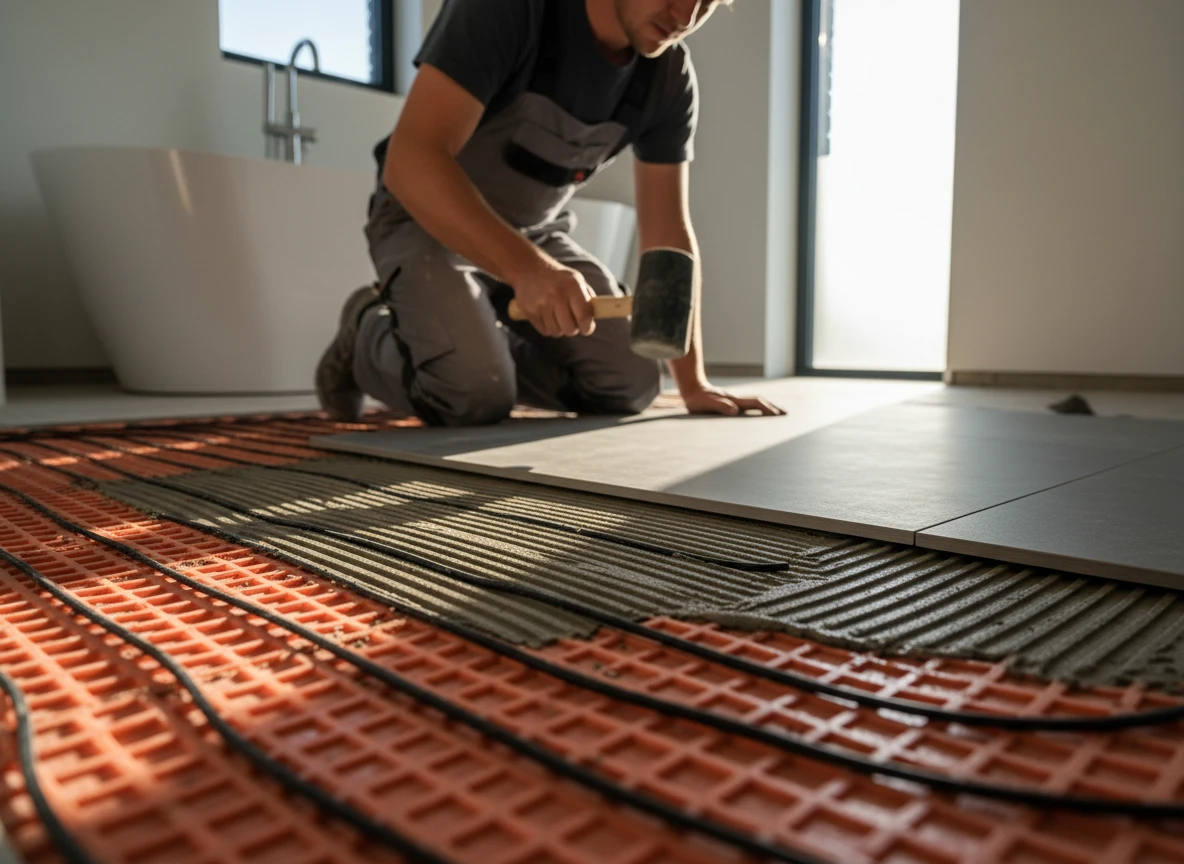
Beyond thermodynamics, layout precision dictates performance. A variation of just one inch in cable spacing can cause a noticeable 3°C to 5°C temperature drop on the surface. During installation, installers sometimes stretch the spacing to make a cable mat fit a larger room, or they bunch loops too closely near walls. But the most critical electrical failure involves physical damage to the conductor core. A single nick from a trowel during tiling can increase localized resistance or break continuity entirely. If you didn't verify the cable's resistance with a digital multimeter against the manufacturer's spec sheet before, during, and after pouring the self-leveling compound, catching these microscopic breaks becomes incredibly difficult without thermal imaging. Specifically, a variance of more than 10% from the factory Ohm rating indicates that the heating wire has sustained structural damage.
In our work with complex thermal systems at Integro Process Heating Solutions, we emphasize that consistent electrical resistance is the foundation of uniform heat distribution. Unlike hydronic setups that suffer from flow rate drops, an electric underfloor heating system relies on uninterrupted current flow through highly calibrated resistance wires. If a section of the mat is crushed or poorly spliced to the cold lead, current can't flow through that specific loop, leaving a dead zone. It's a frustrating issue, but understanding whether the root cause is a thermal sink or an open circuit is the only way to avoid tearing up the entire floor.
Tracking down the thermal leaks and resistance breaks
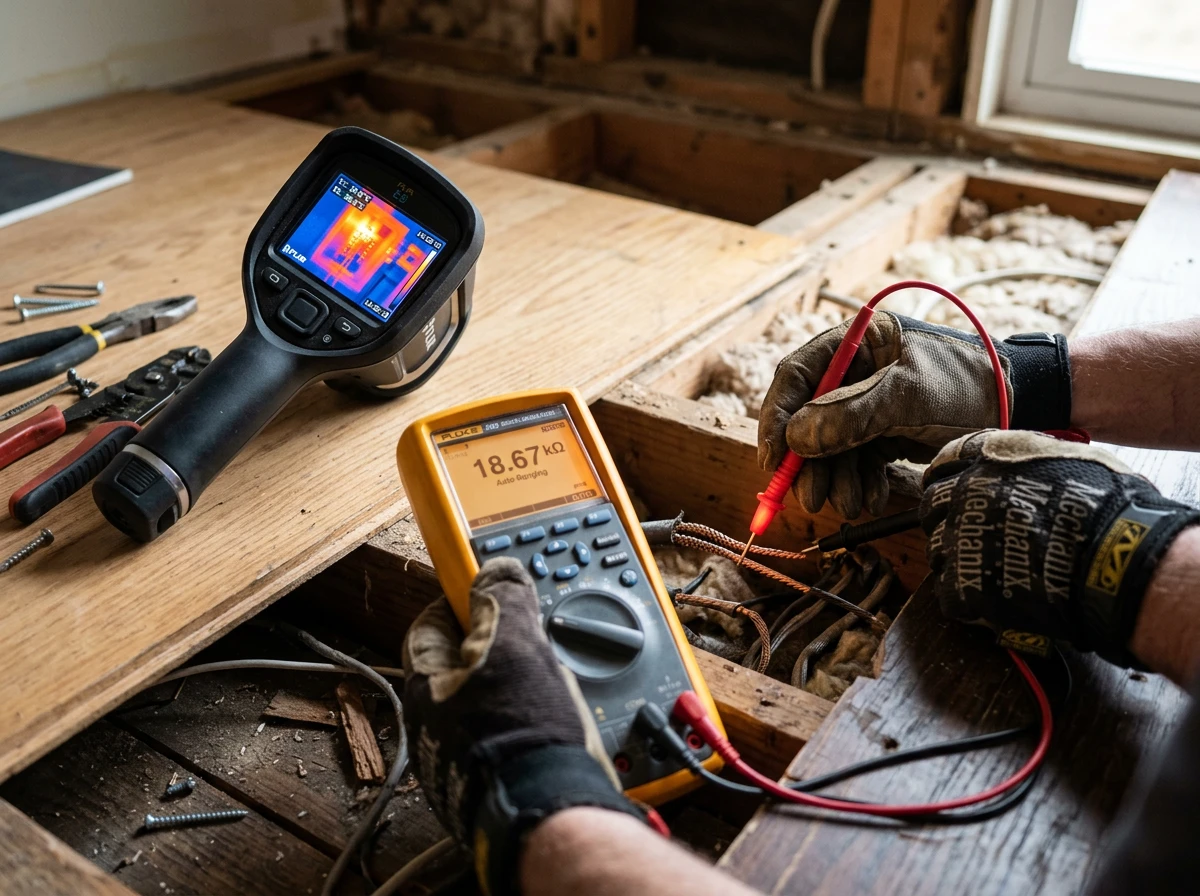
Diagnosing the root cause of uneven warmth
When a warm tile floor suddenly goes cold, it is easy to assume the whole system is ruined. It rarely is. Usually, the issue comes down to three specific problems: a physical wire break, a misplaced sensor, or uneven spacing during installation. You do not need to tear up your floor to find the fault. A systematic diagnostic approach will pinpoint the exact failure.
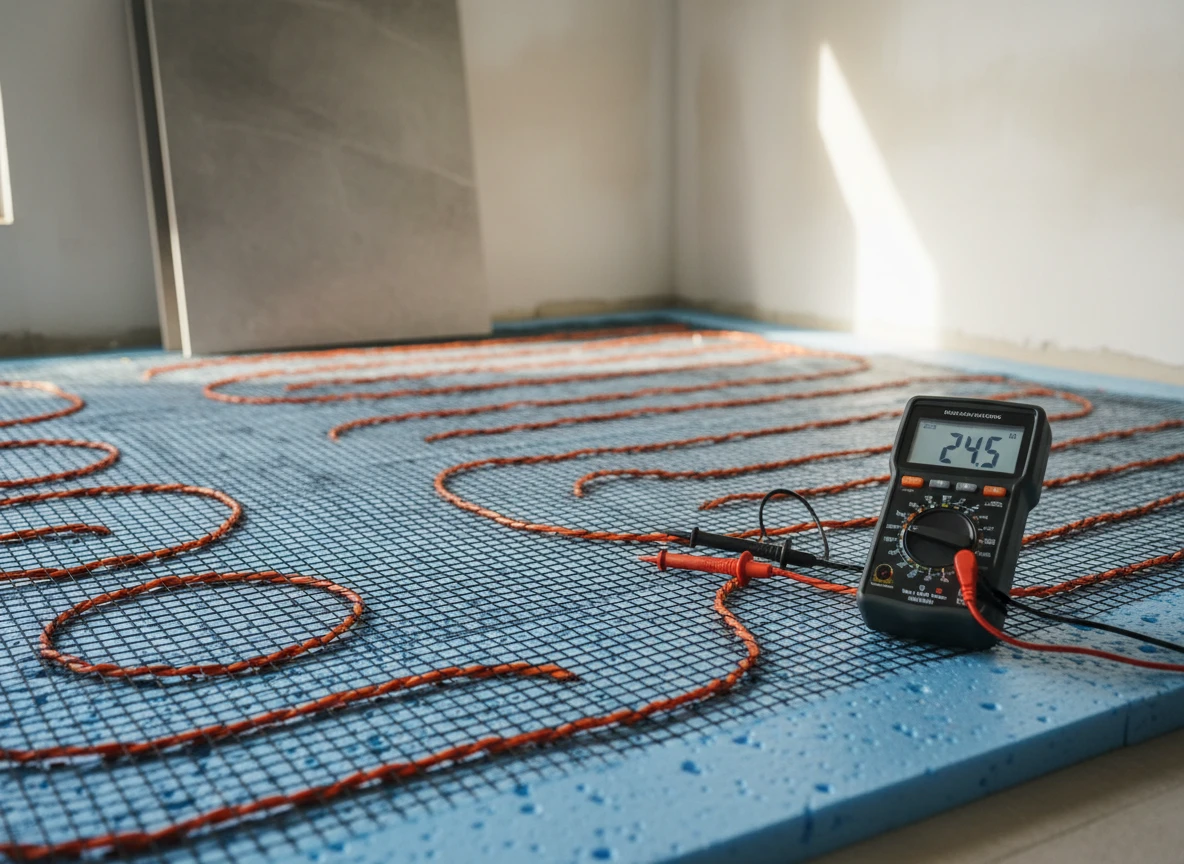
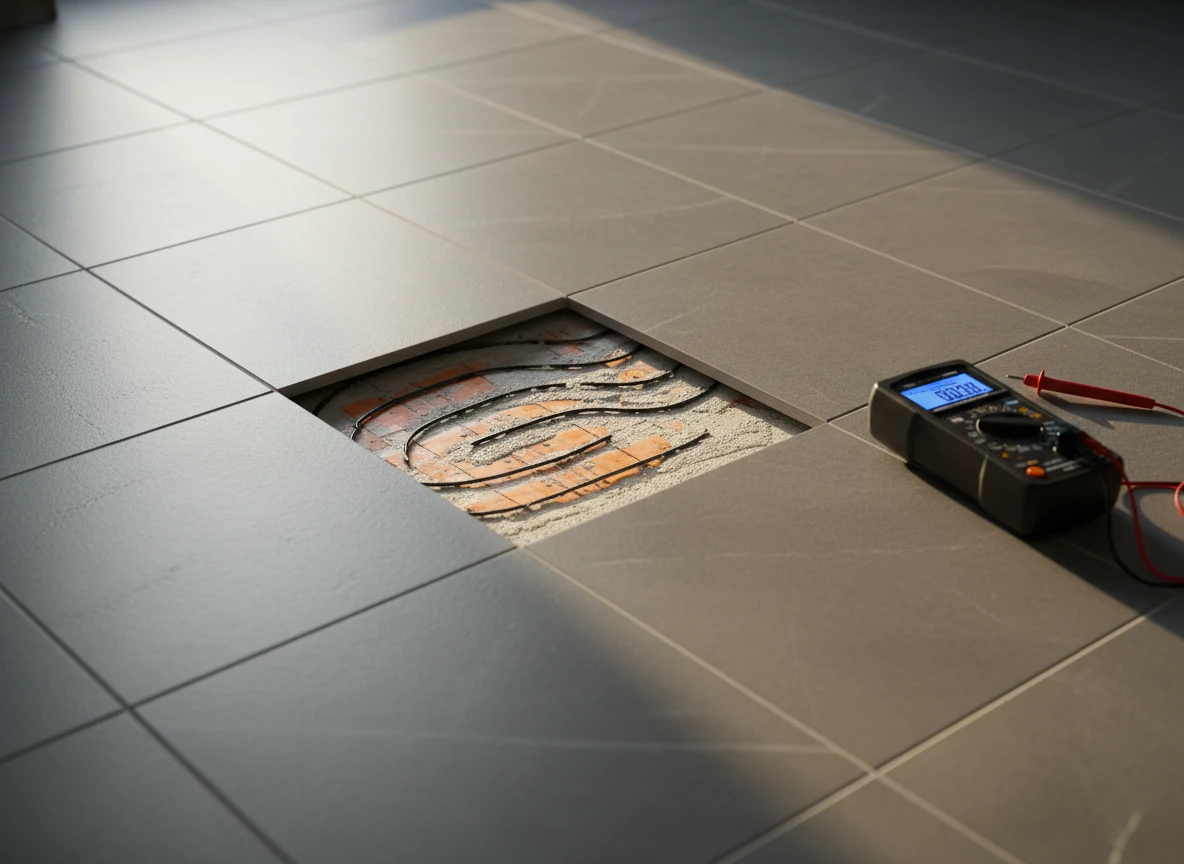
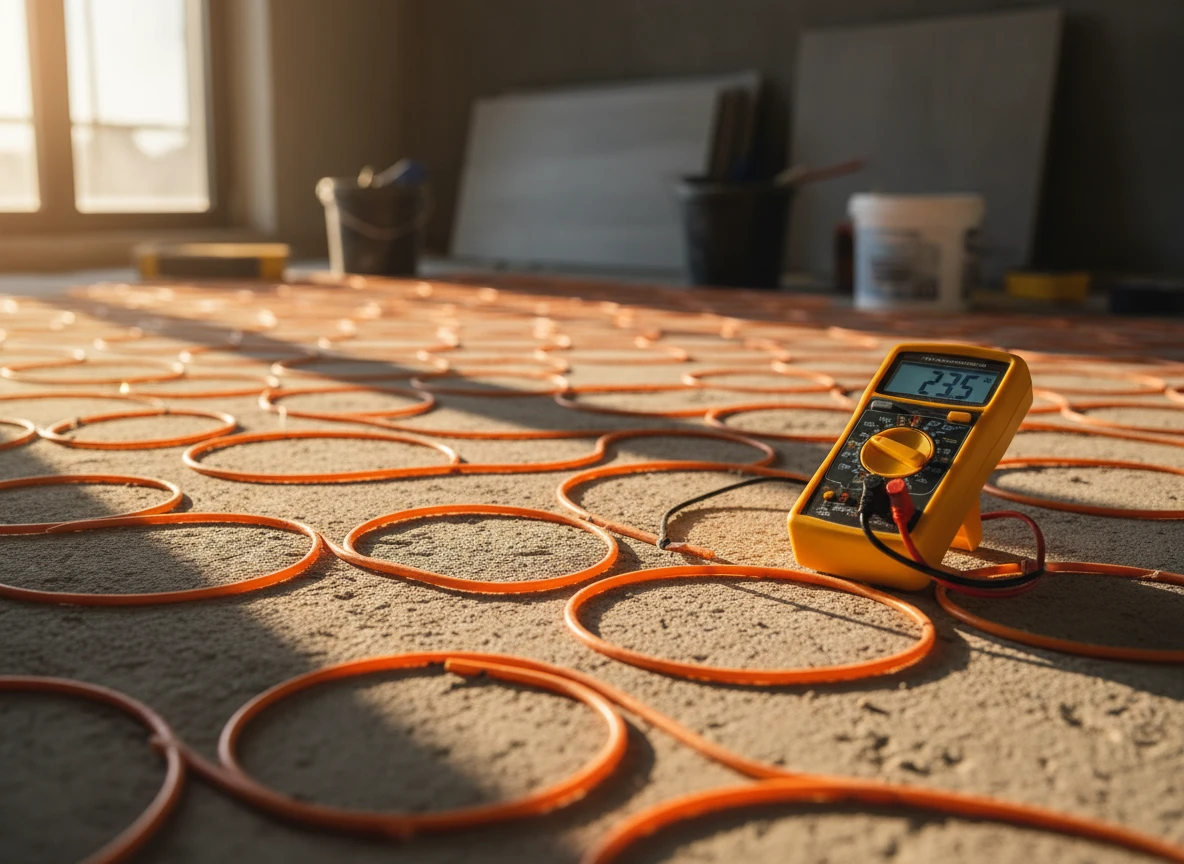
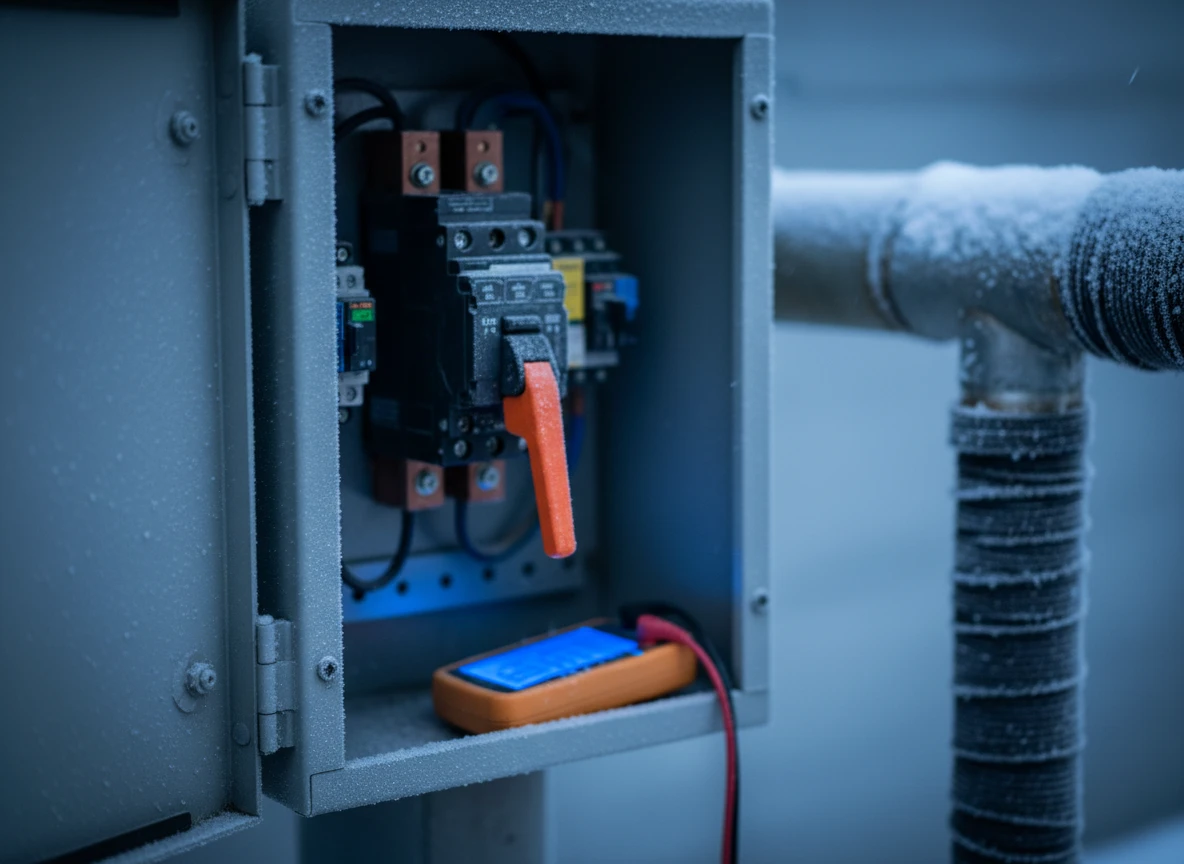
Start with electrical integrity. Disconnect the heating mat or cable from the thermostat entirely before taking any readings. Then, use a high-quality digital multimeter to measure the resistance between the two main heating conductors, which are typically the black and blue or red wires. This reading must match the manufacturer's original specifications within a 5% to 10% tolerance. If your meter displays "OL" (open loop), you are dealing with a complete physical break in the heating element.
Standard multimeters do not tell the whole story, though. A nicked wire can leak current to the ground braid without showing an open loop.
To check for this, test the insulation resistance. Connect one meter lead to the heating core and the other to the copper earth braid. This reading should show infinite resistance. Any low resistance reading indicates an insulation failure, which is why your ground fault circuit interrupter (GFCI) keeps tripping. While industrial setups rely on specialized flexible heating jackets or heavy-duty commercial systems, residential electric radiant floor heating systems depend on these basic resistance thresholds to operate safely.
If your resistance measurements are correct, look at the controls. A misplaced floor temperature sensor is a common culprit. Installers sometimes position the sensor too close to an external wall or directly over a heating cable. When it sits too close to a heating loop, the sensor registers high heat too quickly, shutting down the system before the rest of the floor can warm up.
Verify this by measuring the sensor wire's resistance at the thermostat. Most of these sensors are Negative Temperature Coefficient (NTC) thermistors that output a specific resistance, such as 10k ohms, at room temperature. If the resistance readings fluctuate wildly as the floor warms, the sensor is either failing or shifting inside its conduit.
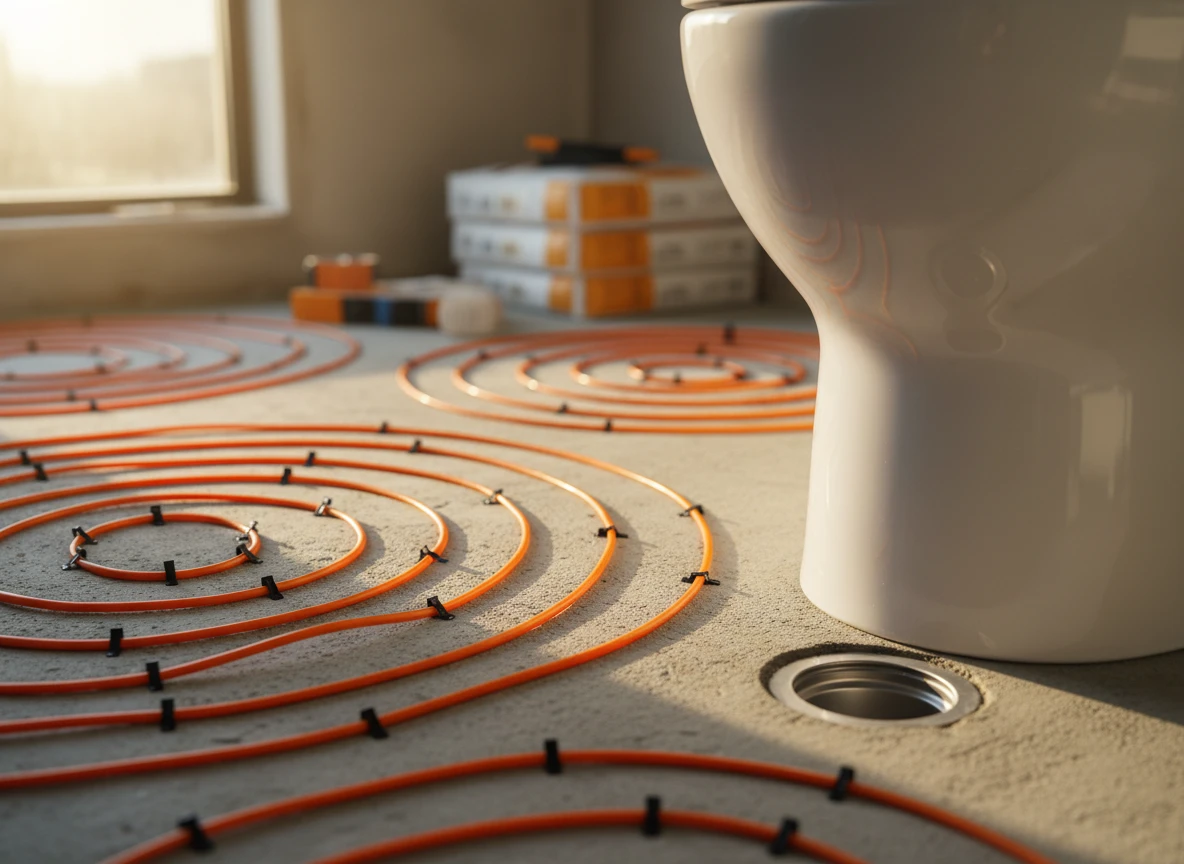
What if the electrical tests are perfect but the cold patches persist? That points to physical layout errors. When laying out an under floor heating system, keeping the cable spacing uniform is critical. Spacing loops too far apart causes "striping," which leaves distinct, alternating bands of hot and cold across the floor.
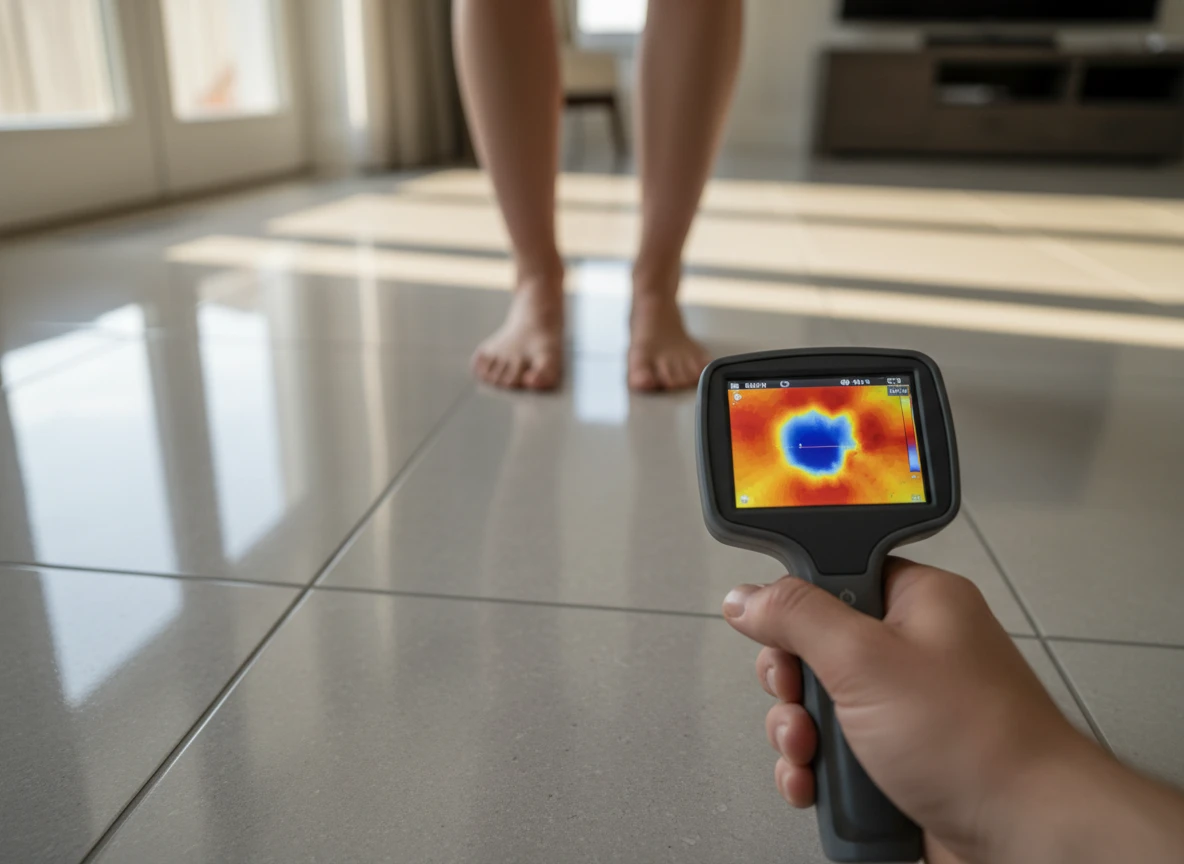
You can diagnose this without tearing up tiles. Turn the system on, let it run for thirty minutes, and sweep the floor with a thermal imaging camera. Wide gaps or uneven loops will show up immediately. If you find spacing gaps, you can try adjusting your thermostat to run longer cycles, though this rarely fixes the underlying physical layout error.
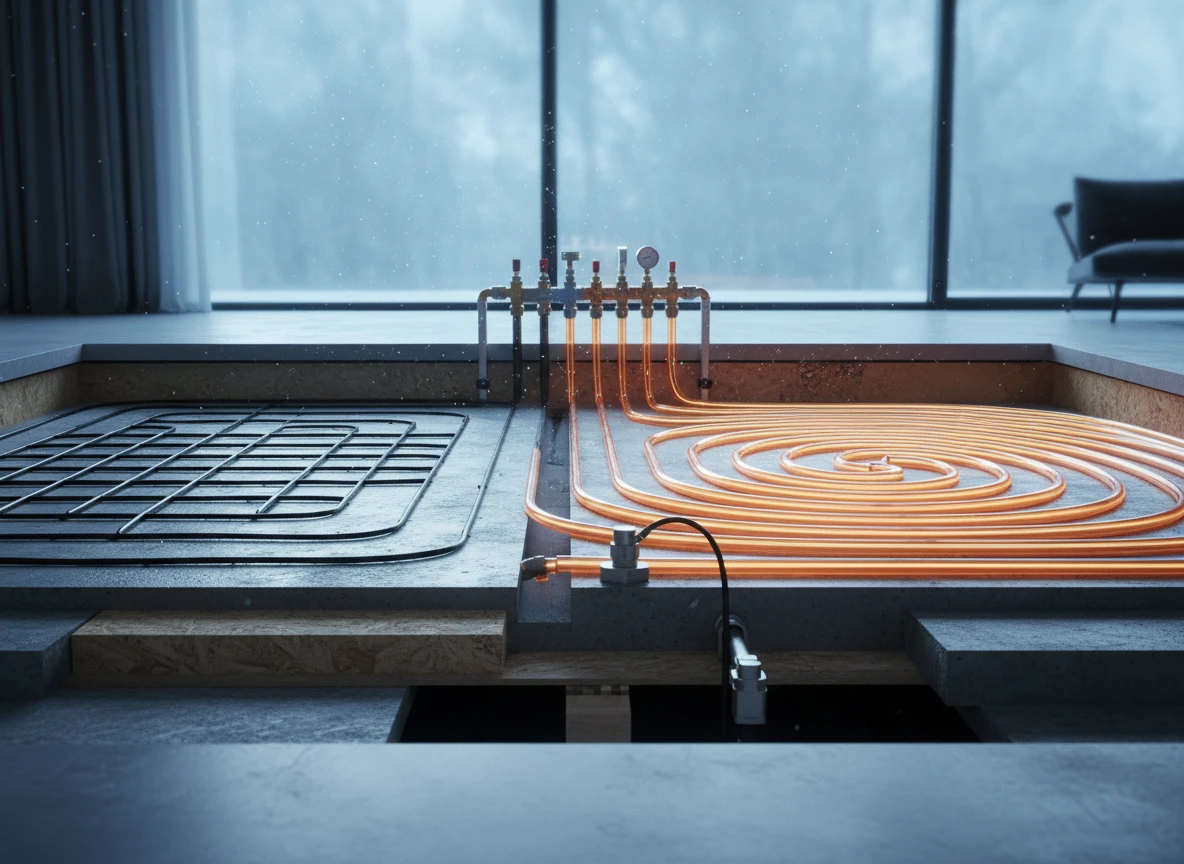
For larger properties, selecting the right system architecture from the start prevents these headaches. Electric mats work well for small bathrooms, but hydronic radiant floor heating is far more practical for expansive layouts because of its stable thermal mass. For targeted freeze protection or specialized applications, choosing the right floor heating solutions ensures long-term reliability.
If you purchase from verified underfloor heating suppliers or reputable underfloor heating system exports, you can easily get the exact resistance charts needed for troubleshooting. At Integro Process Heating Solutions, we know that thermal consistency is everything. Whether you are dealing with domestic underfloor heating manufacturing or complex commercial designs, systematic diagnostics keep your operational costs low.
How a simple thermal camera saved one homeowner thousands
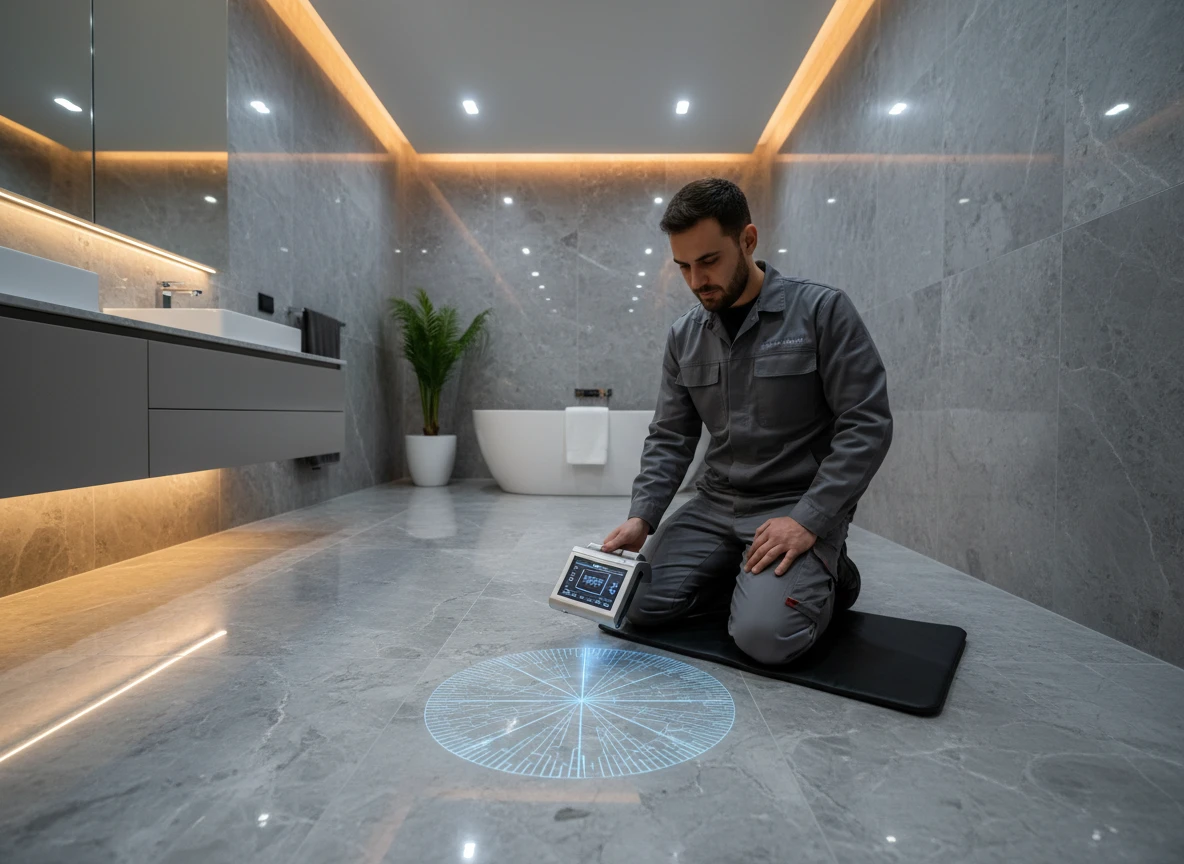
You spend thousands on premium marble tile, only to step out of the shower onto a freezing cold patch right in front of your vanity. It's incredibly frustrating. We recently worked with a homeowner in this exact spot. They were on the verge of signing off on a complete floor demolition after getting a $6,000 repair estimate. Instead of letting them tear the whole bathroom apart, we brought in a high-resolution thermal imaging camera to find the exact break.
We didn't just turn on the camera and hope for the best. First, we hooked up a digital multimeter to measure the circuit's resistance. The reading showed an open circuit, which meant the line was physically broken somewhere under the stone. In the old days, contractors had to play a destructive guessing game, hacking multiple test holes into the floor. We avoided that mess by sending a safe, low-voltage, high-frequency tone down the wire. This trick generates a tiny, detectable thermal signature right at the short.
The hidden wire layout showed up through the heavy stone almost immediately. We followed a bright line of warmth until it suddenly went dark at a single junction. It turned out a tile installer had nicked the cable with a trowel during grouting. Because we pinpointed the break to an area smaller than a postage stamp, we only had to chip away a single tile. The technician repaired the splice, replaced the tile, and saved the rest of the floor. Granted, this trick won't save you if a cable has been completely shredded in multiple spots. But for a single-point break? It works beautifully.
We use this exact diagnostic approach for both home and commercial heating setups. While larger, whole-house builds often make more sense with hydronic radiant floor heating, electric systems have a major advantage: they're highly modular. One break doesn't mean you have to scrap the whole system. Most of these faults actually happen within the first few feet of the floor termination, or right by doorways where heavy foot traffic during construction damaged the cables.
At Integro Process Heating Solutions, we use these same diagnostic principles for our industrial gear. Whether we're calibrating high-temperature drum heating chambers or checking custom insulated heating jackets, thermal tracking is what keeps us from wasting time and money.
So, before you let anyone swing a sledgehammer at your floor, demand a thermal scan. It also helps to start with the right hardware. Buying quality underfloor heating systems from reliable engineered underfloor heating suppliers means you get a system that's easy to map if something goes wrong. It's the same logic we use when troubleshooting industrial ibc heating jackets—having the right diagnostic tools saves you from a massive, expensive headache.
Stop covering your floors with heavy rugs and ignoring the multimeter
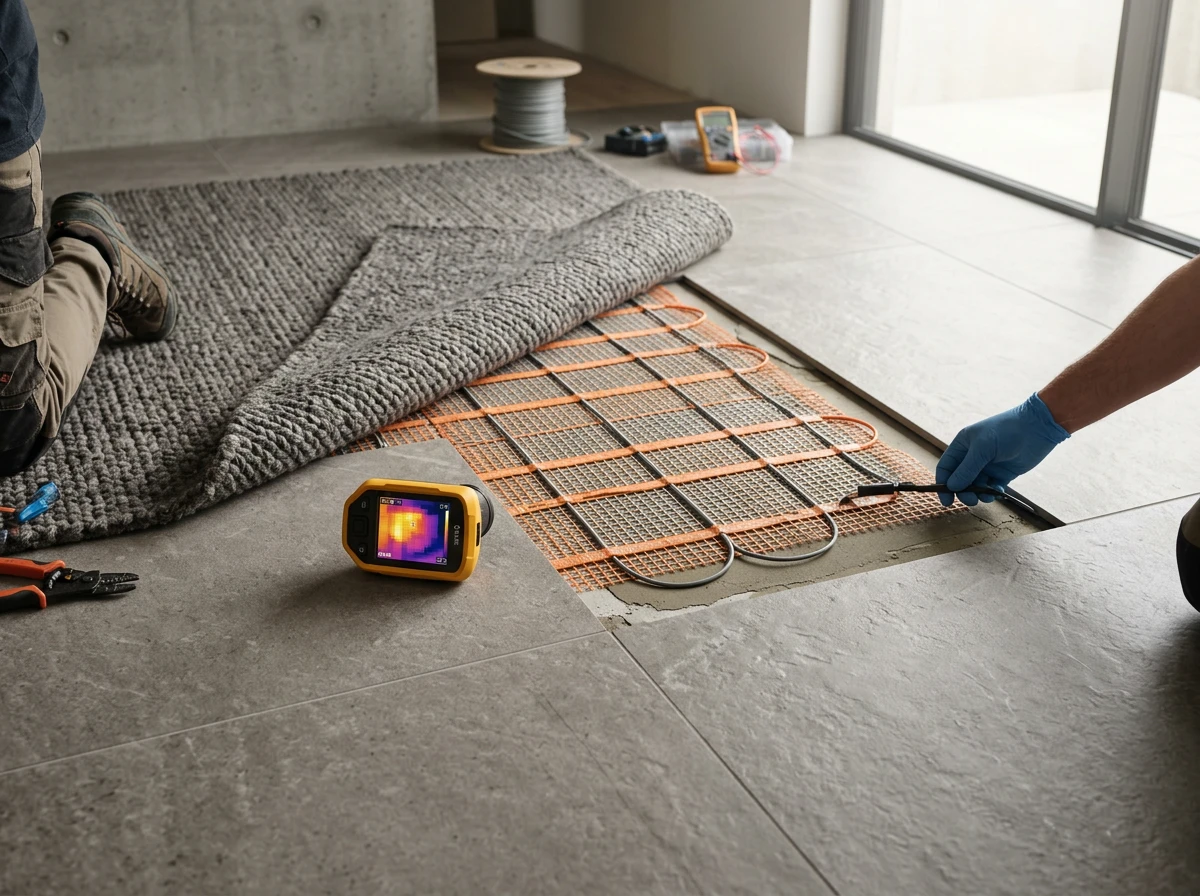
Common installer mistakes that kill thermal efficiency
After locating a thermal break with a camera, you have to face the hard truth. Most underfloor heating failures are self-inflicted. They don't stem from faulty equipment. They stem from poor installation practices and bad habits.
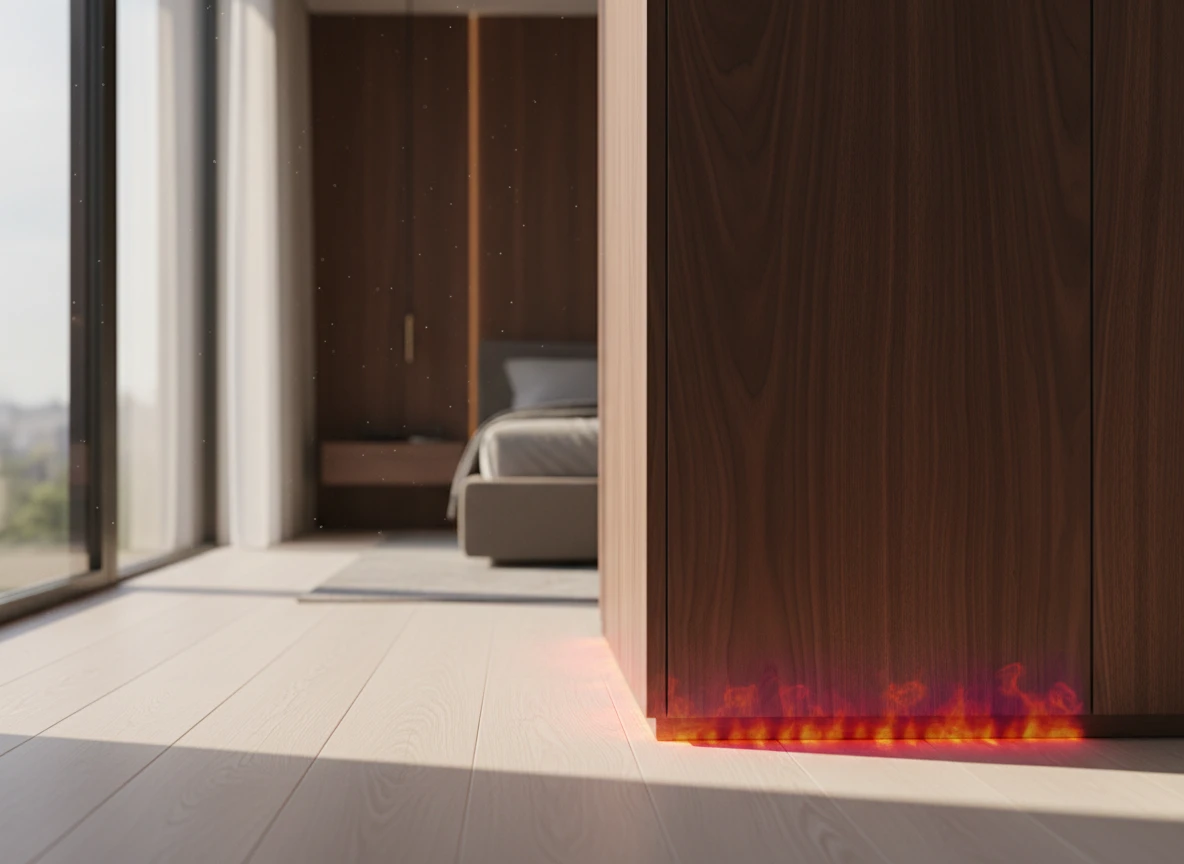
Let's start with thermal masking. You install an electric floor heating system to enjoy warm tiles. Then, you throw a thick, rubber-backed rug over the floor. This is a massive mistake. The rug acts as an insulator, trapping the heat beneath it. The temperature under the rug skyrockets. Meanwhile, your thermostat sensor registers this localized heat spike and shuts down the entire system. The rest of your room stays cold. You wouldn't put a heavy blanket over a radiator. Don't put a thick rug over your heated floor.
At Integro Process Heating Solutions, we design systems where heat must flow unimpeded. In our industrial projects, whether we're deploying custom insulated heating jackets or setting up large heating chambers, thermal path planning is everything. If you block the heat, you destroy the efficiency. The same rules apply to domestic and commercial heating layouts. Keep the floor surface clear of heavy furniture and thick rugs.
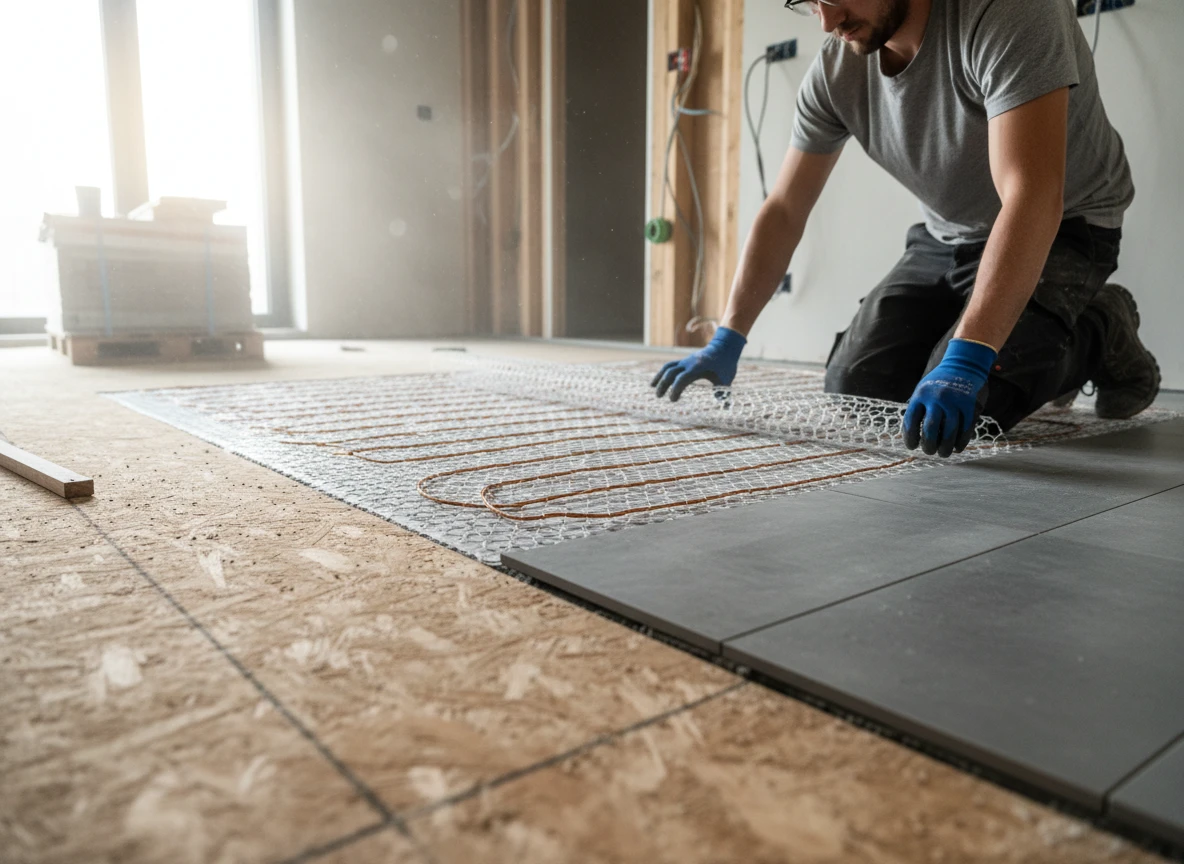
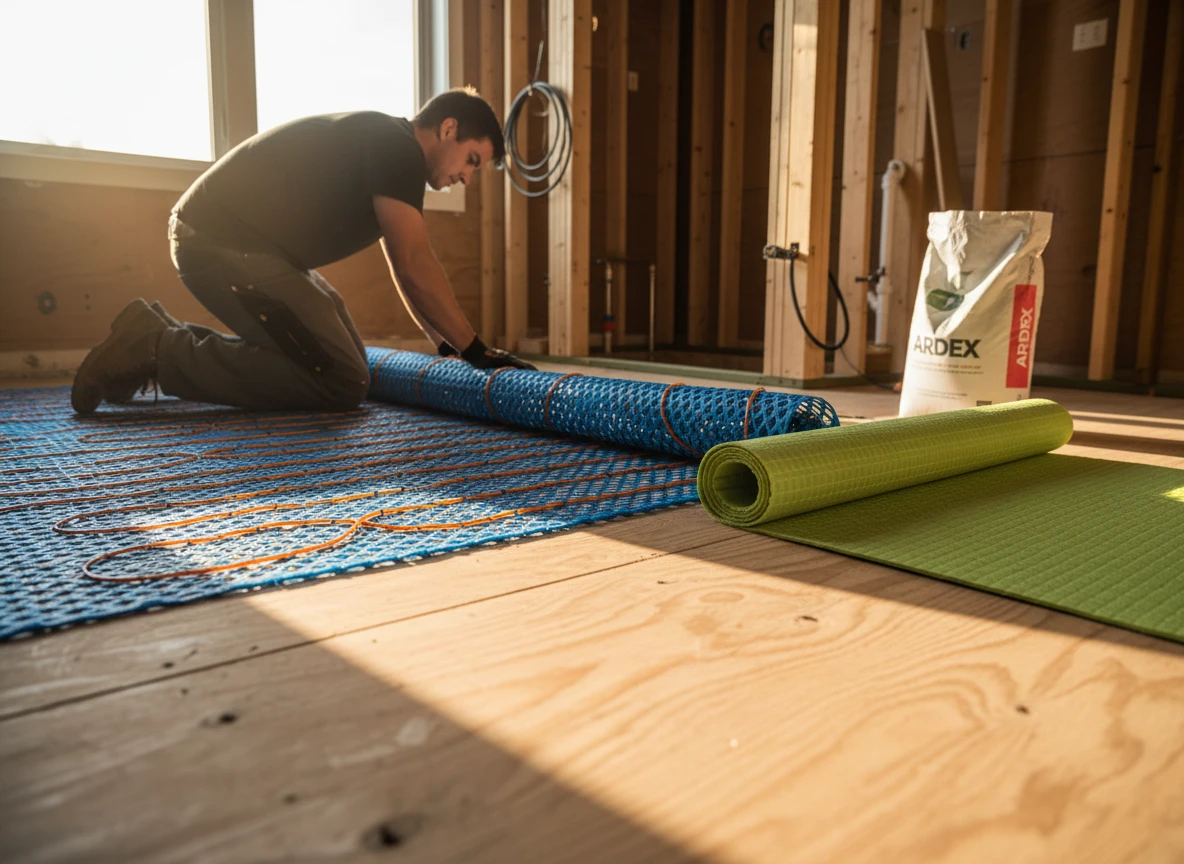
The next culprit is the missing multimeter. Many installers lay down the cable, pour the self-leveling compound, lay the tile, and only then test the system. That's pure recklessness. You must test the resistance of the electric floor heating cables at three distinct stages. Test it out of the box. Test it after it's secured to the subfloor. Test it after the flooring material is laid.
If you skip these steps, you won't know when the damage occurred. A tiler scraping a trowel across the mat can sever a wire in a millisecond. If you don't test, you bury that break under cured mortar. A digital multimeter is your only window into the health of the wire before it's sealed forever. If the ohms don't match the manufacturer specification sheet, don't pour the cement. Stop and fix it.
Finally, stop skipping subfloor insulation. Installing an underfloor heating system directly onto a raw concrete slab is thermal suicide. Concrete is a giant heat sink. It'll suck the thermal energy downward, leaving your floor lukewarm at best. You must install high-density insulation boards first. They force the heat upward into your living space, where it belongs. Skipping this step to save a few dollars on installation costs will cost you thousands in wasted electricity over the years.
Getting back the uniform warmth you actually paid for
Fixing the cold spots for good
Once you have cleared away any heavy rugs, you can stop guessing why certain patches of your floor feel like ice. But don't call a contractor to rip up your tiles just yet. Start with non-destructive testing first.
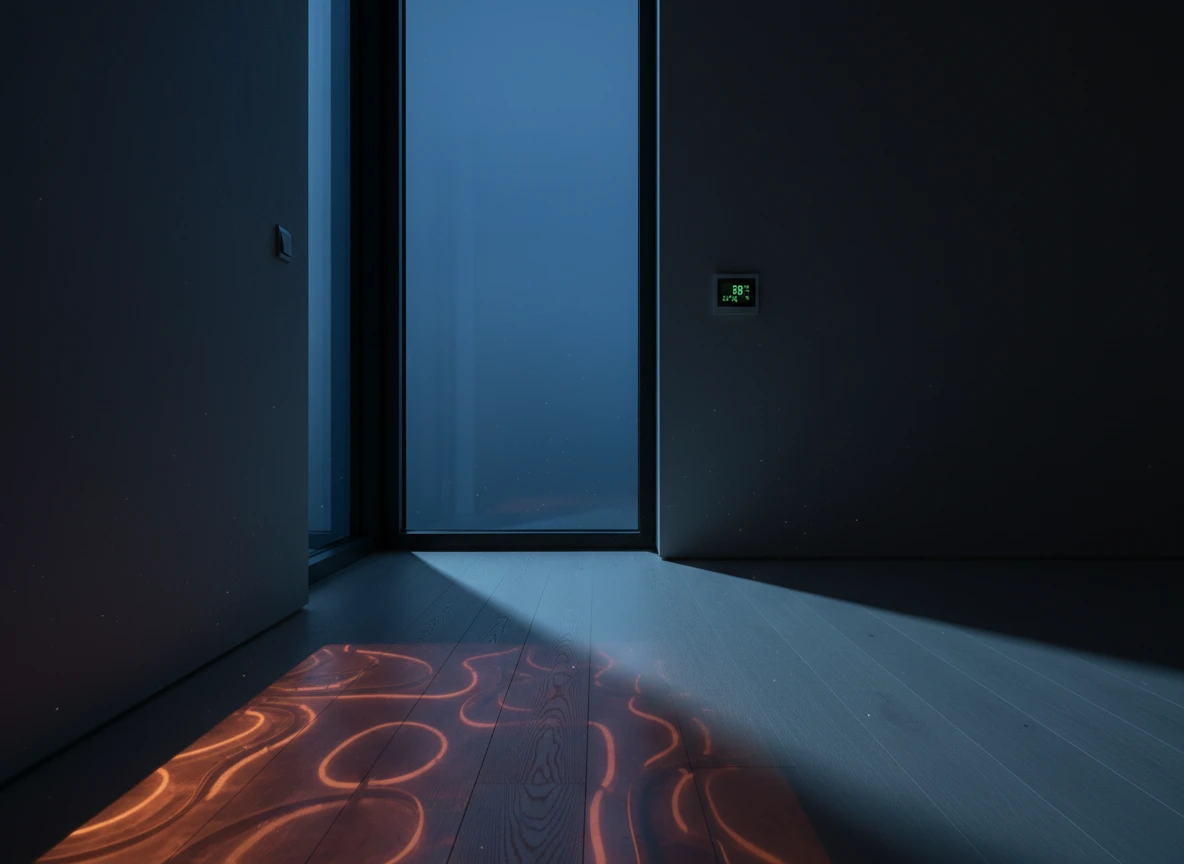
A basic thermal camera is the easiest way to see what is happening. It maps the exact path of your heating cables without messing up your grout. If the scan shows continuous, unbroken heat lines that just aren't warming the surface, you are probably dealing with poor subfloor insulation. However, if the heat suddenly cuts off mid-run, you have found a physical break or a failed splice. A specialist can usually fix these spots locally. This happens a lot in bathrooms where tilers accidentally nicked a wire during installation.
| Symptom | Likely Root Cause |
|---|---|
| Single cold strip | Nicked cable during installation |
| Entire room lukewarm | Missing subfloor insulation board |
| Erratic on/off cycling | Misplaced thermostat floor sensor |
Zoning is another big factor, especially in larger or open-plan spaces. Running an entire floor off a single sensor often leads to cold patches. If you split the space into smaller, independent zones, drafty areas near external doors won't trick the system into shutting off before the rest of the room gets warm. Sometimes, you don't even need to zone; simply moving a floor sensor away from a drafty doorway can fix the issue.
At Integro Process Heating Solutions, we design systems with carefully calculated thermal distribution. We apply these same principles to industrial setups using specialized drum heating jackets, but the basic physics of home and commercial heating is exactly the same. It always comes down to managing thermal resistance and heat transfer.
If you're looking for a quick fix, consider upgrading your thermostat to a smart controller that uses dual-sensor technology to monitor both air and floor temperatures. This stops the system from turning off before the heat actually makes it through your tiles or engineered wood. You paid for warm floors so you could walk around barefoot, not to play a daily game of cold-spot hopscotch. Check your settings, map the heat, and get your system working the way it should.
Struggling with uneven heating in your facility or home? Integro Process Heating Solutions provides custom process heating equipment that cuts out the guesswork and keeps your spaces properly warmed.
People also ask
Why does my electric floor heating have a cold spot?
Most cold patches happen because of inconsistent cable spacing during installation, a damaged heating wire, or heat bleeding downward into an uninsulated subfloor. Heavy rugs acting as thermal insulators can also trap heat and cause localized cold zones.
Can I fix an underfloor heating cold spot without removing the tile?
Yes, you don't always need to tear up your floor. Using a thermal imaging camera or a digital multimeter helps pinpoint the exact location of an electrical break or wiring issue so you only repair the affected spot.
Does putting a rug on heated floors damage the system?
Heavy, rubber-backed rugs trap heat and create a thermal sink that messes with your thermostat readings. It's best to use breathable, thin rugs that won't trap excessive heat.
How do I check if my floor heating cable is broken?
You'll need a digital multimeter to measure the electrical resistance in ohms and compare it to the manufacturer's specs. If it's way off, you likely have a break in the resistance wire.