- By Admin
- Integro
- The cold truth about cold tiles
- Why do radiant systems quit after just two winters?
- Building an indestructible heated floor from the subfloor up
- Your diagnostic toolkit: the instruments that save your wires
- Where most installers get it wrong
- Protecting your investment before the cement cures
- Common Questions About Electric Floor Heating Failures
The cold truth about cold tiles

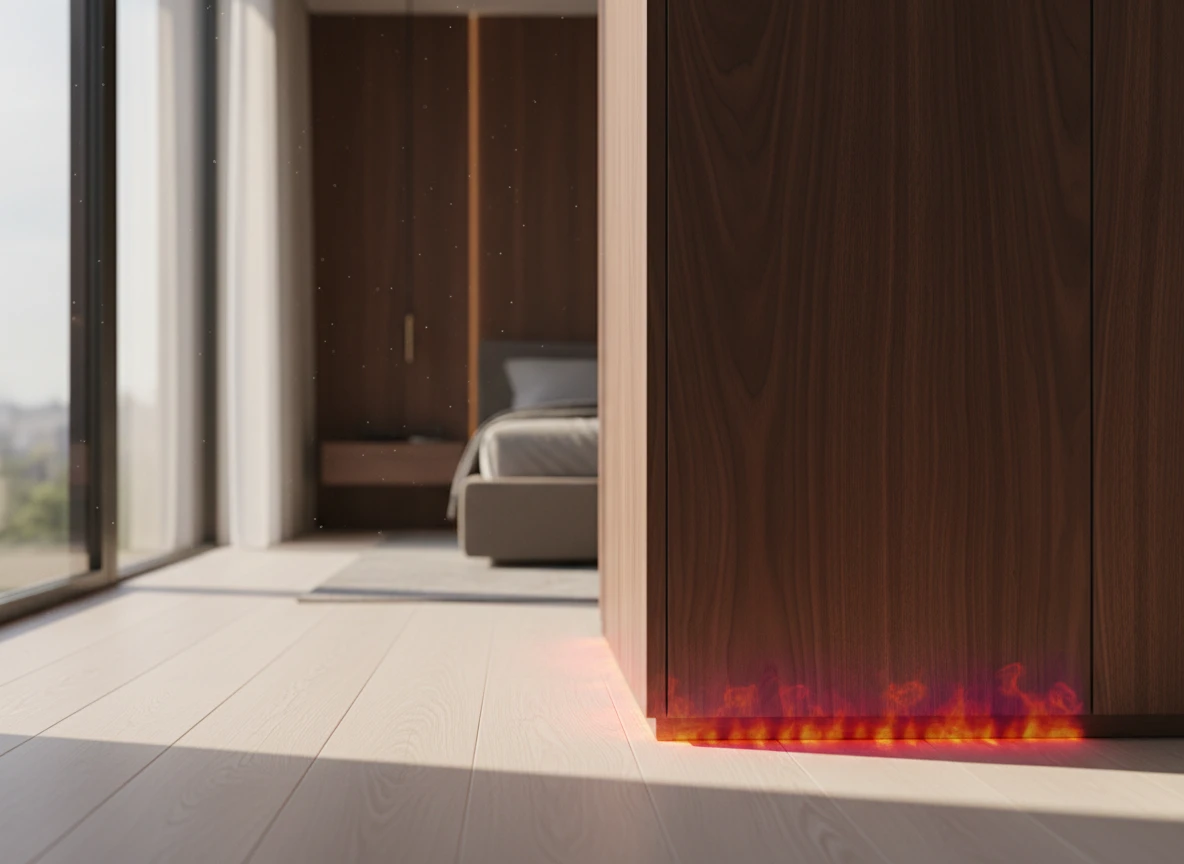
The sudden chill of a failed system
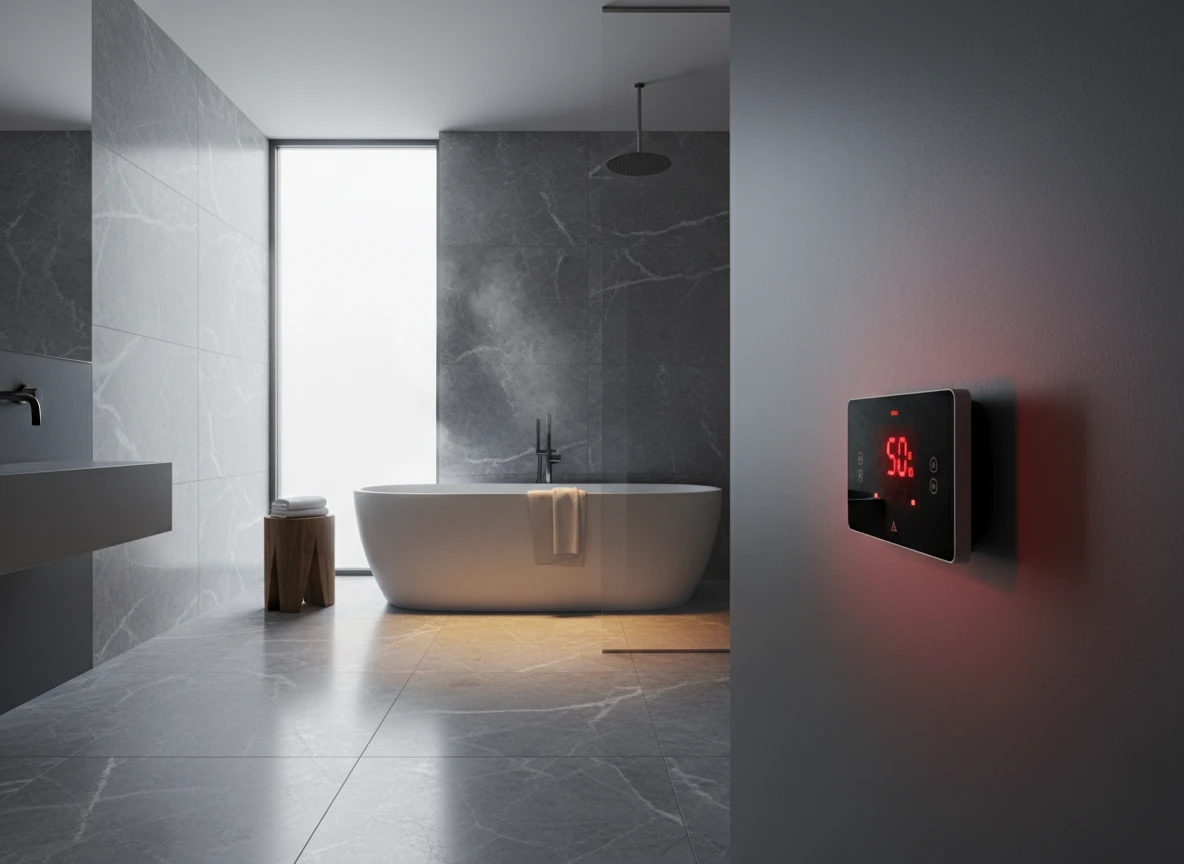
You step onto your master bathroom floor in mid-January, expecting a wave of therapeutic warmth. Instead, you get a sharp shock of ice-cold ceramic. If your system was installed only a couple of winters ago, this sudden failure feels like a betrayal of your hard-earned investment.
The reality is that high-quality electric floor heating systems are inherently durable. They don't just "burn out" on their own without an external catalyst. When a system dies prematurely, the culprit is almost always a preventable installation error, a missed diagnostic check, or a simple control mismatch. It's rarely a product defect.
At Integro Process Heating Solutions, we approach thermal engineering with strict, data-driven discipline. We know that a successful underfloor heating system relies on precise electrical execution rather than luck. For example, what happens when an installer skips basic resistance testing or runs a 120-volt mat on a 240-volt circuit? The heating element pulls quadruple its rated power and literally cooks itself from the inside out.
Many tilers still use the old "dot-and-dab" mortar method to level tiles quickly. But this leaves dangerous air pockets around the heating wire, creating localized hot spots that burn out the system. If you don't use a digital multimeter during the entire laying process, you won't know there's a break until the cement cures and the floor stays freezing.
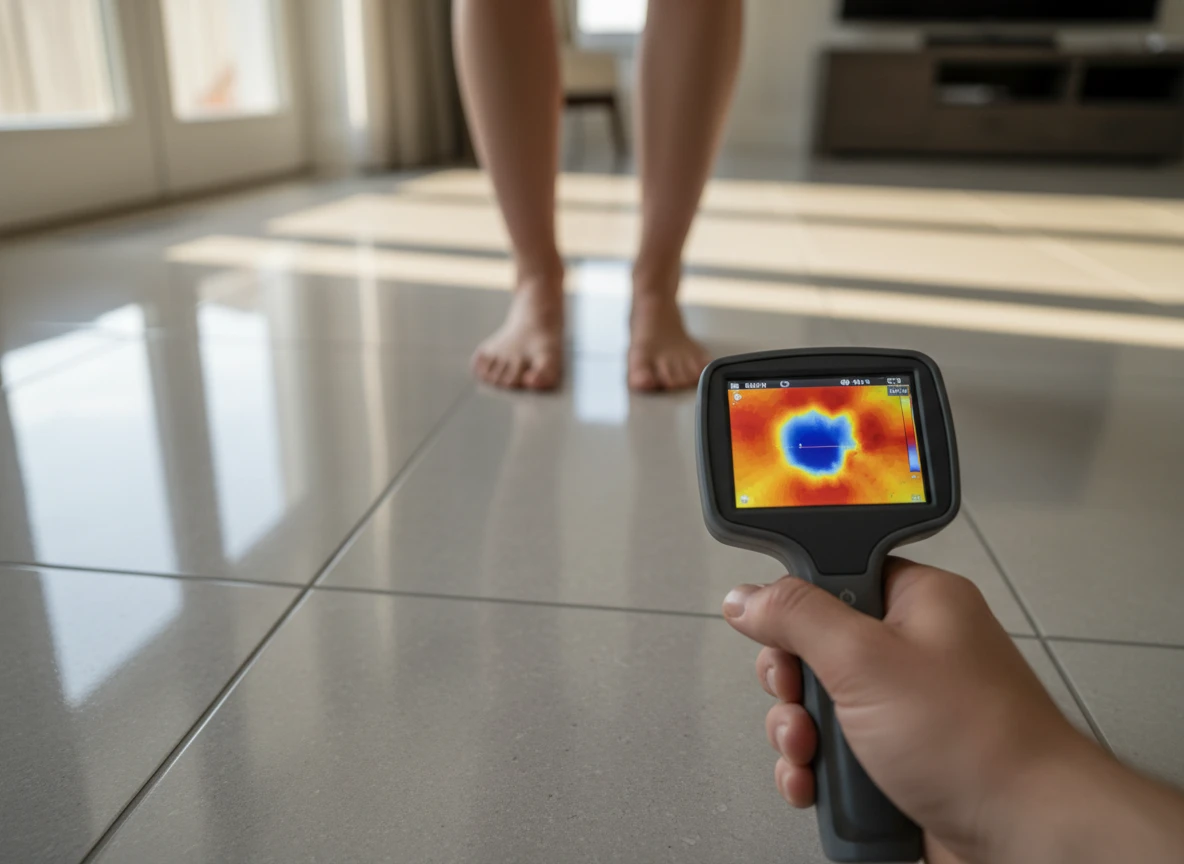
Another silent killer is layout planning. Dragging heating cables under permanent, flat-bottomed vanities or placing thick, rubber-backed dog beds over the floor sensor traps heat. This causes localized thermal choking, destroying the wire while your thermostat reads incorrect data.
This guide is designed to help you diagnose what went wrong or, if you're planning a project, prevent these costly headaches entirely. We'll bypass the usual DIY guesswork and focus on the exact technical checkpoints,such as continuous resistance monitoring and proper mortar application,that keep your floors warm for decades. Let's look at how to protect your investment before you have to tear up your tile.
Why do radiant systems quit after just two winters?
A 240-volt electric radiant floor heating mat mistakenly wired to a 120-volt supply delivers only 25% of its rated heat output. But the reverse is far more catastrophic. Supplying 240 volts to a 120-volt system increases the power output by exactly 400%, which quickly melts the internal polymer insulation. This massive electrical overload explains why many systems die right after their second winter. When an installer fails to match the electrical supply to the cable's resistance rating, thermal degradation is inevitable.
Physical restrictions under the floor play an equally destructive role. If you install an underfloor heating system beneath permanent bathroom cabinets or heavy, rubber-backed bath mats, you create a thermal bottleneck. The heat simply has nowhere to escape. Heat builds up rapidly in these isolated zones, pushing the cable temperature past its maximum operating limit of 120°C. Over two heating seasons, this continuous localized overheating degrades the fluoropolymer jacket, leading to a silent short circuit.
At Integro Process Heating Solutions, we see how minor oversights during construction lead to these failures. For instance, air pockets left around wires due to the "dot-and-dab" mortar technique act as thermal barriers. Because air does not conduct heat as well as thinset, the wire inside the air pocket overheats while trying to warm the surrounding floor. So, the thermal stress eventually cracks the wire.
Most standard thermostats max out at a 15-amp load. When a large electric floor heating setup operates without a power module, the relay constantly cycles at its absolute limit. This continuous heavy load causes the contacts to arc and weld together, locking the system in an "always-on" state. Results vary depending on the flooring material, but thermal stress will eventually win. You can avoid this by running systematic resistance tests with an ohmmeter before, during, and after laying the tiles. It is the only way to catch micro-fractures before they are buried under cured concrete.
Building an indestructible heated floor from the subfloor up
A systematic blueprint for thermal longevity
If you want to stop your floor heating system from dying early, you have to ditch the guesswork. It requires a strict, sequence-driven installation protocol. This process starts at the very foundation, long before you unroll a single heating element.
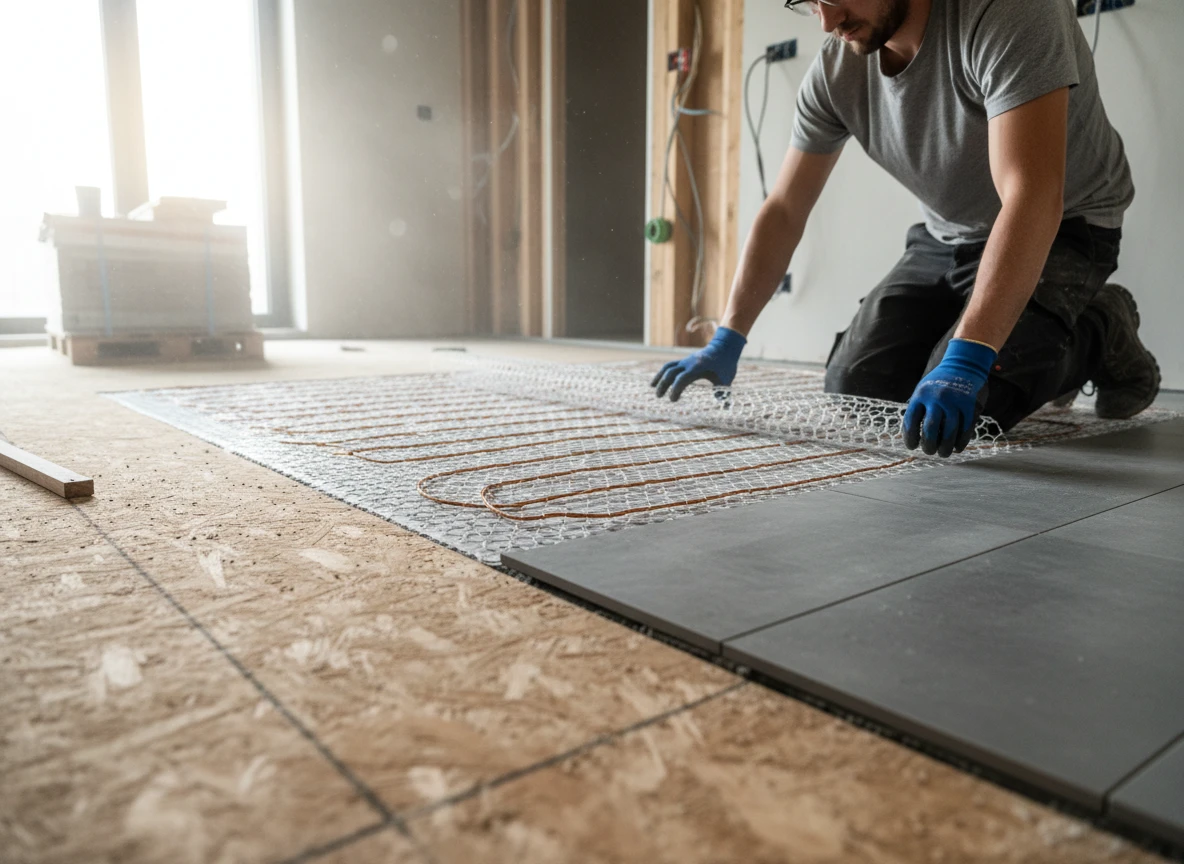
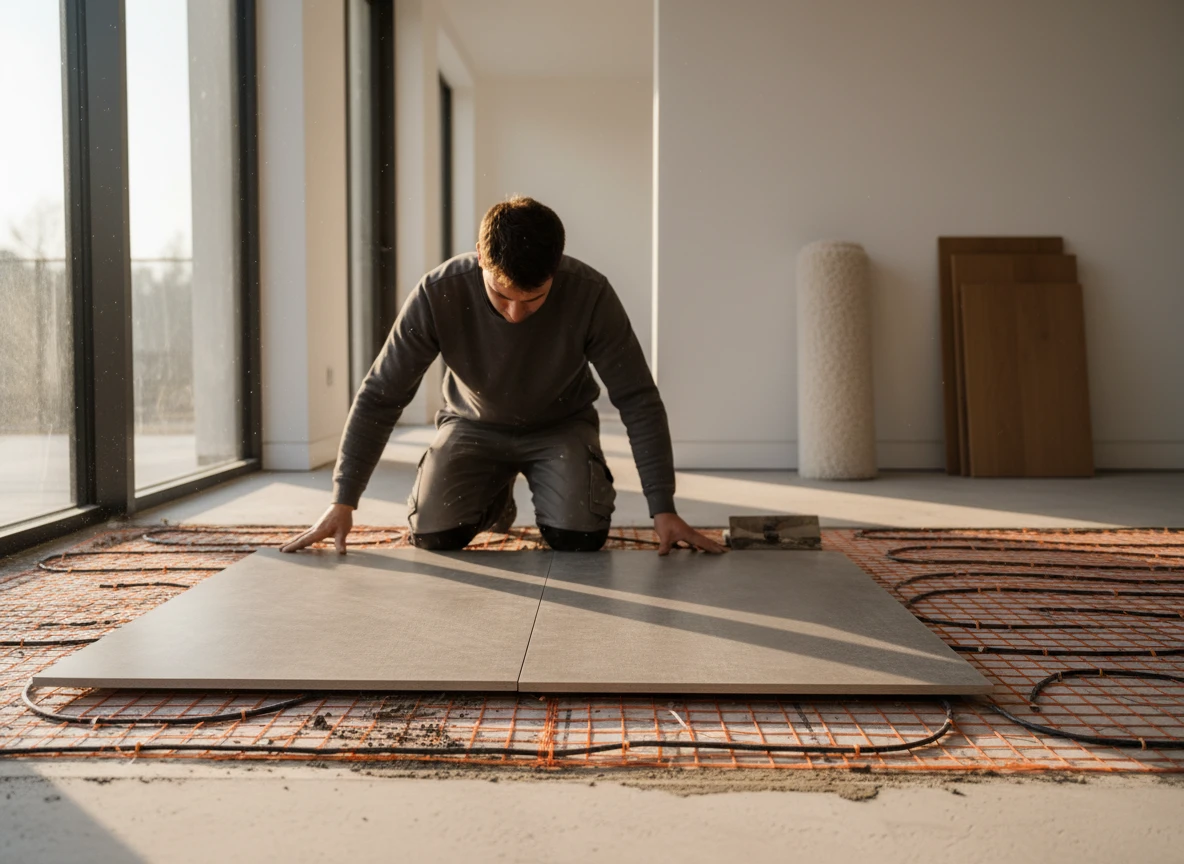
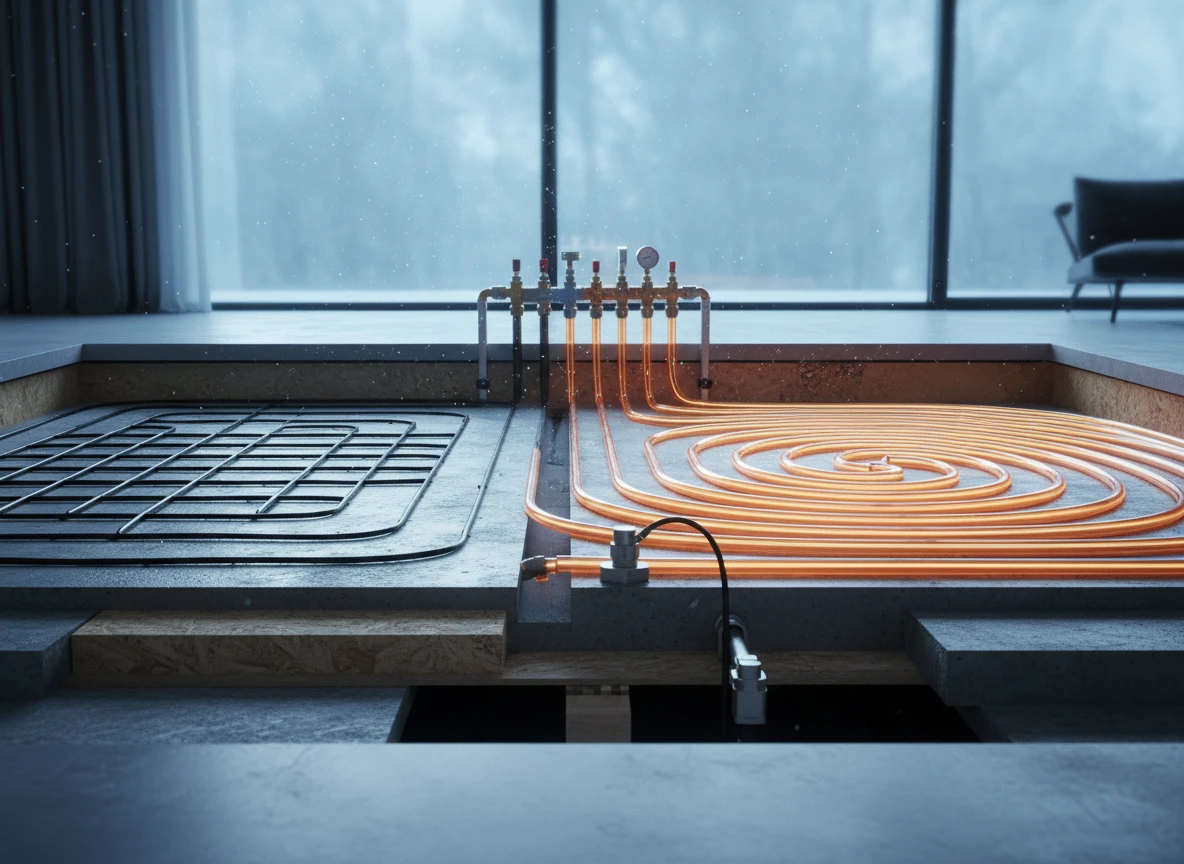
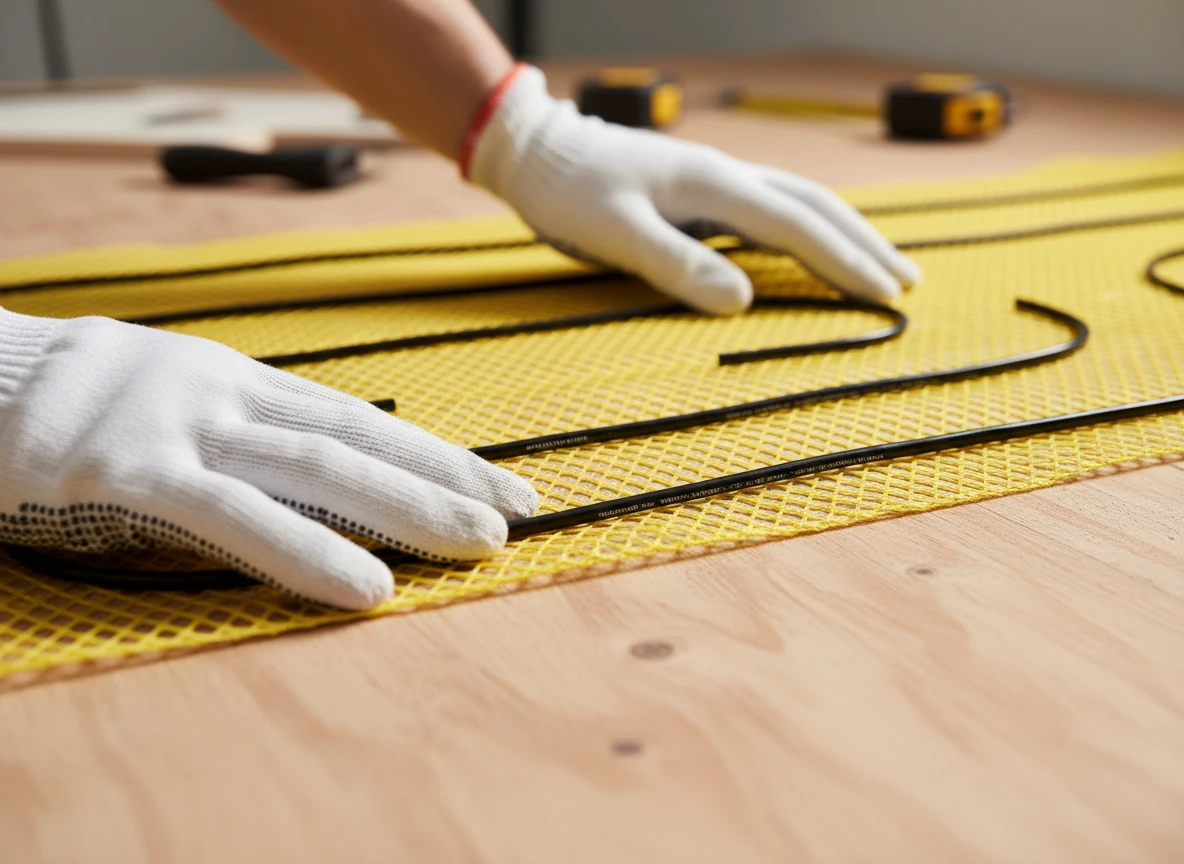
Subfloor prep makes or breaks your electric underfloor installation. Your substrate has to be flat, clean, and completely rigid. If a wooden subfloor deflects even slightly, it cracks the tile mortar. That movement shears the delicate heating wires underneath. Install an uncoupling membrane. This isolates lateral movement and protects the layouts specified by your underfloor heating system suppliers.
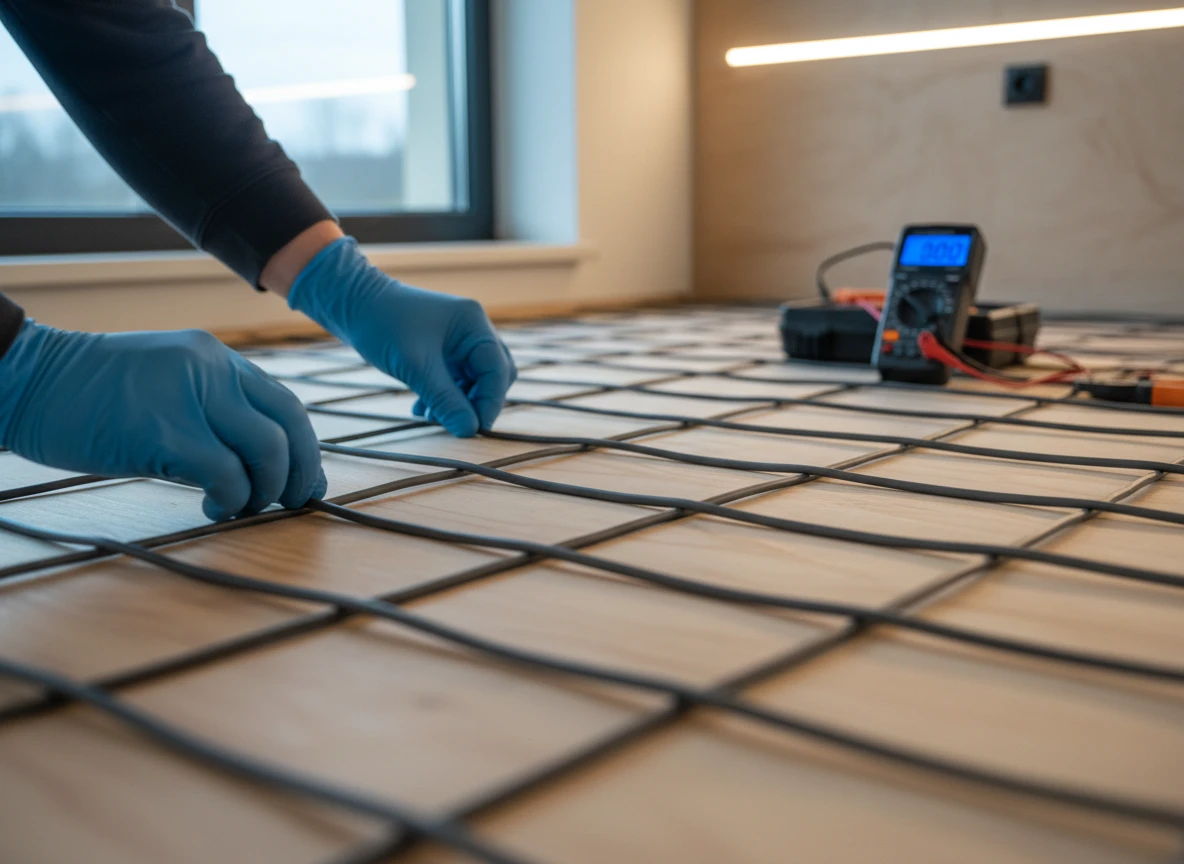
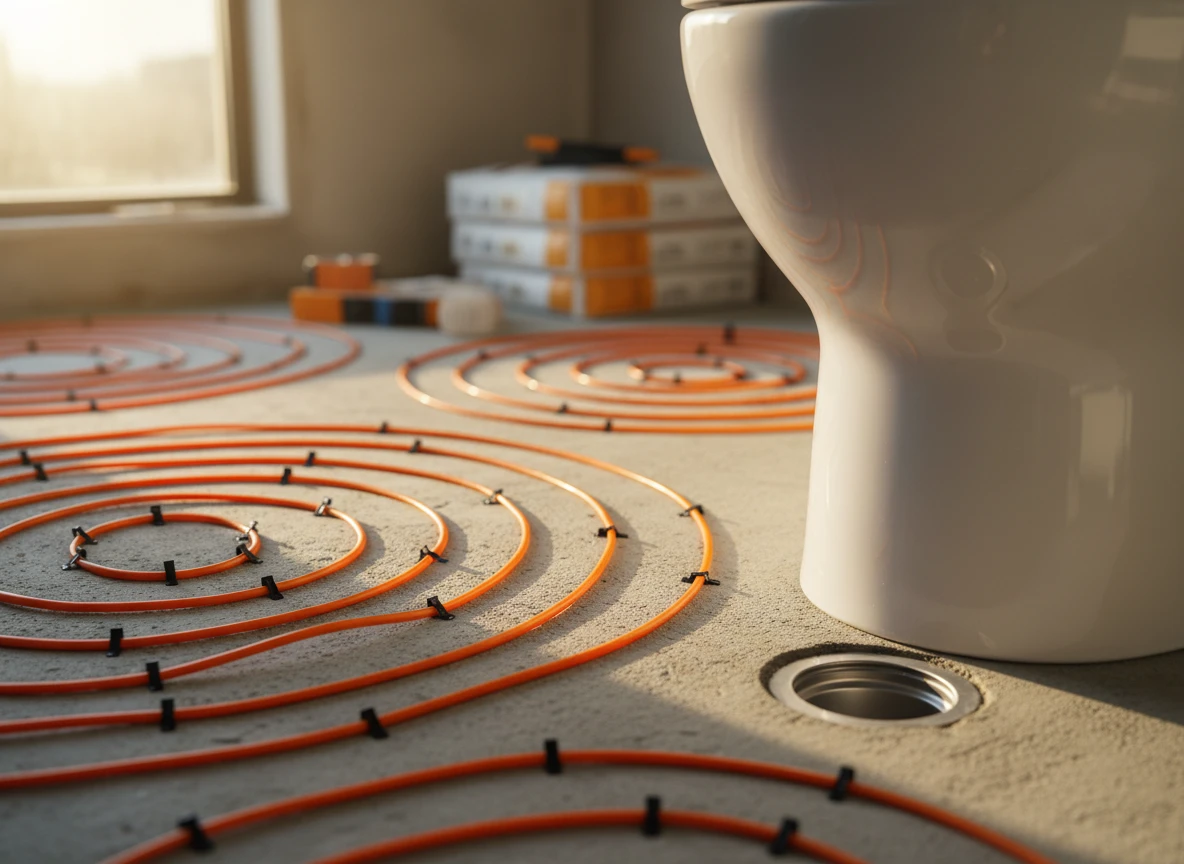
When planning the layout, remember one rule: electric floor heating cables must never overlap, cross, or run beneath permanent cabinets. Trapped heat under a vanity or kitchen island has no escape route. This creates a thermal choke point that melts the cable's outer insulation. Keep a strict three-inch spacing between cable runs. This spacing prevents hot spots and distributes heat evenly. If you source from certified underfloor heating system manufacturers, their layout grids are already engineered to enforce this exact tolerance.
Some owners debate the merits of hydronic radiant floor heating for larger spaces. But electric systems are simpler and respond much faster when laid out with discipline. You also need to secure the floor sensor probe exactly halfway between two heating runs. Keep it far away from external heat sources like sunny windows or drafty doors.
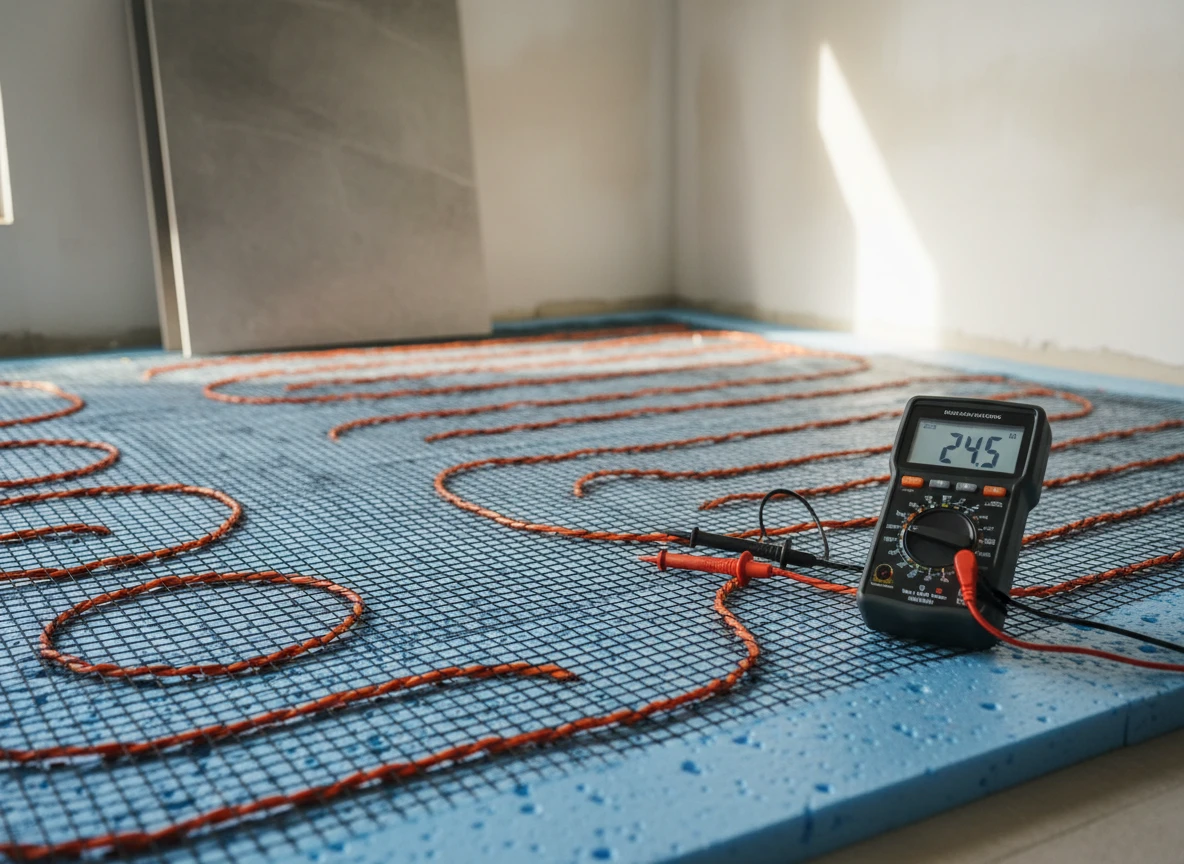
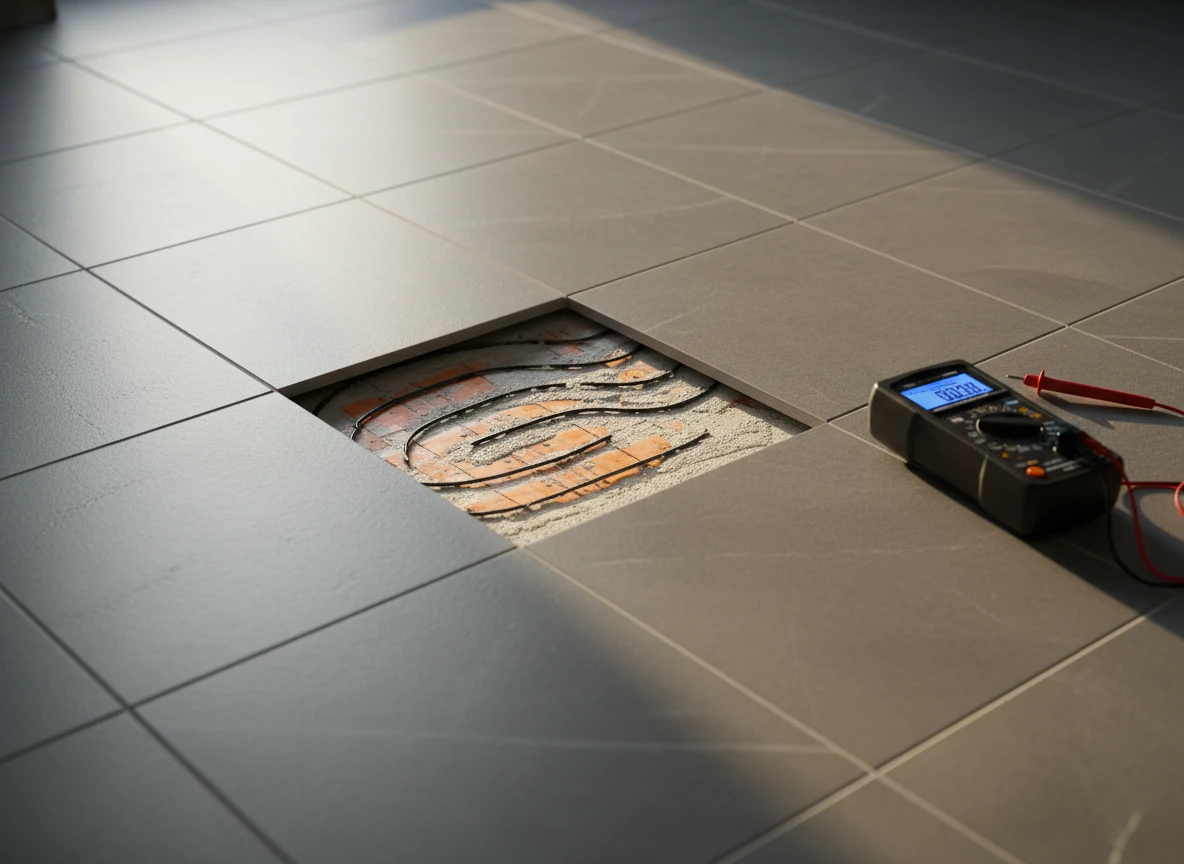
Electrical safety is the main failure point for DIY projects. Test the resistance with a digital multimeter at three specific stages: right out of the box, during layout, and immediately after laying the tile. A deviation of more than five to ten percent from the manufacturer's stamped rating means you have a microscopic break. Don't ever wire a 120-volt heating mat to a 240-volt circuit. That mistake quadruples the wattage and instantly burns out the element. To get a highly reliable setup, consult with professional underfloor heating suppliers or underfloor heating manufacturers. They help match your power modules, thermostats, and cables perfectly.
If you need commercial-grade components, buy from trusted underfloor heating exporters to get materials built for heavy thermal cycling. For large-scale projects, applying these protocols across all domestic and commercial heating installations saves thousands in diagnostic work later.
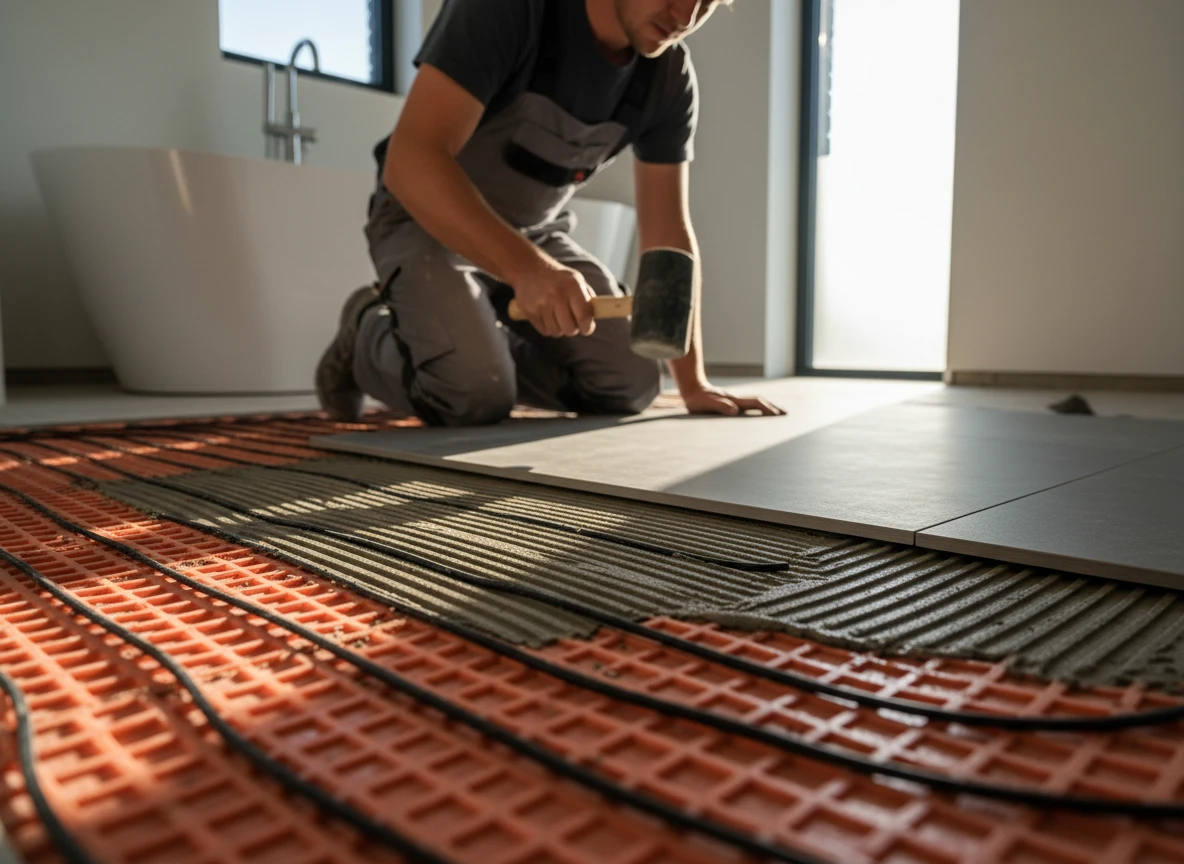
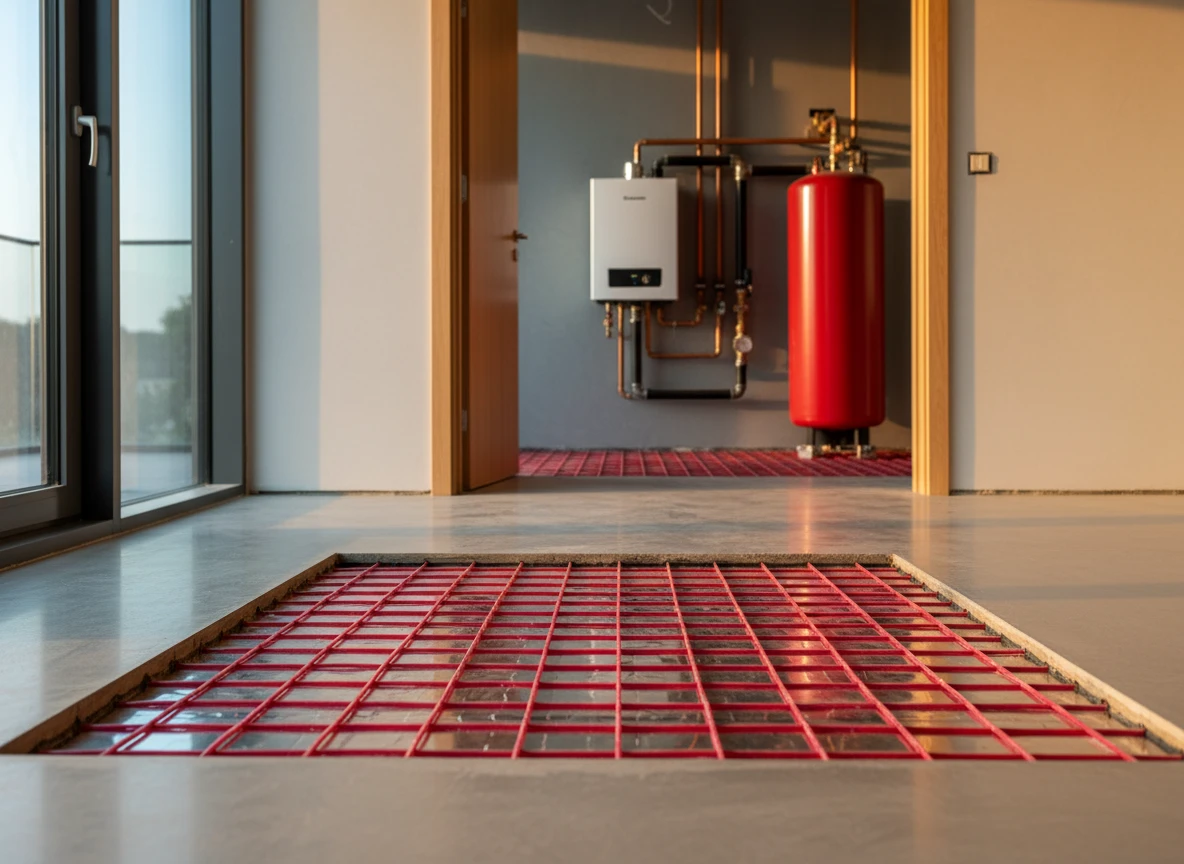
Applying the thinset mortar is your final physical defense against failure. Never use the "dot-and-dab" tiling method here. It leaves dangerous air pockets around the wires. Because air is a terrible thermal conductor, those pockets cause localized overheating. Instead, pour a self-leveling underlayment or use a plastic trowel to spread a full, flat bed of modified thinset over the cable. This completely encapsulates the heating wire. It is a standard best practice emphasized by industrial engineering experts like Integro Process Heating Solutions.
You see this same structural encapsulation in specialized industrial setups, like flexible heating jackets or complex drum heating chamber systems. In those environments, uniform heat transfer is everything. Once you apply the mortar, do not turn the system on. You must wait a full 28 days for the concrete or thinset to cure completely. If you turn it on early, vapor pockets will crack the entire thermal bed. This 28-day standard isn't a magic fix if your ambient humidity is out of control, but it is the safest baseline for structural integrity.
Your diagnostic toolkit: the instruments that save your wires
Diagnostic tools that prevent blind installations
You've prepped the subfloor and mapped out your layout. But how do you know the heating cable inside your mortar bed is actually intact before you pour self-leveler or set heavy tiles? If you skip verification, you're playing Russian roulette with your flooring budget. At Integro Process Heating Solutions, we've learned that successful installations depend on testing early and often.
You don't need a lab full of expensive gear. You just need two basic tools: a digital multimeter and a continuous circuit monitor.
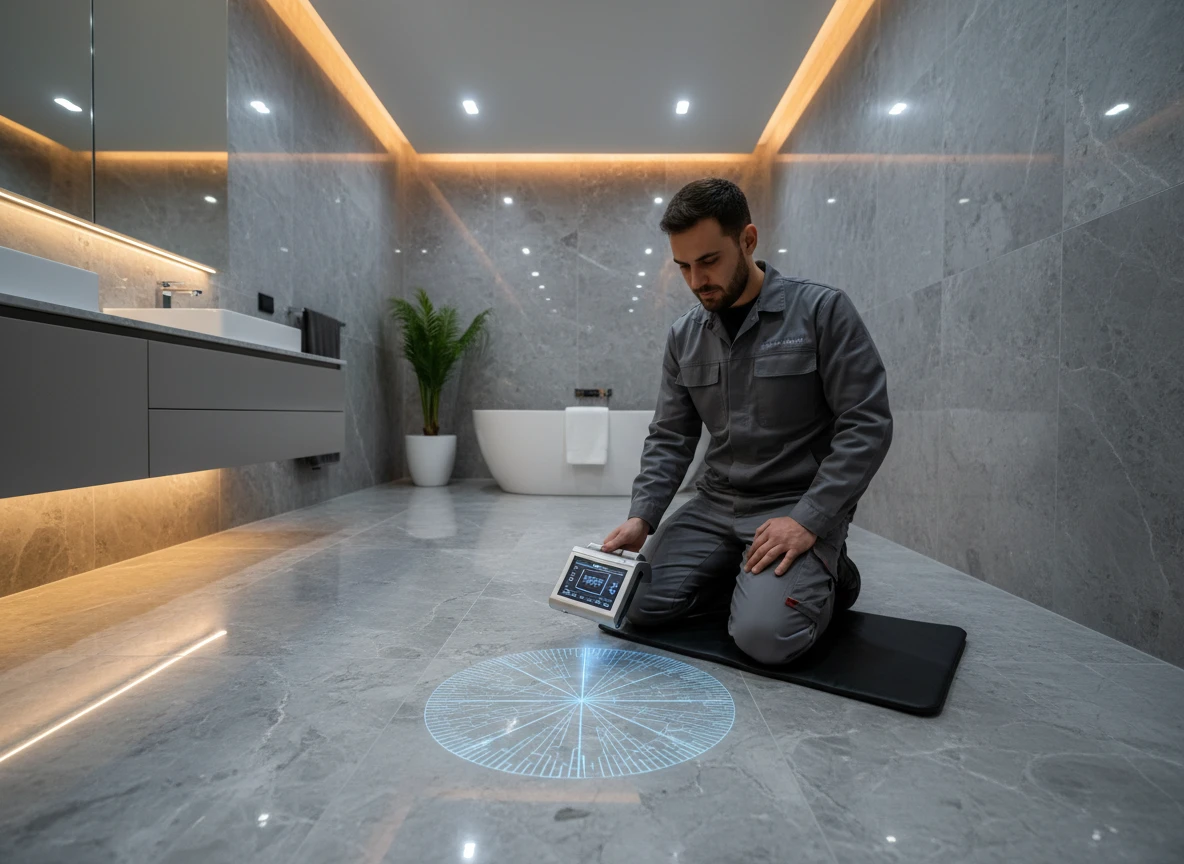
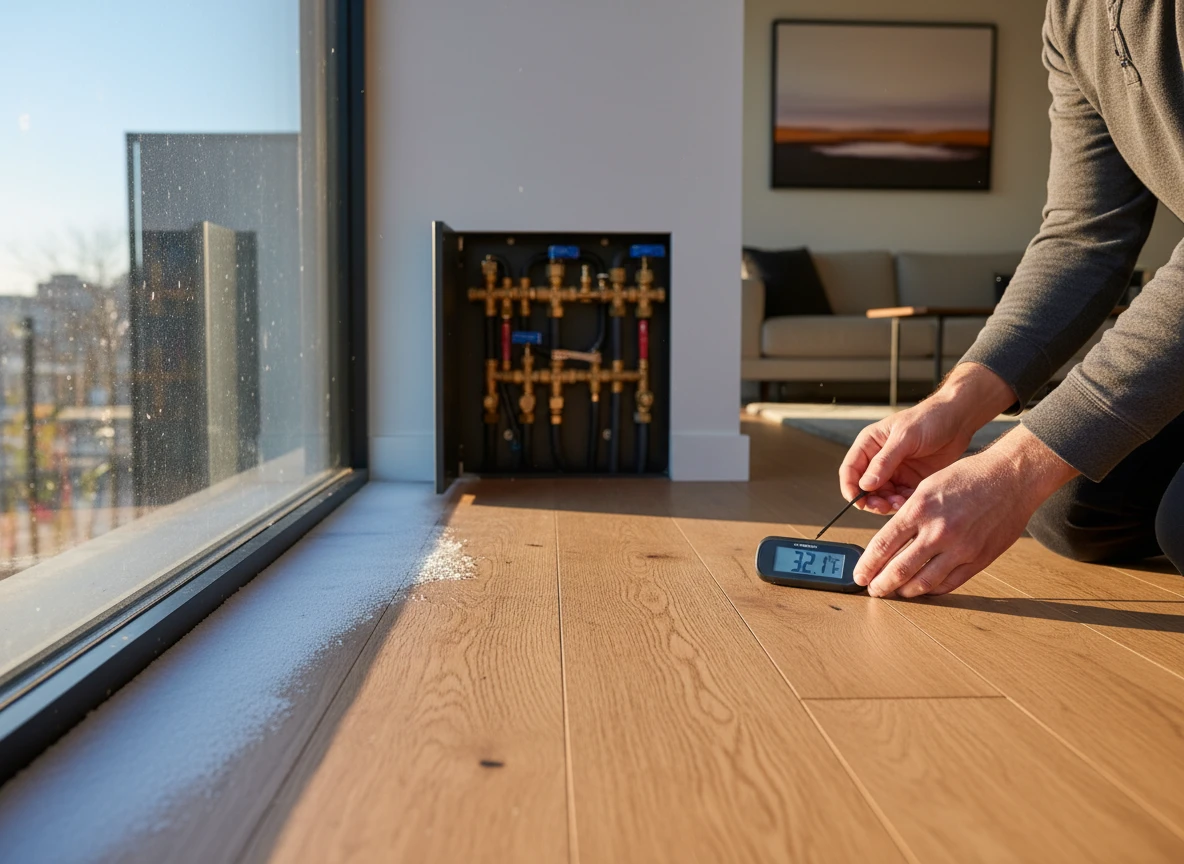
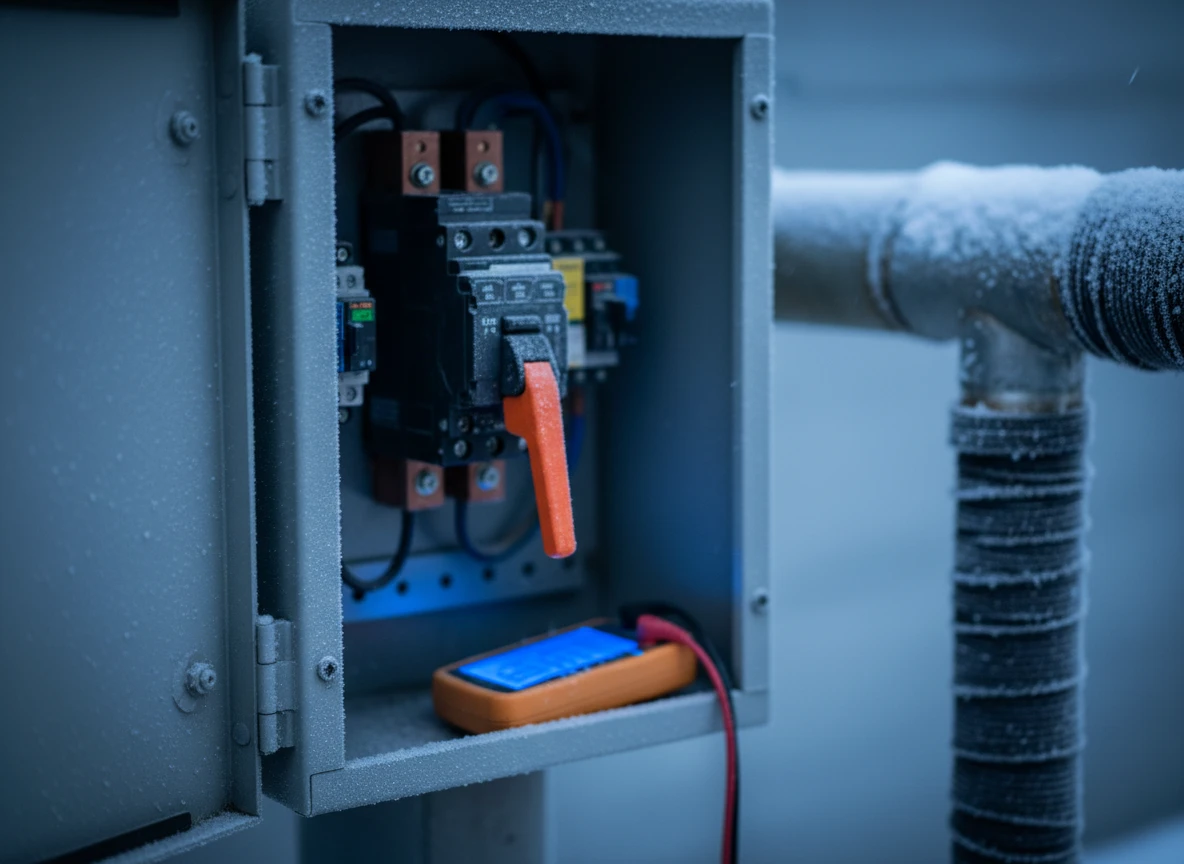
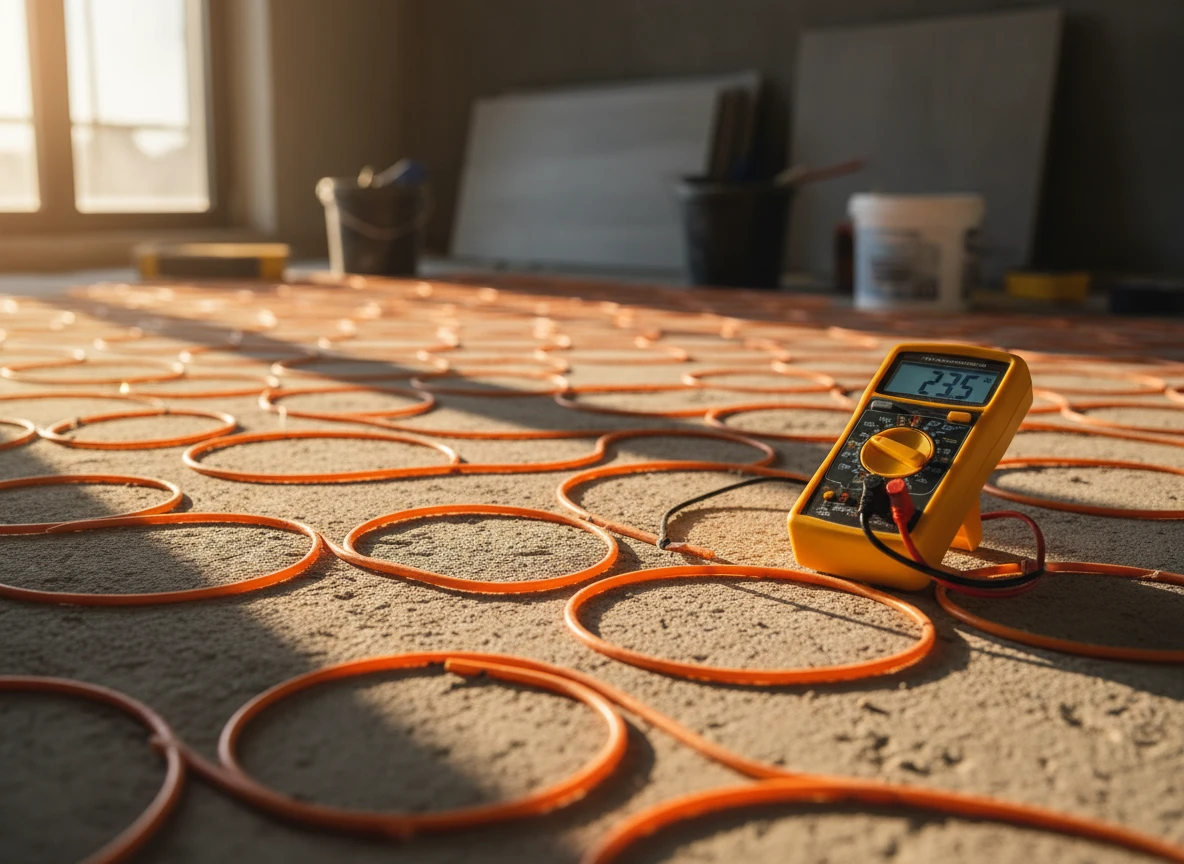
A decent digital multimeter set to measure resistance (ohms) is your best friend here. Before you even unpack the heating mat, measure its resistance. Every manufacturer prints a specific resistance range on the product label. If your reading is off by more than 10% from that factory spec, stop. You might have a factory defect or a cable damaged during shipping. You'll need to test again after laying the cable, and a third time once the tiles are set. This simple routine is standard practice for modern floor heating solutions. While troubleshooting hydronic radiant floor heating means dealing with air locks and fluid dynamics, electric underfloor heating systems live or die by basic electrical continuity.
But what happens while you're actually troweling thinset? A multimeter won't help if a sharp trowel edge nicks the wire mid-job and you only test at the end. That's where a continuous circuit monitor, often called a "scream box," comes in. You connect this small battery-powered device to the lead wires during the entire installation. If the heating element gets cut or grounded, a loud alarm sounds instantly. Sure, a scream box isn't foolproof against micro-fractures that only expand under thermal load, but it catches nearly all physical installation damage before it gets buried forever. Buying these tools is the only way to protect your investment.
Where most installers get it wrong
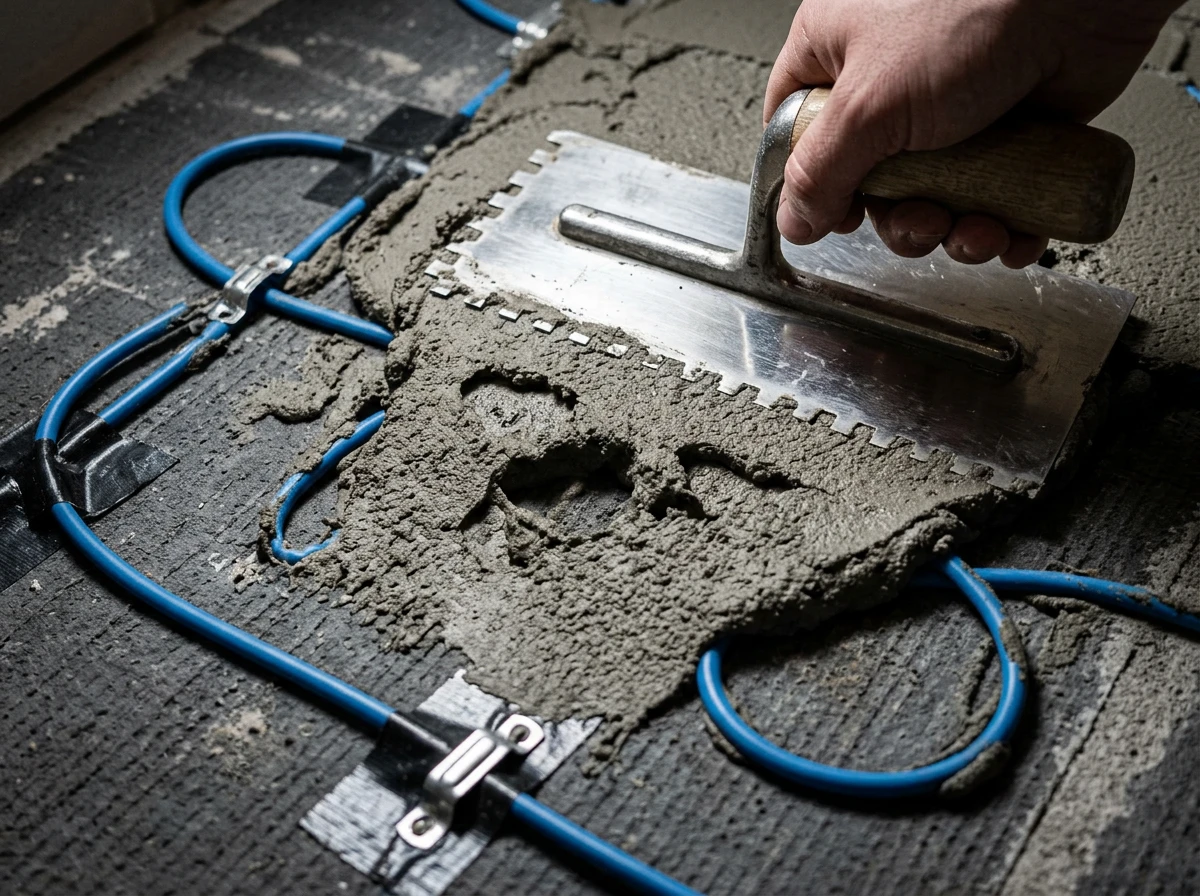
You have the diagnostic tools. But they're useless if your physical installation is sloppy. Most electric underfloor systems fail because of lazy physical workmanship, not bad equipment.
The air pocket trap: dot-and-dab mortar
The single worst mistake is the dot-and-dab mortar method. Installers dab small spots of thinset on the subfloor instead of spreading a flat, continuous bed. This leaves massive air pockets around your floor heating mat. These air pockets act as thermal barriers. The heat cannot escape into the tile, so the wire overheats and burns out in those dry gaps. You must use a complete, solid bed of thinset. No exceptions.
At Integro Process Heating Solutions, we design heavy-duty thermal systems like an ibc heating jacket or industrial insulated heating jackets. In those high-stakes environments, uneven contact means immediate system failure. The same thermal physics apply to our domestic and commercial heating projects. If you don't have 100% mortar coverage around your bathroom floor heating cables, you're building a self-destruct mechanism.
Physical abuse and blind wiring
Then there is physical abuse during installation. Workers walk on the exposed cables with hard-soled boots. They drop heavy metal trowels directly onto the fiberglass mesh. Even worse, they scrape the sharp metal edge of a grout float right across the thin wires while cleaning joints. This scrapes off the protective outer jacket. You might not see the spark immediately, but moisture from your next shower will eventually find that nick and short the whole circuit.
Another point of failure is blind wiring. Electricians often skip the intermediate resistance tests we discussed. They connect the thermostat and power up the system before the mortar cures. Or they wire a 120V floor heating mat directly into a 240V circuit because they didn't check the product label. This mistake instantly ruins the element. If you manage thermal installations,whether that involves an industrial heating chamber or a simple bathroom floor heating layout,you must verify your voltages.
Rushing is the enemy of thermal longevity. Treat the heating wire like a delicate sensor, not a rugged extension cord. If you don't test at every phase, you're gambling with a very expensive floor.
Protecting your investment before the cement cures
Picture this: you're standing over a gorgeous, freshly tiled bathroom floor. It's perfectly level. The grout lines are flawless, and the homeowner is absolutely thrilled. But there's a quiet, nagging dread in the air. The installer skipped the final post-grout resistance test, and now everyone has to wait 28 long days for the mortar to cure. When they finally flip the wall switch, nothing happens. It's dead. A single, accidental trowel nick during the final hour of tiling severed the heating cable, and now it's permanently entombed under solid concrete.
Here at Integro Process Heating Solutions, we deal with thermal engineering every day, and we know that verification is everything. Whether we're designing heavy-duty drum heating jackets or talking a homeowner through a DIY bathroom layout, the basic rules of electrical continuity don't change. If you aren't measuring, you're just guessing. To make sure an electric radiant floor actually lasts for decades, you have to run diagnostics at every single stage of the install. That means checking the resistance before you lay the mat, while you're spreading the mortar, and immediately after the tiles go down. It won't stop a subfloor from shifting later, but it absolutely prevents a self-inflicted disaster.
I get it. Stopping to pull out a digital multimeter three or four times feels incredibly tedious when you're running behind schedule. But skipping it is a gamble you'll eventually lose. If you catch a weird ohm reading early, you can still save the job. In our world of industrial and home heating, we see constantly how a five-minute check saves thousands of dollars in jackhammering. Just as we rely on industrial insulated heating jackets to keep temperatures perfectly stable, a home floor system needs that same uncompromised, unbroken path to distribute heat.
So, do yourself a favor. Before you pour that final layer of self-leveler or mortar, hook up a loud circuit monitor to the system. Let it scream if a wire gets nicked. It takes ten minutes to verify your connections today. The alternative is tearing up your brand-new floor two winters from now. Which would you choose?
If you're designing a complex thermal setup and want to avoid early system breakdowns, Integro Process Heating Solutions delivers engineered heating solutions built for long-term reliability.
Common Questions About Electric Floor Heating Failures
Why did my electric floor heating stop working after two winters?
Most early breakdowns happen because of installation errors rather than bad hardware. Skipped resistance tests, voltage mismatches, or trapped heat under heavy cabinetry usually cause the element to burn out.
Can I put a thick rug over my heated bathroom floor?
Honestly, you shouldn't use heavy, rubber-backed rugs on heated floors. They trap heat and confuse the floor sensor, which can mimic a system failure or overheat the cable.
How often should I test the heating cables during installation?
You'll want to check resistance three times: right out of the box, immediately after laying the mat, and after the thinset or cement cures. If you skip these steps, you won't catch a break until it's too late.
What happens if an electrician hooks up 240 volts to a 120-volt mat?
It'll pull quadruple the power it's rated for, and that massive surge will instantly destroy the heating element. Always double-check your voltage pairing before flipping the switch.