- By Admin
- Integro
- Why laying heat mats on bare plywood isn't as simple as it looks
- Wood expands, tile cracks: the structural mismatch of subfloor installations
- Embedding and decoupling: how to install floor heating over wood safely
- The gear you need to protect your heating system and your subfloor
- Where DIYers go wrong: the shortcut mistakes that kill underfloor heat
- Getting the warm floors you paid for without the structural regrets
- FAQ
Why laying heat mats on bare plywood isn't as simple as it looks
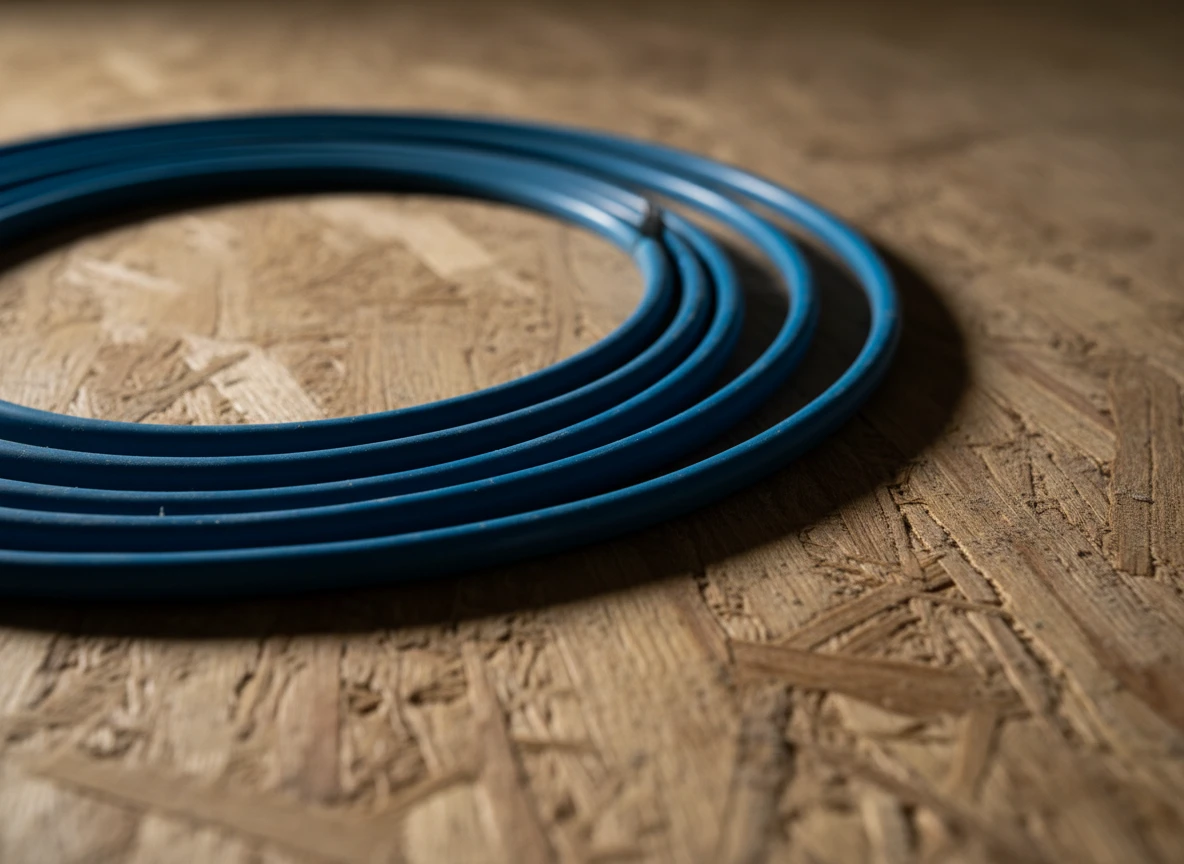
The temptation of the fast-track subfloor
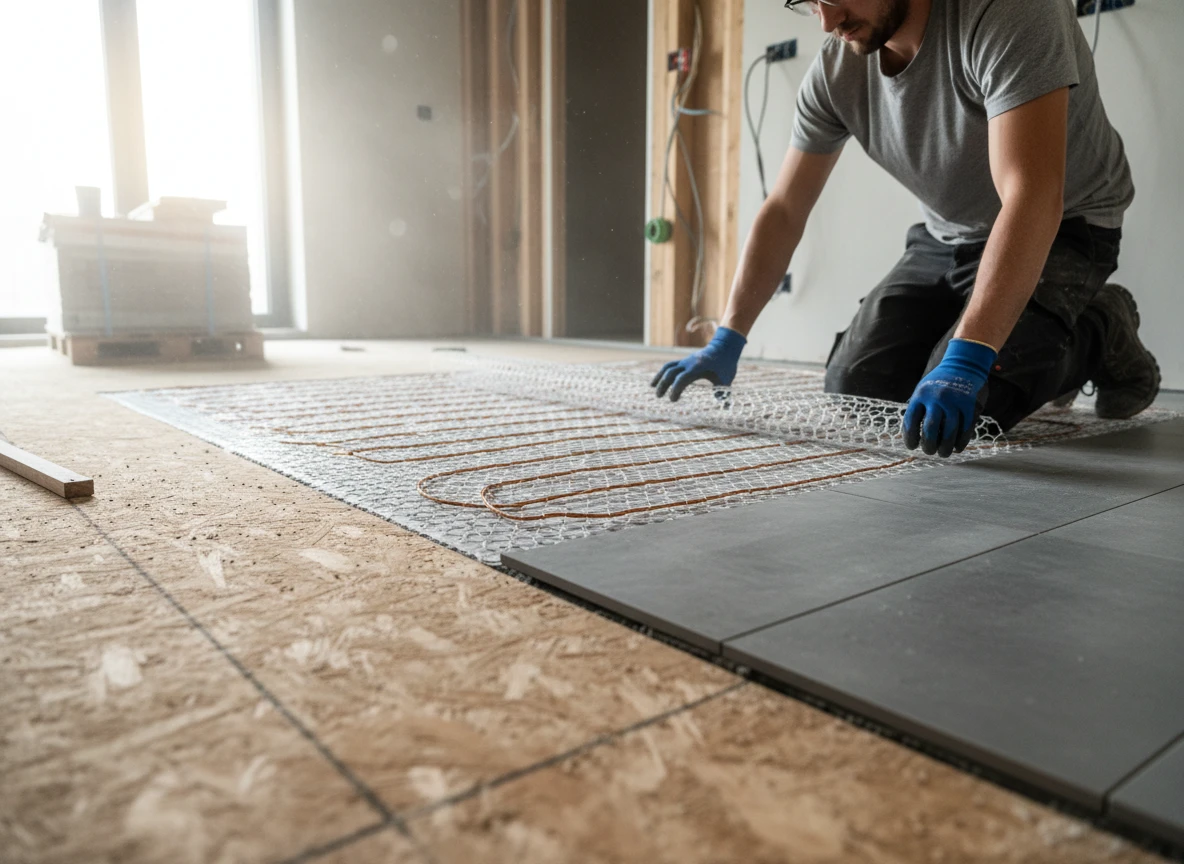
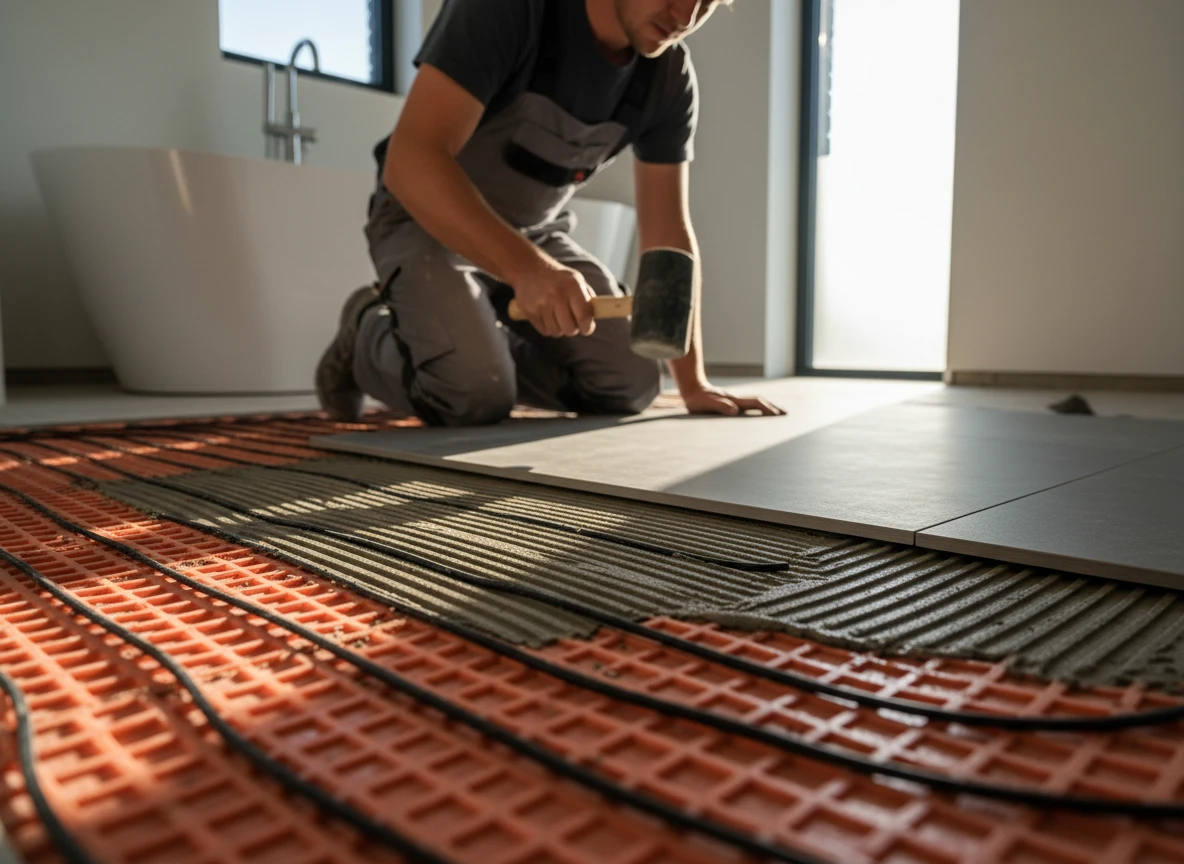
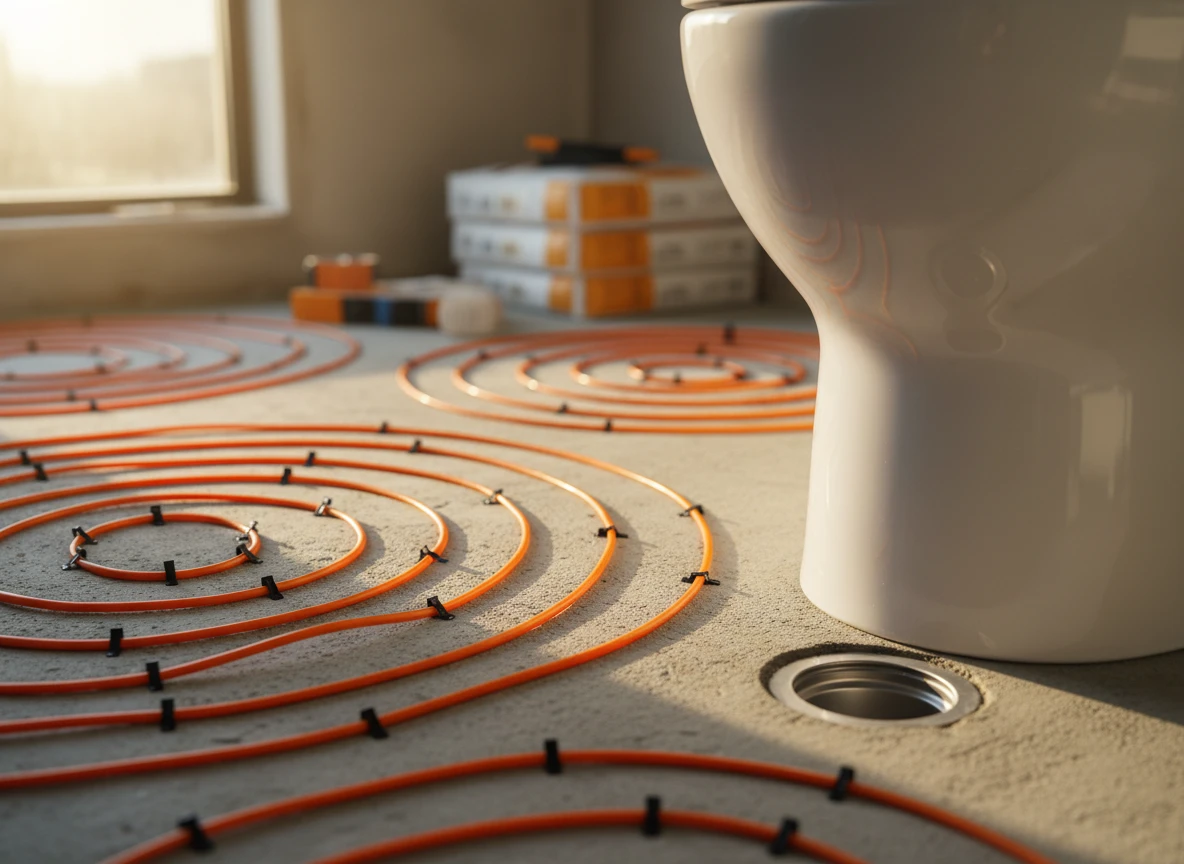
You've just finished stripping your bathroom floor down to a clean, flat sheet of 3/4-inch plywood. The tempting shortcut is right there. Why not roll out your new floor heating mat directly onto the wood, staple it down, slap on some thinset, and start tiling? It saves a day of work and twenty bucks on materials.
But as thermal engineers at Integro Process Heating Solutions, we've seen how this quick fix behaves over time. The reality is that wood and heat don't play well together when trapped beneath rigid tile.
Plywood is a natural thermal insulator. While this means it prevents downward heat loss into your crawl space, it also means the wood itself absorbs a massive amount of thermal stress. Wood is organic and hygroscopic; it breathes, expands, and contracts with every change in seasonal humidity. Tile and cured thinset mortar, on the other hand, are completely rigid.
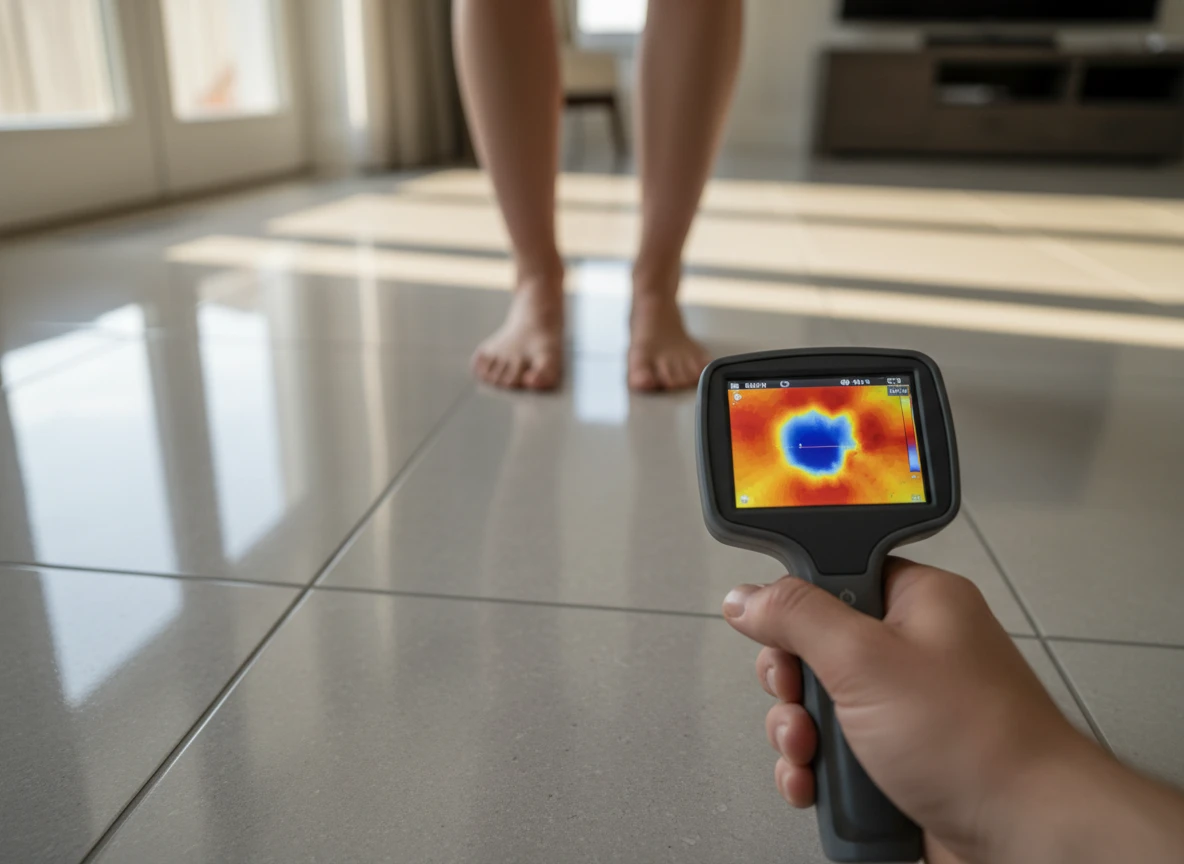
When you run your under floor heating system, you subject the plywood to rapid temperature swings. The wood tries to flex, but the tile above refuses to move. Without an intermediate layer to absorb this shear stress, something has to give. Usually, it's your grout lines that crack first, followed closely by the tiles themselves.
Before you even turn on the heating element, the subfloor must meet strict structural standards. Most manufacturers require a minimum of 3/4-inch exterior-grade plywood with less than 14 percent moisture content. If your subfloor deflects,meaning it bounces even slightly when you walk on it,the mechanical strain will eventually snap the heating wires hidden beneath your floor.
On top of that, raw plywood is incredibly thirsty. If you spread thinset directly over dry wood, the plywood will instantly suck the moisture right out of the mortar before it can properly cure. This leaves you with a weak, powdery bond that easily detaches under normal foot traffic. While direct-to-wood installations might survive the first winter, they rarely survive the third. If you want to avoid uneven heat or catastrophic wire failure, understanding how to isolate these materials is the first step toward building electric floor heating systems that actually last.
Wood expands, tile cracks: the structural mismatch of subfloor installations
The mechanical reality of subfloor movement
A standard 3/4-inch plywood subfloor can expand by as much as 0.125 inches across a 10-foot room when relative humidity rises from 30% to 80%. While that fraction of an inch seems negligible to the naked eye, it represents a massive physical shift for rigid floor coverings. Ceramic and porcelain tiles are dimensionally stable, meaning they don't expand or contract with moisture. When you bond these two incompatible materials together with a rigid Portland-cement-based thinset, the wood's movement must go somewhere.
So, the resulting shear stress concentrates entirely at the thinset bond line. Over a few seasonal cycles, this persistent tension tears the microscopic crystalline structures of the mortar apart. If you lay a floor heating mat directly onto raw wood, you compound this issue. The localized thermal cycling from the underfloor heating system accelerates the rate of moisture loss in the plywood, forcing rapid, localized shrinkage right beneath your tiles.
But moisture is only half the battle; vertical deflection is the other. Before installing any modern heating elements, you must run a rigorous deflection calculation. Most tile associations mandate a maximum deflection of L/360 for ceramic tiles under a standard design load. This means the floor should bend no more than 1/360th of its total span. For natural stone, that limit tightens to L/720. If your joists or subfloor sheets flex past these limits, the vertical movement will snap the cured mortar bed.
We have seen installations fail in under six months simply because the installer skipped this basic structural math. Admittedly, in bone-dry climates with constant climate control, these structural failures might take slightly longer to show up, but the physics remains undefeated. To mitigate this structural mismatch, many installers turn to uncoupling membranes. These plastic mats separate the tile layer from the subfloor, allowing the wood to shift laterally without transferring that movement to the tile above.
Our engineering team at Integro Process Heating Solutions always reminds clients that subfloor prep is non-negotiable. Just as we analyze thermal expansion in heavy industrial systems, domestic installations require the same respect for structural movement. If you are planning a layout, you should also consider how furniture placement impacts these thermal dynamics. For instance, understanding how heavy obstacles affect heat dissipation, as discussed in our guide on electric floor heating systems, can prevent localized hot spots that further stress your subfloor.
Embedding and decoupling: how to install floor heating over wood safely
The mechanics of isolating thermal movement
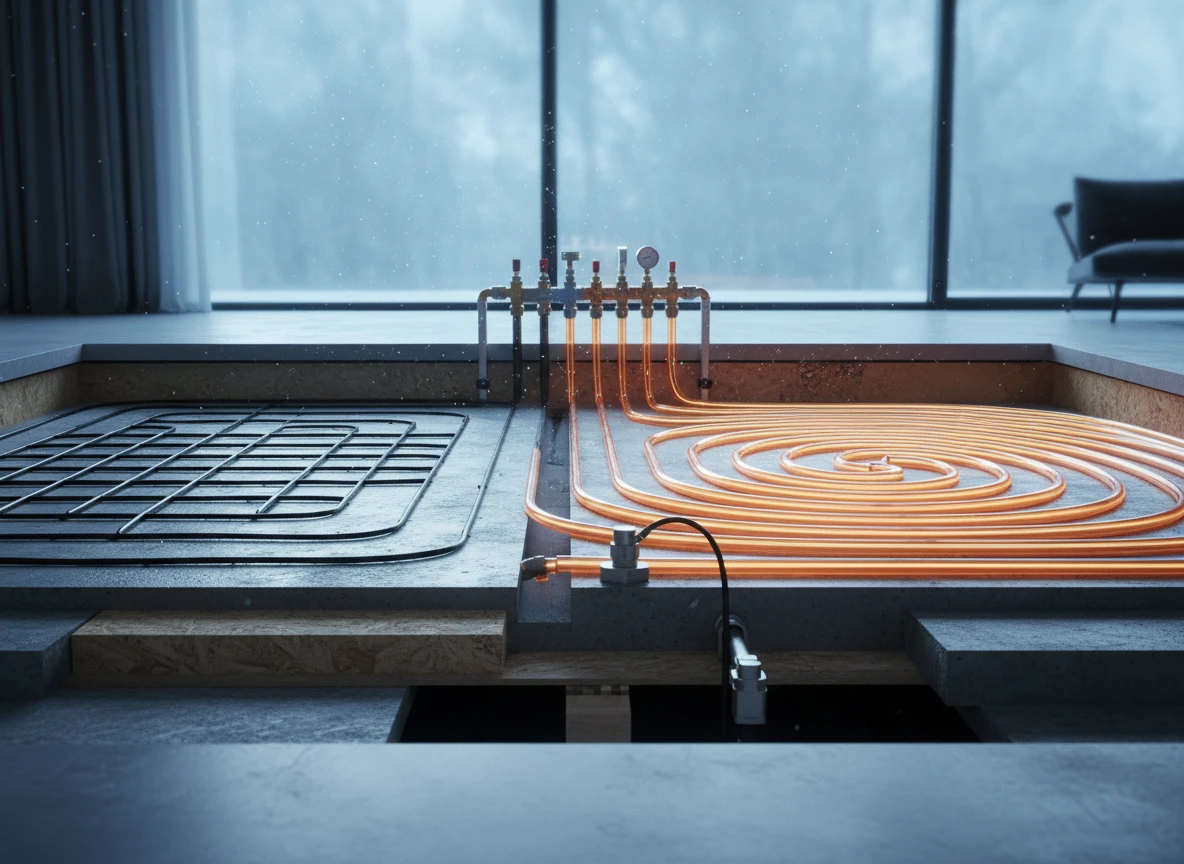
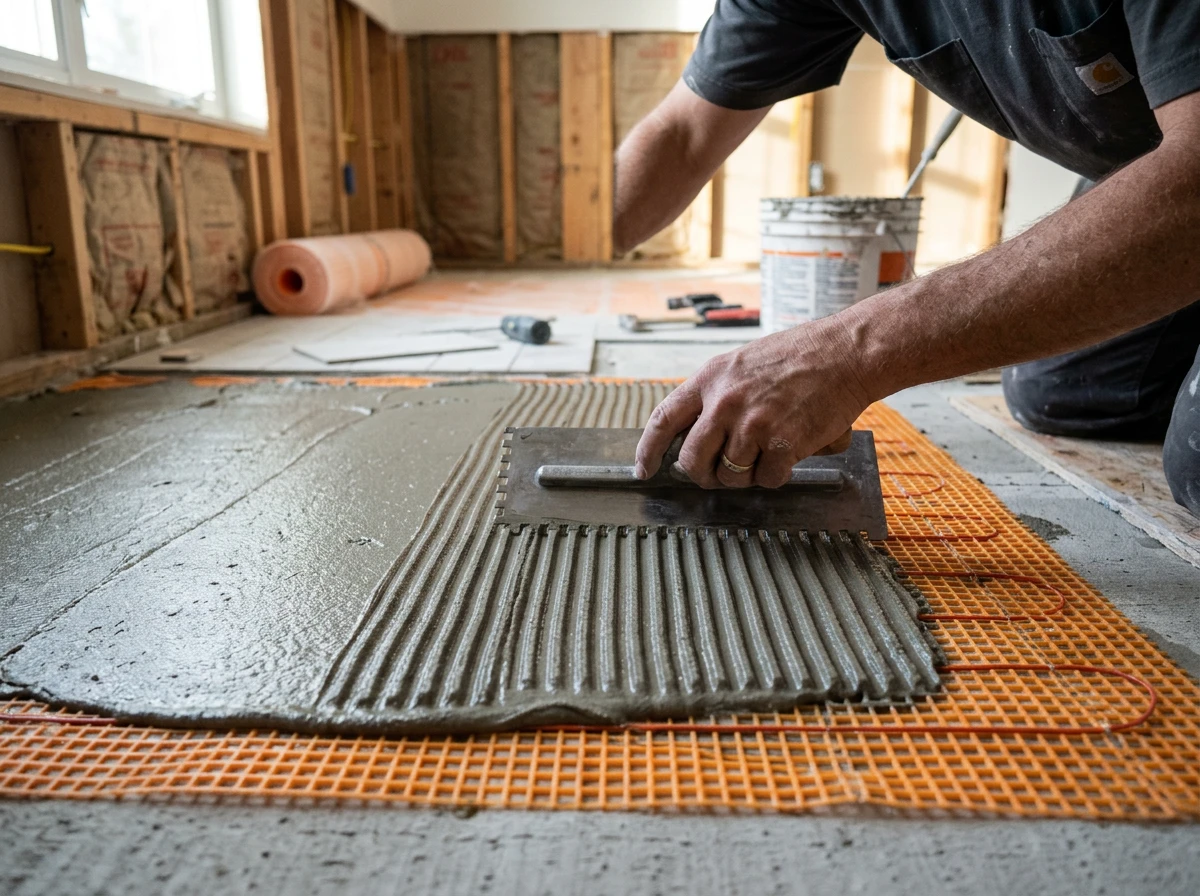
Plywood moves. Tile doesn't. Bridging the physical gap between a shifting timber subfloor and a rigid tiled surface requires a real decoupling strategy. If you secure a heating mat directly to wood, thermal expansion creates intense shear stresses. These stresses won't just flex the wood—they will shear the mortar bed right off it. You need an independent floating assembly. Experienced tile setters rely on mechanical uncoupling membranes to absorb this lateral movement before it ever reaches the tile.
Sourcing components from certified underfloor heating manufacturers ensures your materials can handle these cyclic thermal loads. The goal is straightforward. You must isolate the heating elements from subfloor deflection without choking off heat transfer to the floor. While larger residential layouts often benefit from hydronic radiant floor heating because of lower operating costs, electric systems are still the go-to choice for localized retrofits.
Step-by-step decoupling and embedding protocol
Start by checking subfloor rigidity. The plywood needs to be at least 3/4-inch thick, clean, and structurally stiff. Roll a high-quality primer directly onto the plywood. This stops the dry wood from sucking the hydration water right out of your mortar.
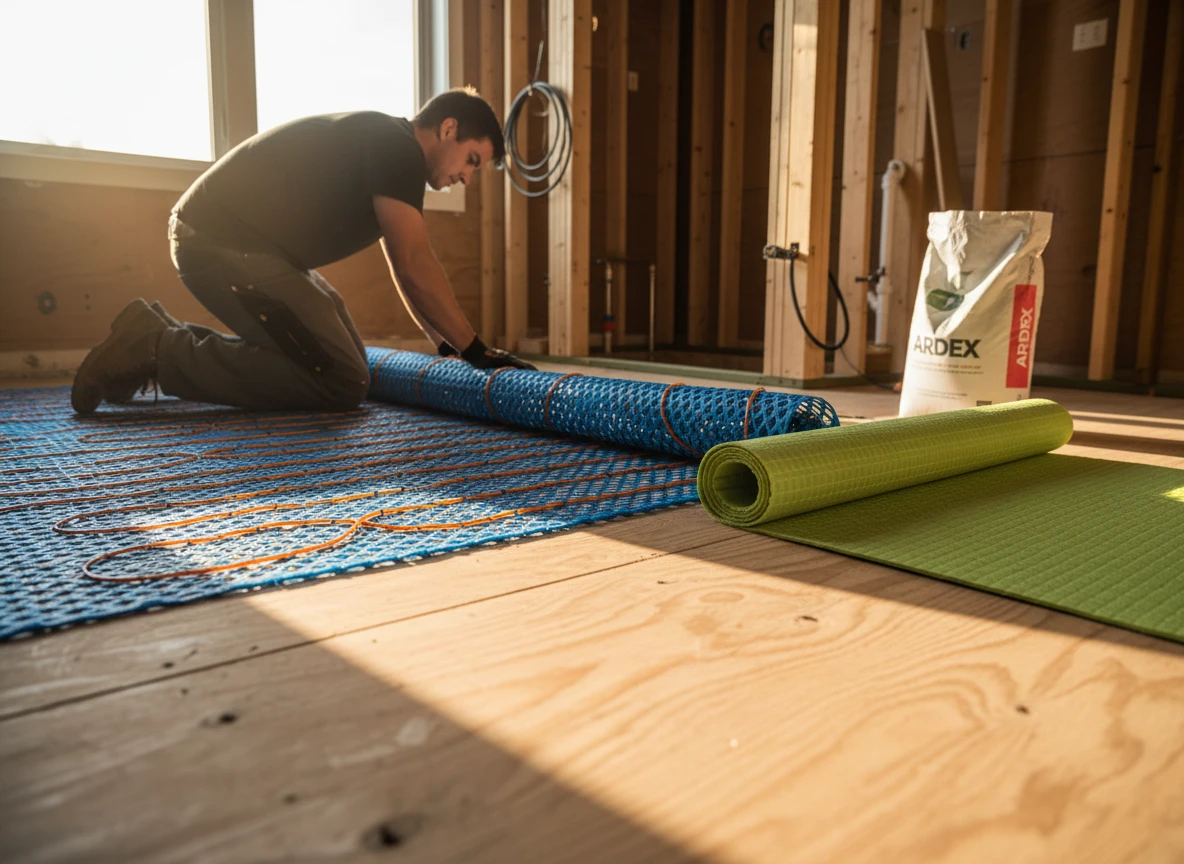
Next, comb a modified thinset mortar over the primed wood with a 1/4-inch square-notched trowel. Embed your uncoupling membrane straight into the wet mortar. This layer acts as the shear break. When seasonal humidity makes the plywood swell, the membrane's molded cavities let the subfloor shift independently underneath. For high-traffic commercial zones, consulting with underfloor heating suppliers helps you pick membranes rated for heavy service loads.
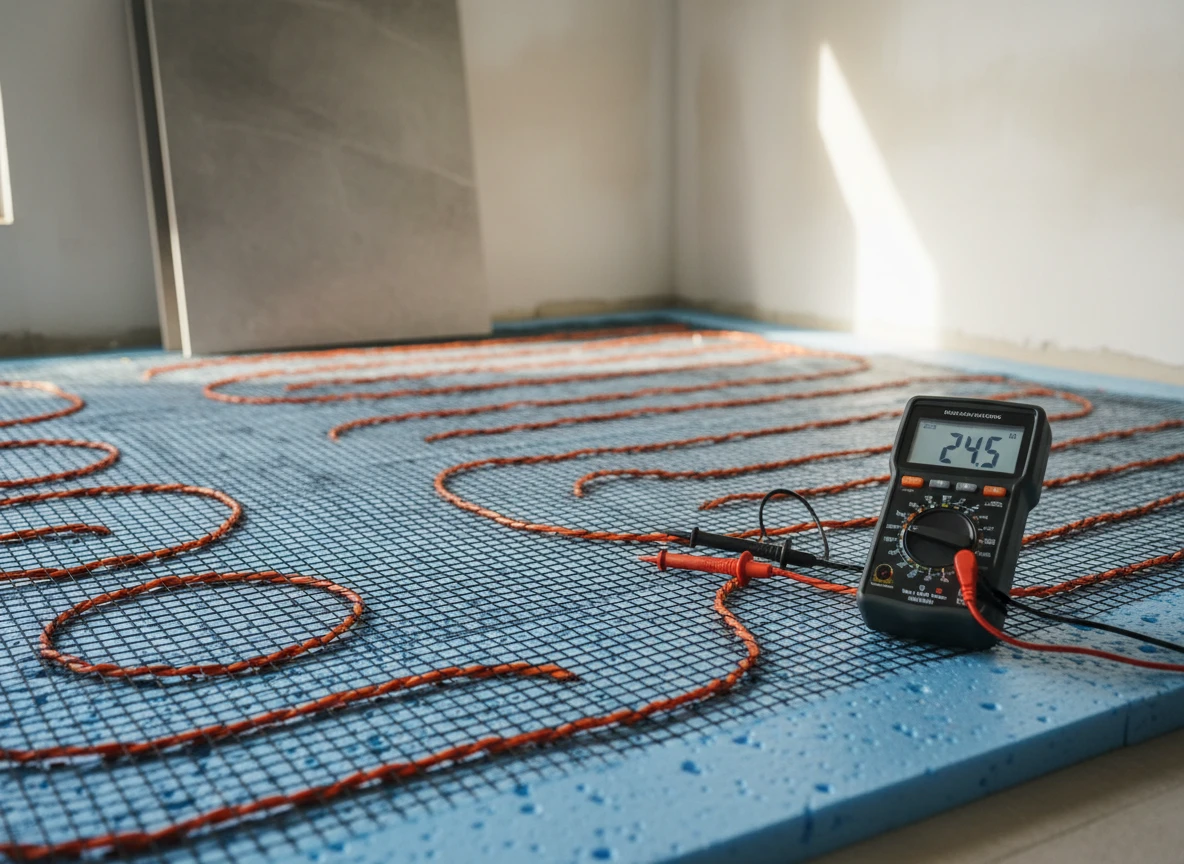
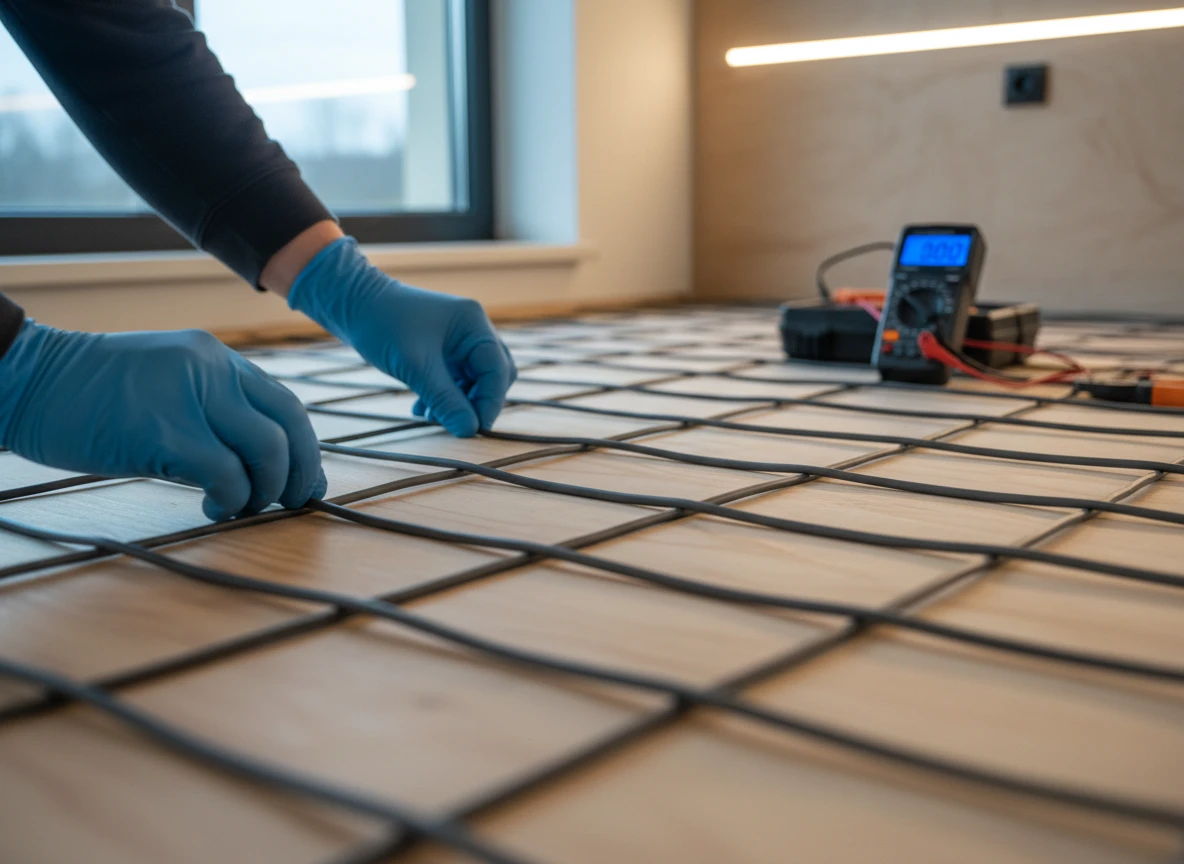
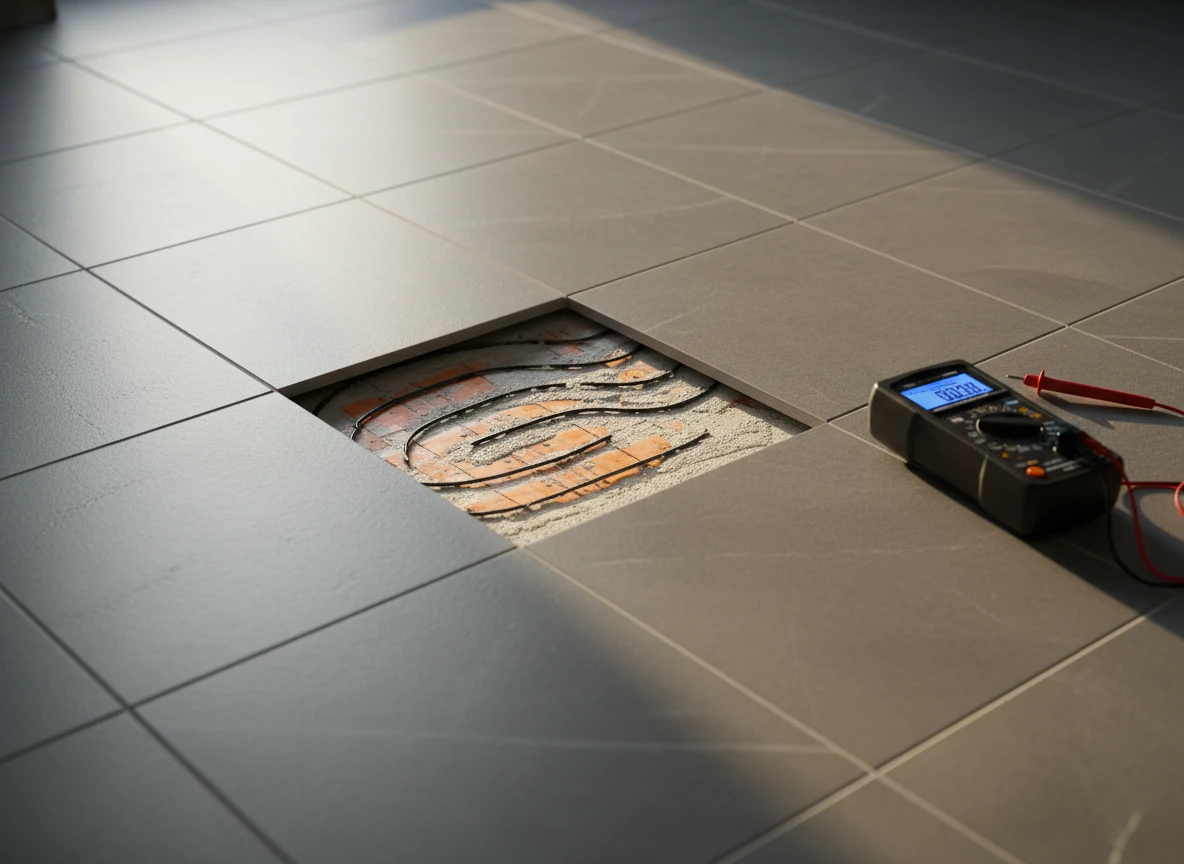
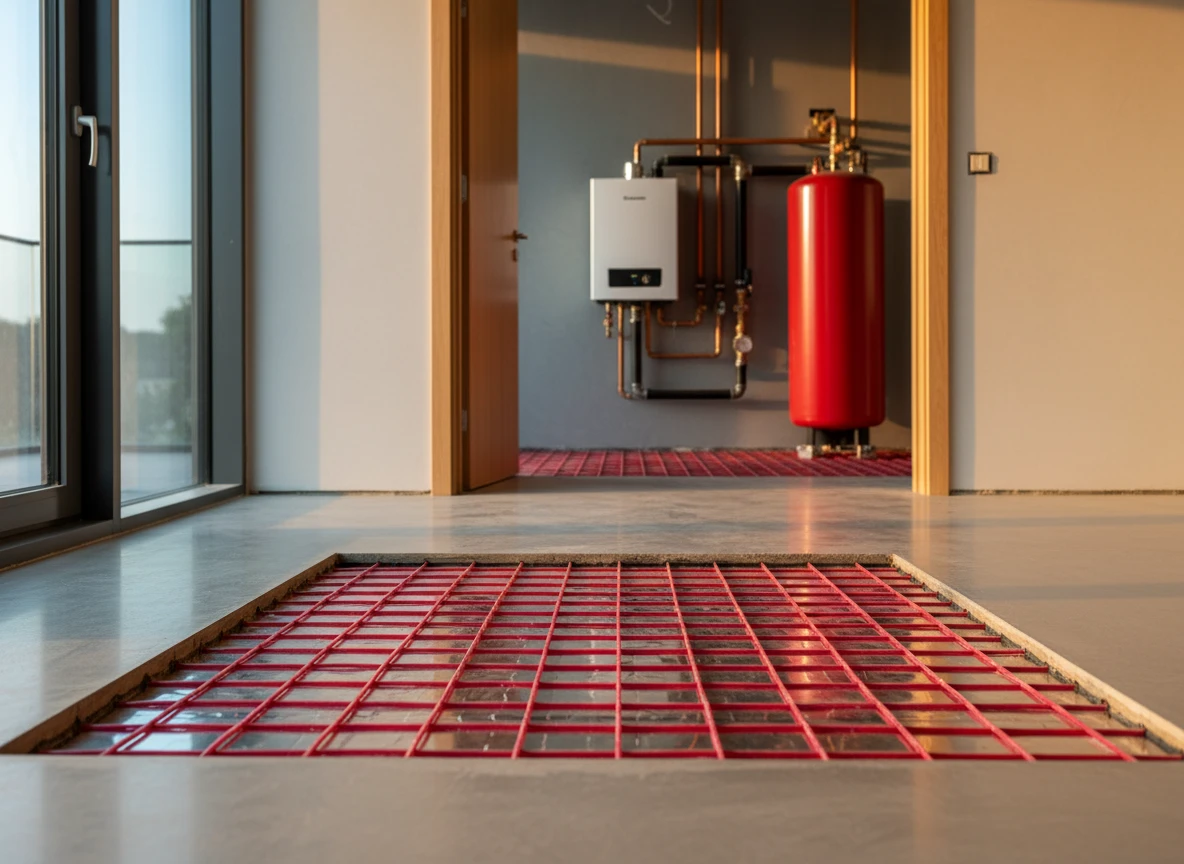
Once the membrane is set, lay out your floor heating systems. Snap the cable or mat into the membrane's pre-spaced channels. This is where many installers make a costly mistake: they skip resistance testing. You have to test the heating wire resistance before, during, and after embedding to make sure nothing got nicked. If you need a highly customized thermal profile, working with electric floor heating systems manufacturers will give you exact, tailored cable spacing guidelines.
Pouring the embedding medium
With the cables secured, you have to embed them completely. Air pockets are the enemy here. They act as thermal insulators, creating localized hot spots that can burn out the heating element. You have two main options: a polymer-modified thinset or a self-leveling underlayment (SLU).
For standard bathroom projects, a high-flow self-leveling compound is usually the safest bet for 100% encapsulation. Mix the SLU exactly to the manufacturer's spec. Too much water ruins the cured compressive strength. Pour the compound smoothly over the mat until you have at least 1/4 inch of cover over the heating wires.
We are focusing on floors here, but the physics of heat transfer and cable protection don't change. They are identical to what you see in heavy industry. For instance, deploying self regulating heating cables or fitting rugged flexible heating jackets requires the same focus on continuous thermal contact. At Integro Process Heating Solutions, we use these exact thermal dynamics to engineer heavy-duty heating chamber designs and export specialized systems through our network of underfloor heating exporters. Industrial exposures are far more extreme, but the core rules of heat transfer remain the same.
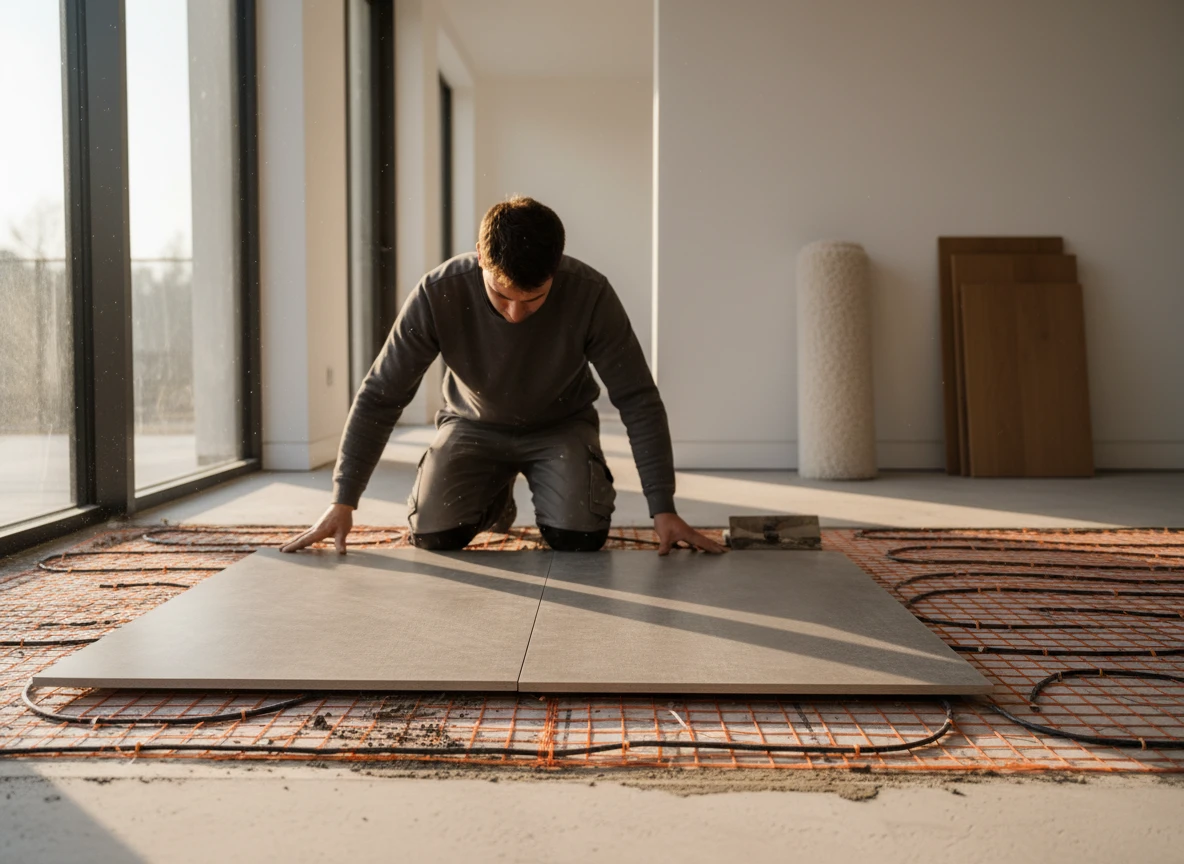
Let the embedding compound cure completely—usually 24 to 72 hours—before installing your tile with a premium modified thinset. This layered assembly prevents cracked grout, protects the delicate heating wires, and keeps the system running efficiently.
The gear you need to protect your heating system and your subfloor
The essential toolkit for wood-subfloor thermal installations
Imagine standing in a half-finished bathroom with a coiled heating element in one hand and a bucket of standard, unmodified thinset in the other. If you mix that dry mortar and spread it over your plywood, the installation is already on a path to failure. Wood subfloors constantly shift, and cheap, rigid mortar simply doesn't handle that physical movement well over time.
At Integro Process Heating Solutions, we understand that thermal success depends on selecting compatible materials. While our industrial division designs specialized equipment like an ibc heating jacket or insulated heating jackets to control precise temperatures, residential projects require a distinct set of tools. Our background in domestic and commercial heating projects shows that skipping specialized installation gear is the quickest way to ruin a floor.
To secure a floor heating mat safely, you must use a high-grade, polymer-modified thinset rated for wood substrates (specifically meeting ANSI A118.11 standards). This specialized adhesive maintains flexibility when the plywood expands. You'll also need an acrylic primer to seal the raw wood. Without this primer, dry plywood quickly sucks the moisture directly out of your wet thinset, weakening the chemical bond.
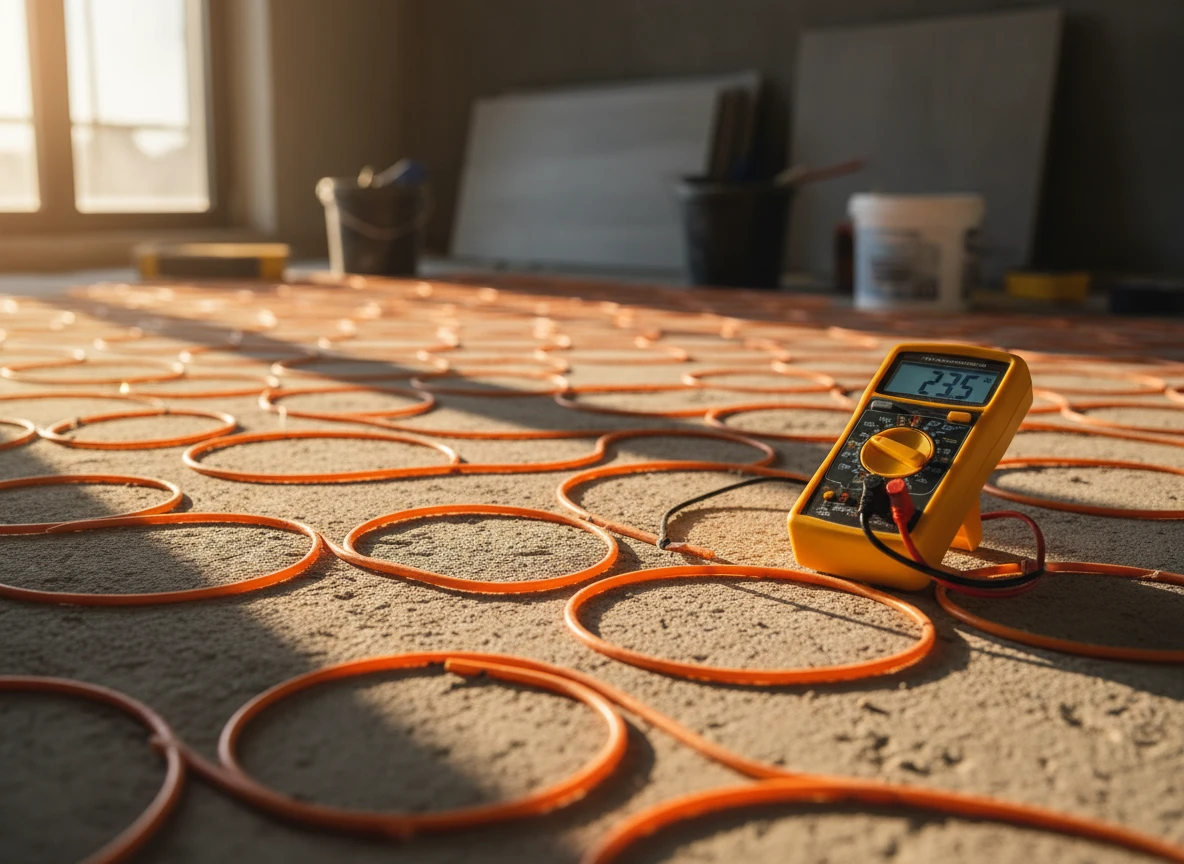
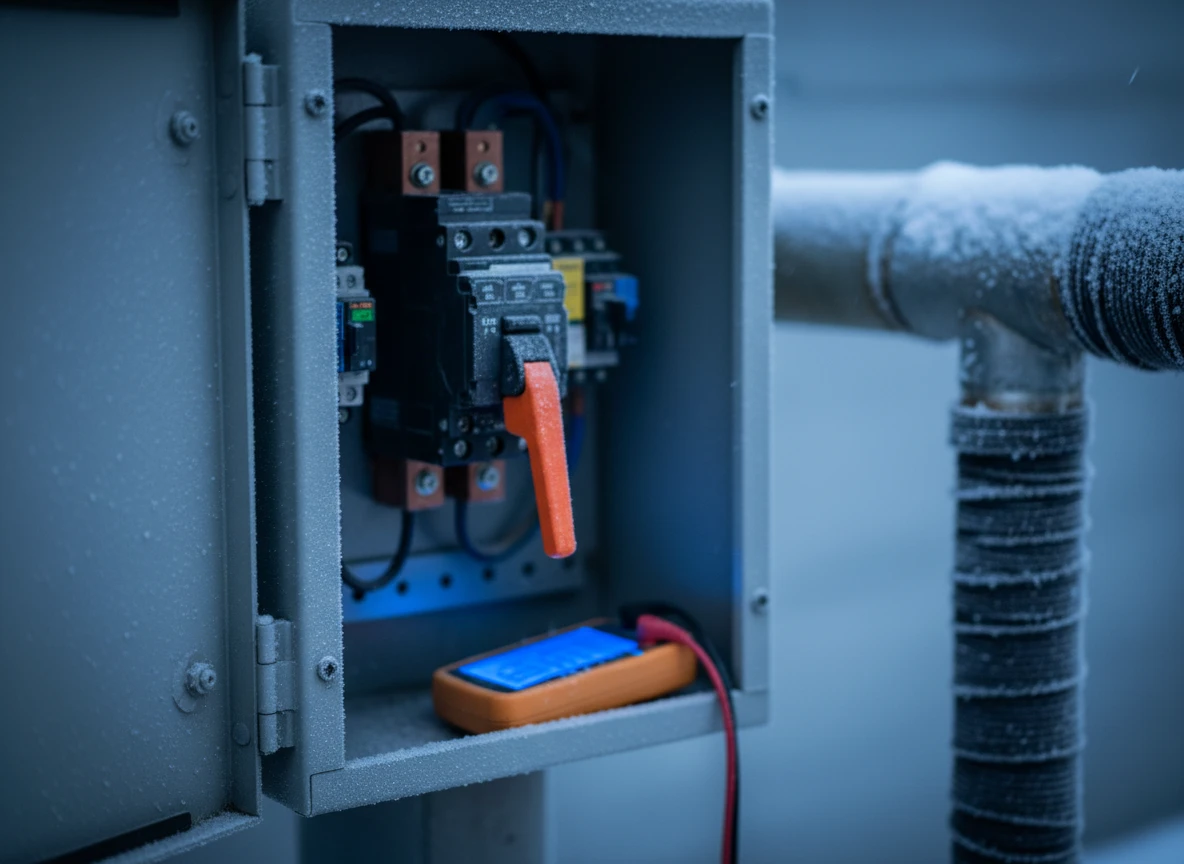
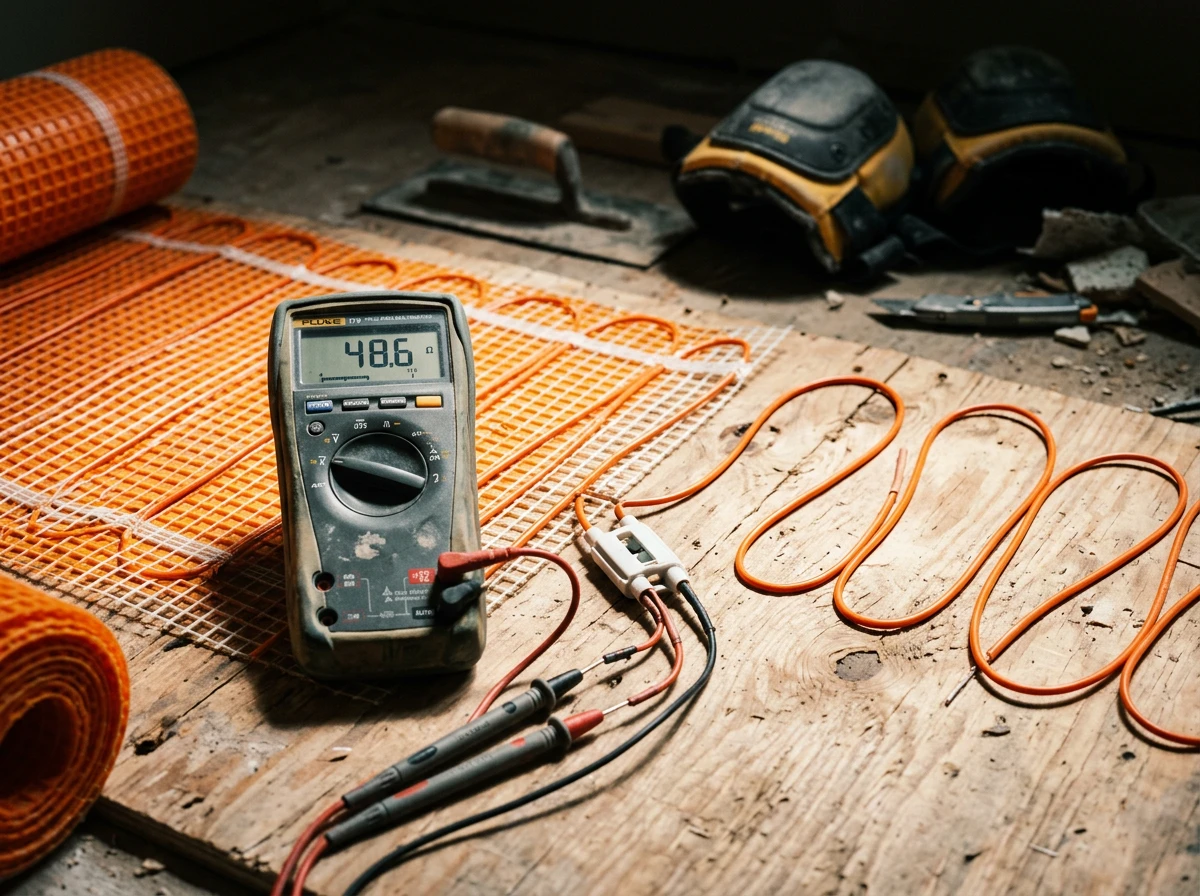
Testing requires a digital multimeter to measure the resistance of your floor heating solutions before, during, and after embedding. A deviation of more than 10% from the factory rating indicates a short or a break. Because a single nick from a sharp metal tool can ruin the wire, a plastic notched trowel is a smart investment.
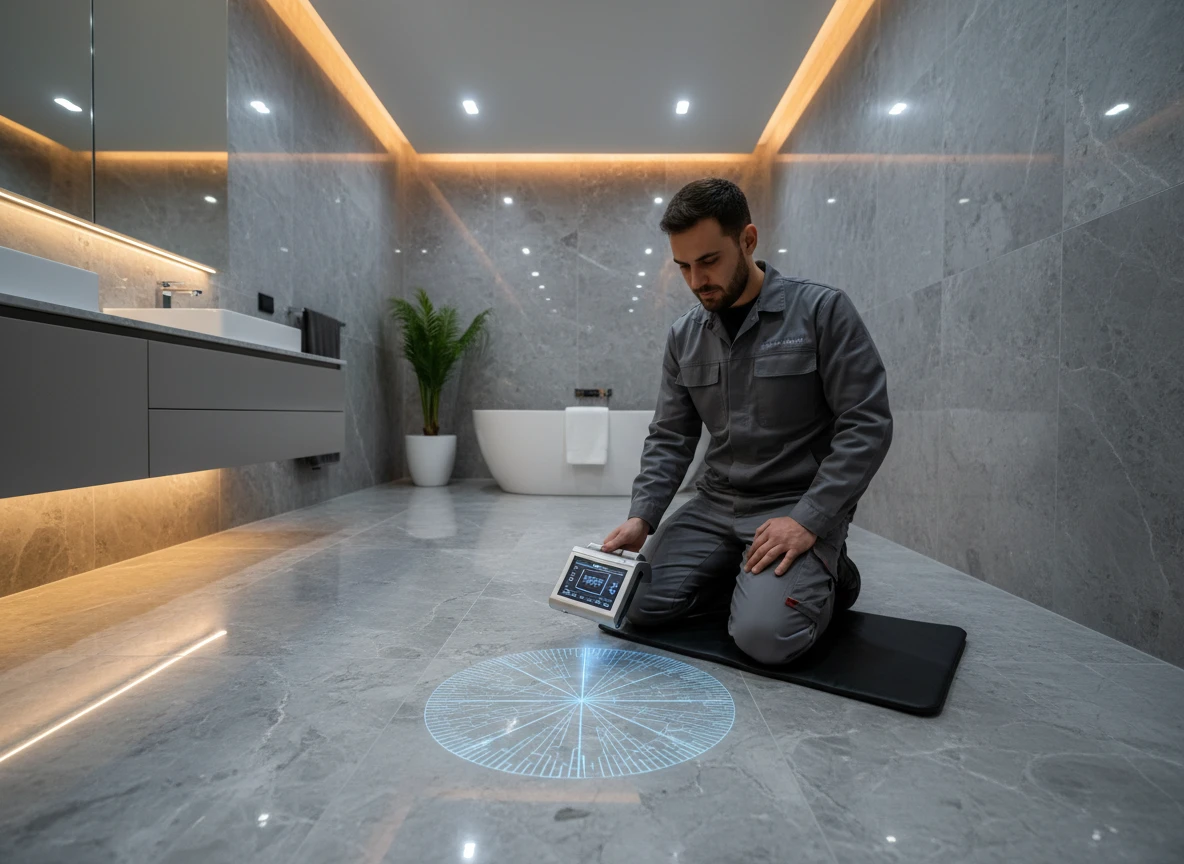
Finally, use a loudmouth monitor. This tiny device connects to the heating wires and sounds an alarm if the cable is cut during tile placement. While manufacturing plants rely on a complex drum heating chamber for temperature management, these basic tools are your only defense against tearing up a newly tiled floor.
Where DIYers go wrong: the shortcut mistakes that kill underfloor heat
Having the right gear means nothing if you install it like an amateur. Cut corners here, and you will ruin the system. Period. I've seen homeowners throw thousands of dollars down the drain because they ignored basic physics. At Integro Process Heating Solutions, we build heavy-duty industrial systems. But guess what? Thermodynamics doesn't change when you move from a factory floor to a bathroom tile.
Skipping moisture tests is a recipe for rot
First mistake: skipping the subfloor moisture test. Wood subfloors must be below 14% moisture before you lay a single thing down. Trap moisture under that mat, and you'll warp the plywood and destroy your thinset bond. It's that simple. We use insulated heating jackets to control heat loss and moisture in industrial plants, and your bathroom floor needs that same dry, stable foundation to survive.
Walking on exposed wires breaks the system
Then there's the sheer stupidity of walking on exposed wires. People lay the mat down, then stomp all over it in heavy work boots while spreading thinset. That crushes the internal elements. Protect the cable. If you absolutely must step on the mat, lay down a scrap piece of plywood to distribute your weight. Otherwise, you're just grinding the delicate shielding into ruin.
Failing to test resistance during installation
But the biggest sin is leaving your multimeter in the toolbox. You have to test the wire resistance three separate times: before you lay it, while you're applying thinset, and right after the tile is set. Skip this, and you won't know you broke a wire until the grout is dry. Finding and fixing a break under cured thinset is a costly, soul-crushing nightmare.
Lastly, stop letting your subfloor steal your heat. Without proper insulation, your system will dump half its energy into the cold crawl space below. Heat travels the path of least resistance. In our industrial work, we engineer precise systems and heavy-duty drum heating jackets specifically to prevent this kind of waste. Your home floor is no different. Insulate it, or prepare to pay to heat the dirt under your house.
Getting the warm floors you paid for without the structural regrets
The blueprint for a floor that lasts
Skipping steps during installation doesn't just threaten your warranty—it risks the whole system. You want a floor that runs quietly and reliably for decades. That means treating subfloor prep like a real engineering task, not a rushed weekend project.
At Integro Process Heating Solutions, we design everything from large-scale home heating setups to heavy-duty industrial flexible heating jackets for factories. The core challenge is always the same: managing heat transfer and physical stress. You can't ignore expansion, contraction, and heat loss in a factory, and you shouldn't ignore them in your bathroom or kitchen either.
Wood moves. Plywood expands and contracts with humidity and temperature shifts, which is bad news for rigid tile. If you don't isolate your tile from that movement, your grout will crack. It's that simple. Skipping the primer or leaving out an uncoupling membrane is a recipe for disaster. Adding a proper thermal barrier and a decoupling layer changes the whole dynamic. It stops heat from escaping down into your floor joists and forces it up into your room. Wood has some natural insulating properties, but it's no substitute for a dedicated insulation board.
Yes, these extra steps are a pain when you just want the job done. But they're a lot less painful than tearing up broken tile to splice a snapped wire in three years.
Before you mix any thinset, check your subfloor's deflection. Stand on it. If the plywood flexes even a little, stop and reinforce it. Buying a few extra sheets of plywood now is incredibly cheap compared to rebuilding a ruined floor later. Do it right the first time.
If you're tired of guessing which heating layers match your subfloor, Integro Process Heating Solutions provides engineered warm floors equipment that handles the heavy lifting.
FAQ
Can I just tape a floor heating mat straight onto raw plywood?
Honestly, that's a fast track to cracked tiles. Plywood moves with humidity changes, and heating elements need a stable embedding layer like thinset or an uncoupling membrane to survive that shifting.
How dry does my wood subfloor need to be before installation?
You'll want to check that the wood moisture content sits at or below 14 percent. If it's wetter than that, trapped moisture ruins the adhesive bond and can rot your subfloor over time.
Why do I need an uncoupling membrane over plywood?
It acts as a mechanical buffer between the expanding wood and your rigid tile layer. Without it, every seasonal shift stresses the heating wire and cracks your grout lines.
Does plywood absorb downward heat from an electric mat?
Actually, plywood acts as a decent thermal insulator compared to a concrete slab, but you'll still lose efficiency if you skip thermal backer boards over unheated crawl spaces.
What's the most common mistake DIYers make with these systems?
Most people forget to test the wire resistance before and after spreading thinset. If you accidentally nick a wire, you won't know until the floor's already down.