- By Admin
- Integro
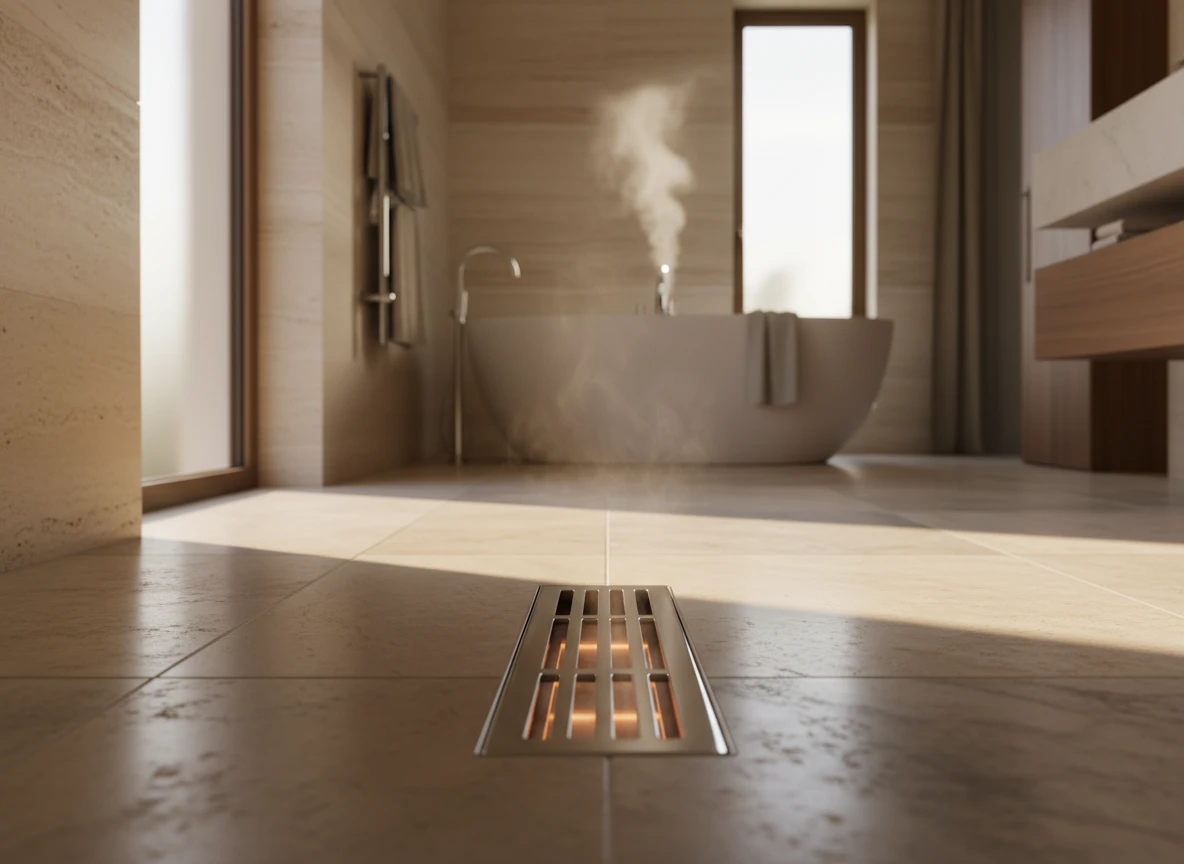
- The cold bathroom floor dilemma
- Why burying your heating cables too deep backfires
- Finding the sweet spot for tile thickness
- Designing a level floor when heating only half the room
- The physical layers that make or break your heating system
- Crucial installation missteps that leave you in the cold
- Getting the warm bathroom you actually paid for
- Frequently Asked Questions
The cold bathroom floor dilemma

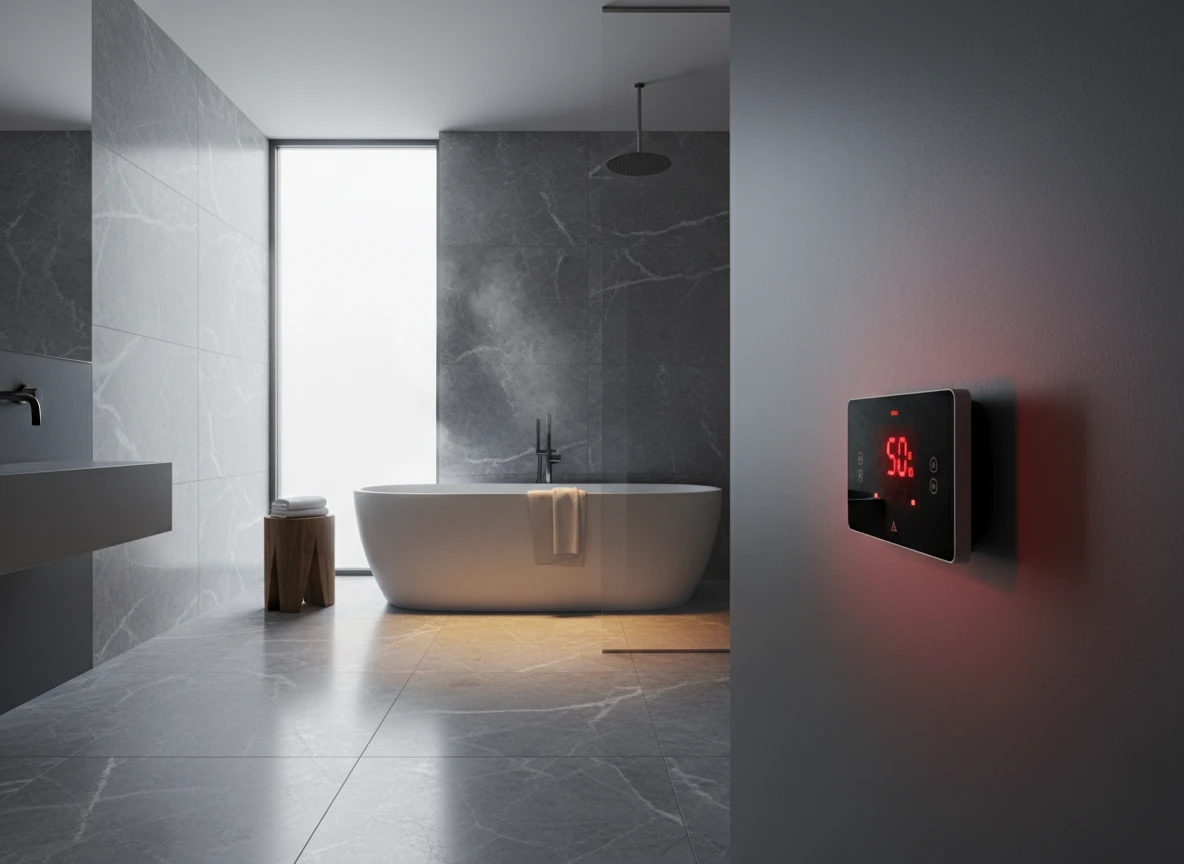
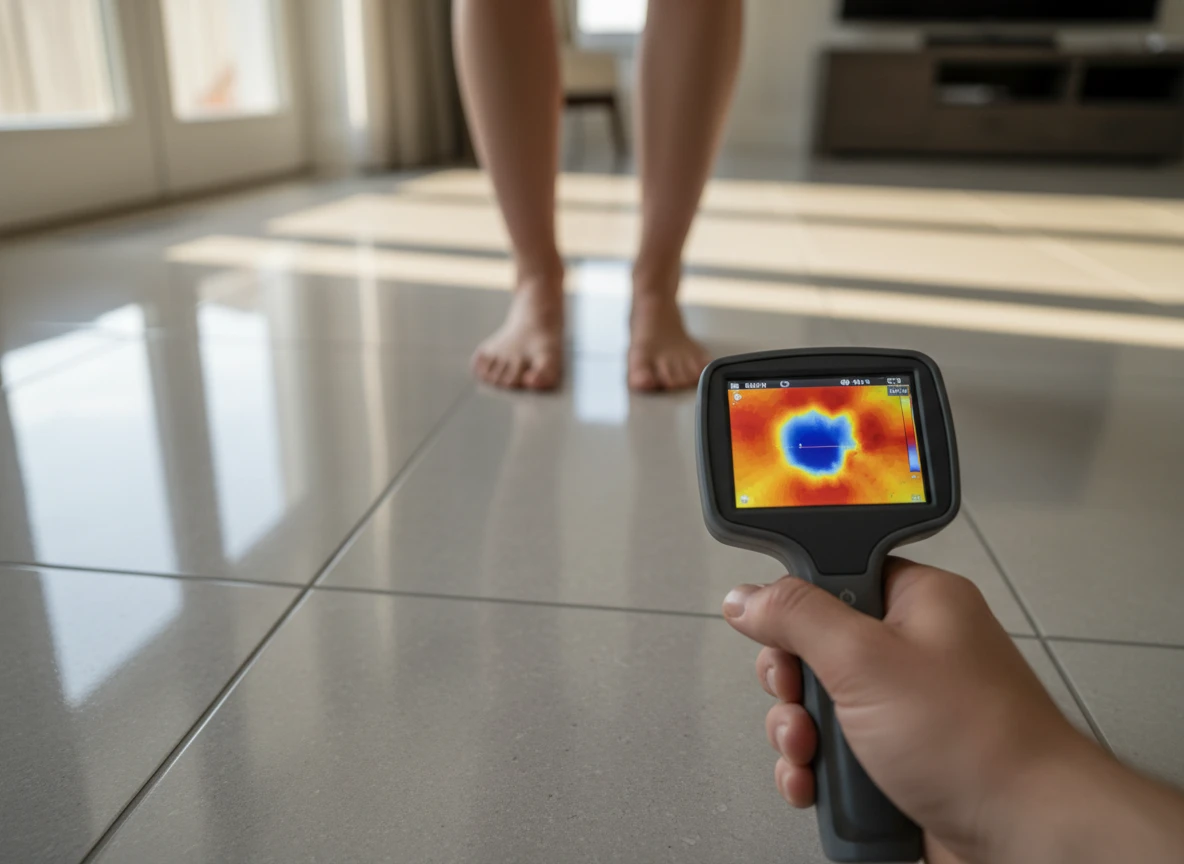
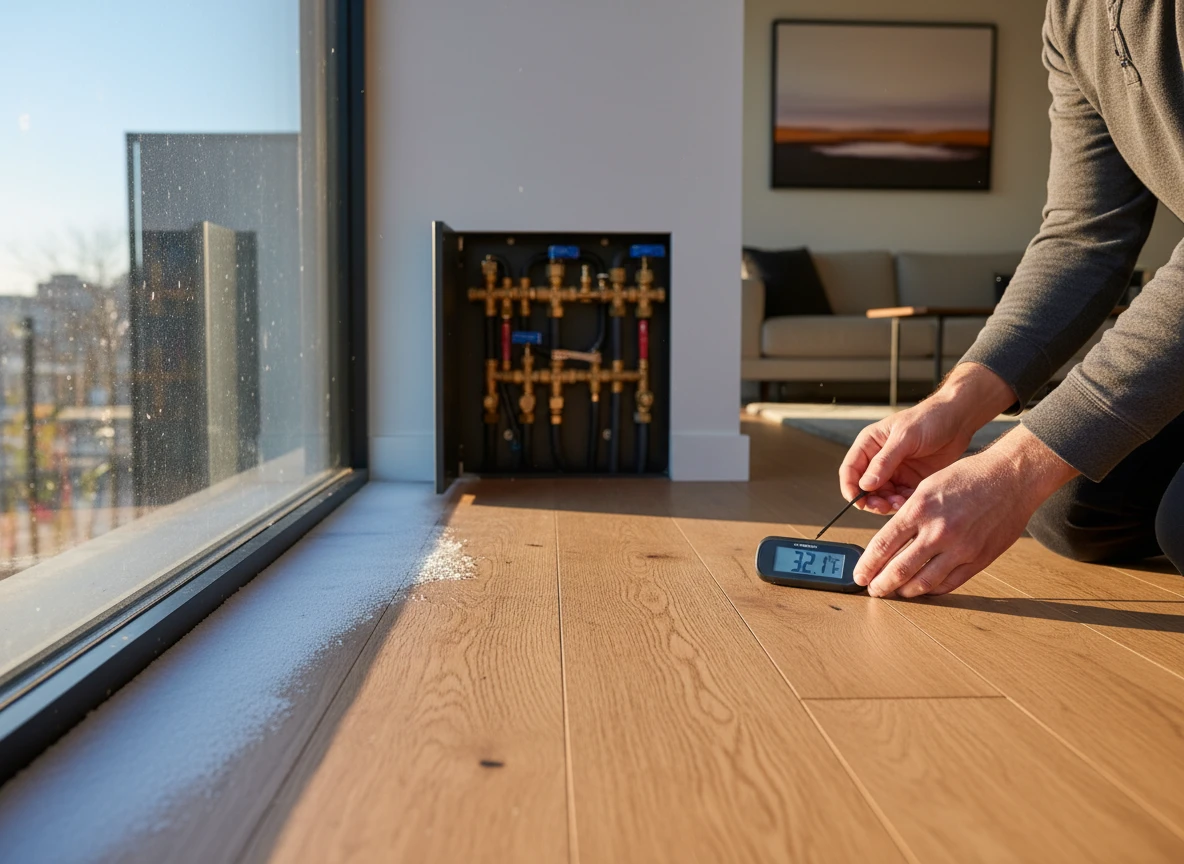
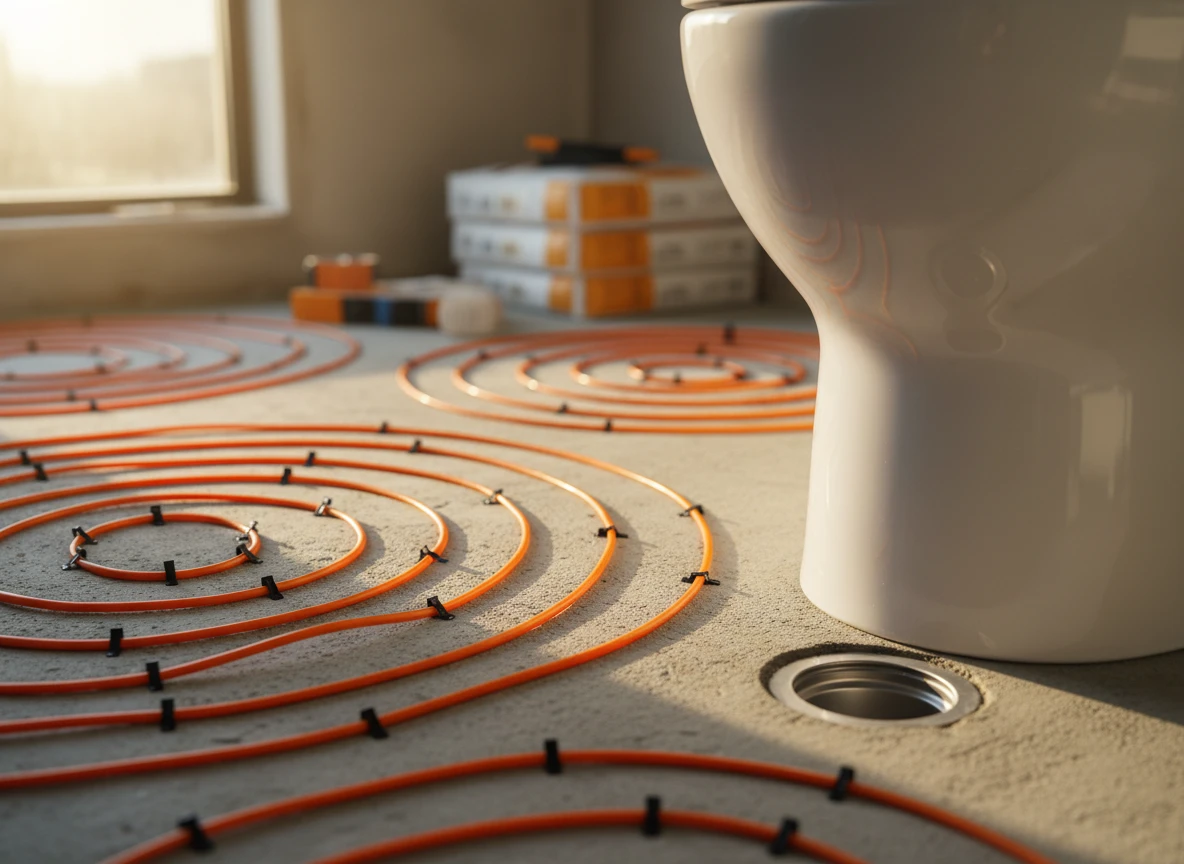
Imagine stepping onto your newly renovated master bathroom floor at 6:00 AM, expecting a soothing wave of radiant warmth. Instead, your bare feet hit ice-cold slate. You check the thermostat,the system has been running for an hour, but the surface feels completely dead. This frustrating scenario isn't rare. Homeowners frequently pair high-end, ultra-thick natural stone with an underfloor heating system only to discover that their morning routine is long over before the heat actually reaches the surface.
The core conflict here lies between aesthetic choices and basic thermal dynamics. While thick luxury tiles look stunning, they introduce a massive thermal lag. The heat's got to work its way through dense material, which delays the warming process. So, instead of a responsive setup, you get a sluggish system that wastes energy heating the subfloor while you shiver.
Many assume that thick tiles completely block heat. But that's a misconception. The heat will eventually migrate upward. The real problem is time and efficiency. If your bathroom floor heating takes two hours to reach a comfortable temperature, you're forced to run the system constantly or program it to start in the middle of the night. This thermal inertia defeats the purpose of zone-controlled heating. Results will vary based on your insulation, but the physical laws of thermal mass always apply. We often see this issue when installers use heavy 3/4-inch tiles without calculating the cumulative thermal resistance of the entire floor assembly.
Why burying your heating cables too deep backfires
The total thermal resistance (R-value) of all materials layered above your heating cables must not exceed 1.0 (0.15 m²K/W). When you cross this limit, you create an unintended thermal barrier that traps heat beneath the floor surface.
Instead of radiating heat into the room, the energy builds up within the subfloor assembly. This phenomenon, known as thermal choking, causes the system to run continuously to reach the set temperature. The immediate result is a staggering increase in utility bills, but the long-term cost is much worse. In some cases, a slightly higher R-value might be tolerated if the subfloor insulation is exceptionally efficient, but results vary widely.
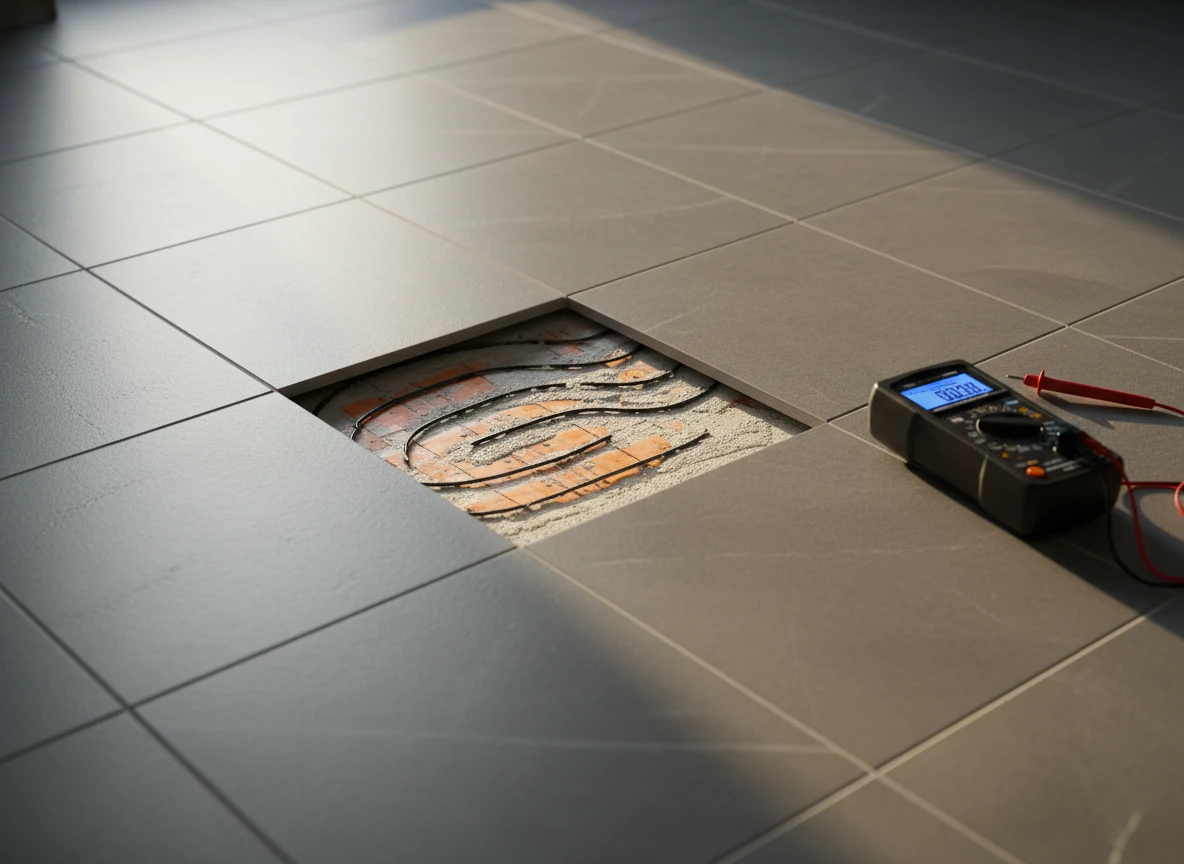
Trapped heat raises the internal temperature of the cables beyond their engineered threshold. Over time, this chronic overheating degrades the cable insulation, eventually tripping the GFCI or burning out the element entirely. If you've installed a floor heating mat beneath thick tiles, this thermal buildup can also cause the thin-set mortar to dry out and lose its bond strength, leading to loose tiles.
A thick floor sandwich also introduces a severe thermal lag. A standard 10mm porcelain tile takes about 30 to 40 minutes to feel warm. If you bury the cables under 20mm of heavy natural stone and a thick decoupling membrane, that warm-up time can easily stretch to over two hours. Your morning routine ends before the bathroom floor even begins to take the chill off.
At Integro Process Heating Solutions, we analyze these thermal boundaries carefully. When designing a high-performance underfloor heating system, every layer,from the insulation board to the final tile,must be calculated. Ensuring your electric floor heating systems stay below the 1.0 R-value limit is the only way to balance rapid response times with system longevity.
Finding the sweet spot for tile thickness
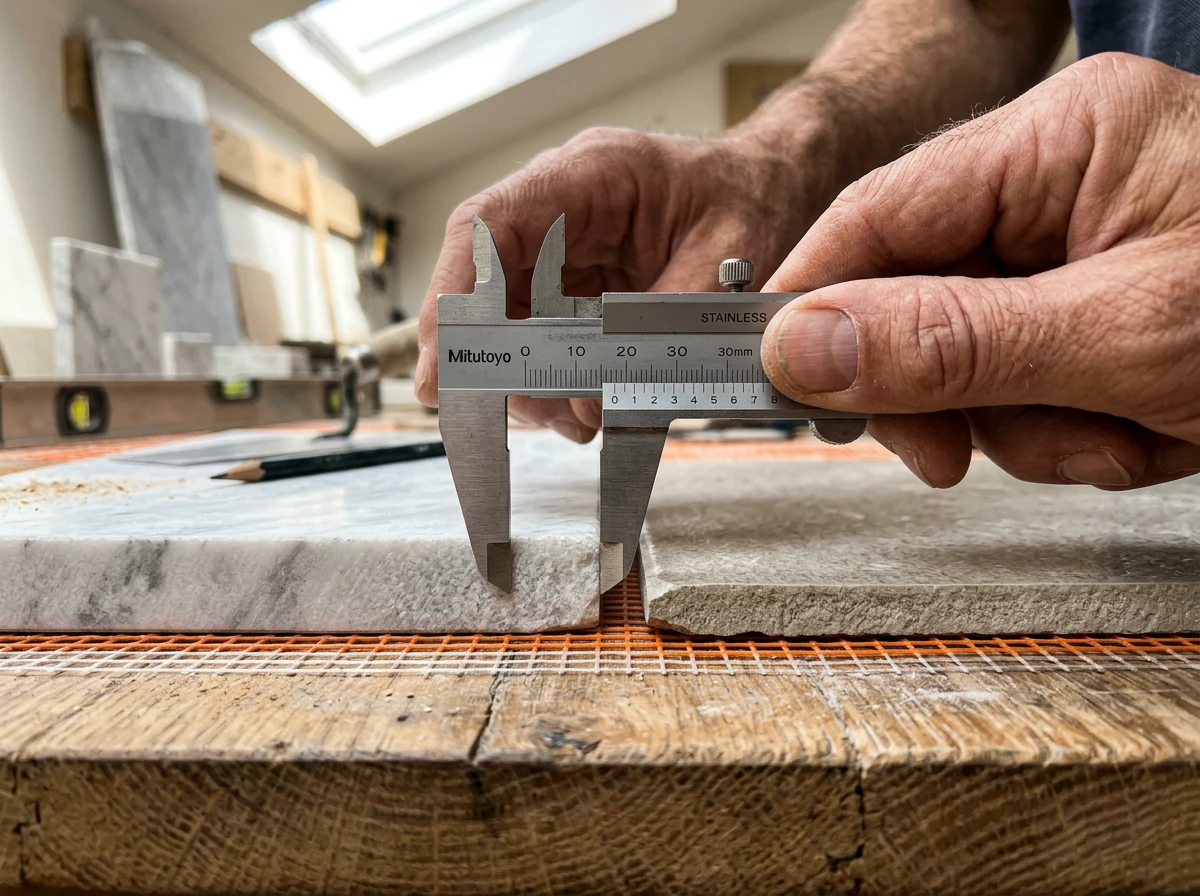
To avoid the thermal lag issues we just discussed, we must look closely at the physical envelope of your flooring material. When designing electric floor heating systems for a bathroom, thickness isn't just an aesthetic detail,it’s a thermal barrier.
Setting the boundaries: porcelain vs. natural stone
Standard porcelain and ceramic tiles usually fall into the 8mm to 12mm (roughly 3/8" to 1/2") range. This is the absolute sweet spot for electric floor heating solutions because it balances structural durability with rapid thermal response. A standard 10mm porcelain tile allows the heat to migrate to the surface in about 30 to 45 minutes, assuming you have proper insulation.
But what happens when you step up to luxury natural stones like slate or marble? These materials often run much thicker, ranging from 15mm up to a heavy 20mm (3/4 inch). At 20mm, you are pushing the absolute upper limit of what residential systems can handle efficiently.
The thermal mass trade-off
It is a common misconception that thick natural stone blocks heat entirely. It doesn't. Stone is highly conductive, but its sheer density creates a massive thermal sink. This means it requires far more energy upfront to prime the stone before you feel any warmth on your feet.
A 20mm marble tile might take up to two hours to reach its target temperature of 29°C (84°F). If your system is on a tight schedule, the heating cycle might end before the floor gets warm. On the flip side, once that heavy stone finally heats up, it retains thermal energy much longer than thin porcelain. It acts like a storage heater, radiating warmth long after the thermostat cuts the power.
Yet, this thermal mass advantage rarely offsets the sluggish start-up times. At Integro Process Heating Solutions, we often see projects struggle with high energy bills because their systems must run continuously to overcome this heavy thermal lag. If you are debating whether to go with a thick stone or a thinner alternative, understanding the physics of hydronic radiant floor heating versus electric options can help clarify how mass impacts energy consumption.
Accounting for the bonding layer
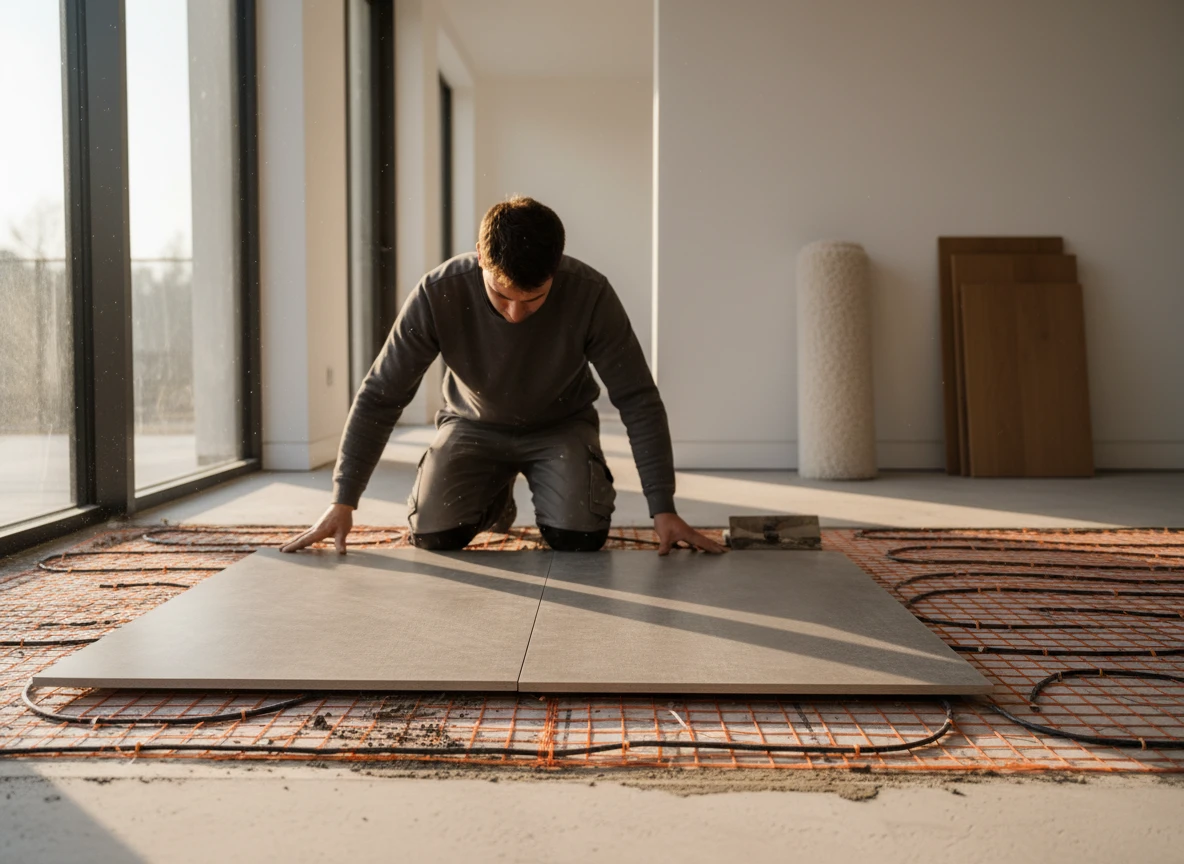
You cannot evaluate tile thickness in isolation. You must also factor in the latex-modified thin-set mortar used to embed the heating element. This mortar layer should ideally be no thicker than 3/8" after the tile is fully embedded.
If your installer uses the "dot and dab" method to level out a thick, uneven natural stone, they will introduce insulating air pockets. These pockets choke heat transfer and create annoying cold spots. So, keep the tile under 3/4" and ensure a flat bed of modified mortar.
Designing a level floor when heating only half the room
Balancing the height gap in partial layouts
Why heat areas you'll never step on? It makes sense to skip laying cables under vanities, toilets, or freestanding tubs. But this choice creates a physical headache: a split-level floor. The heated zone has cables and membranes, so it sits higher than the bare subfloor. If you tile directly over this mess, you'll get a nasty trip hazard right in the middle of the room.
To fix this, we use the same basic leveling principles we apply at Integro Process Heating Solutions for our industrial thermal layouts. Don't try to "feather" or slope the thin-set mortar. It will crack. Standard thin-set isn't made for thick builds and shrinks as it cures, which leaves weak, hollow spots under your tiles. You have to level the whole room.
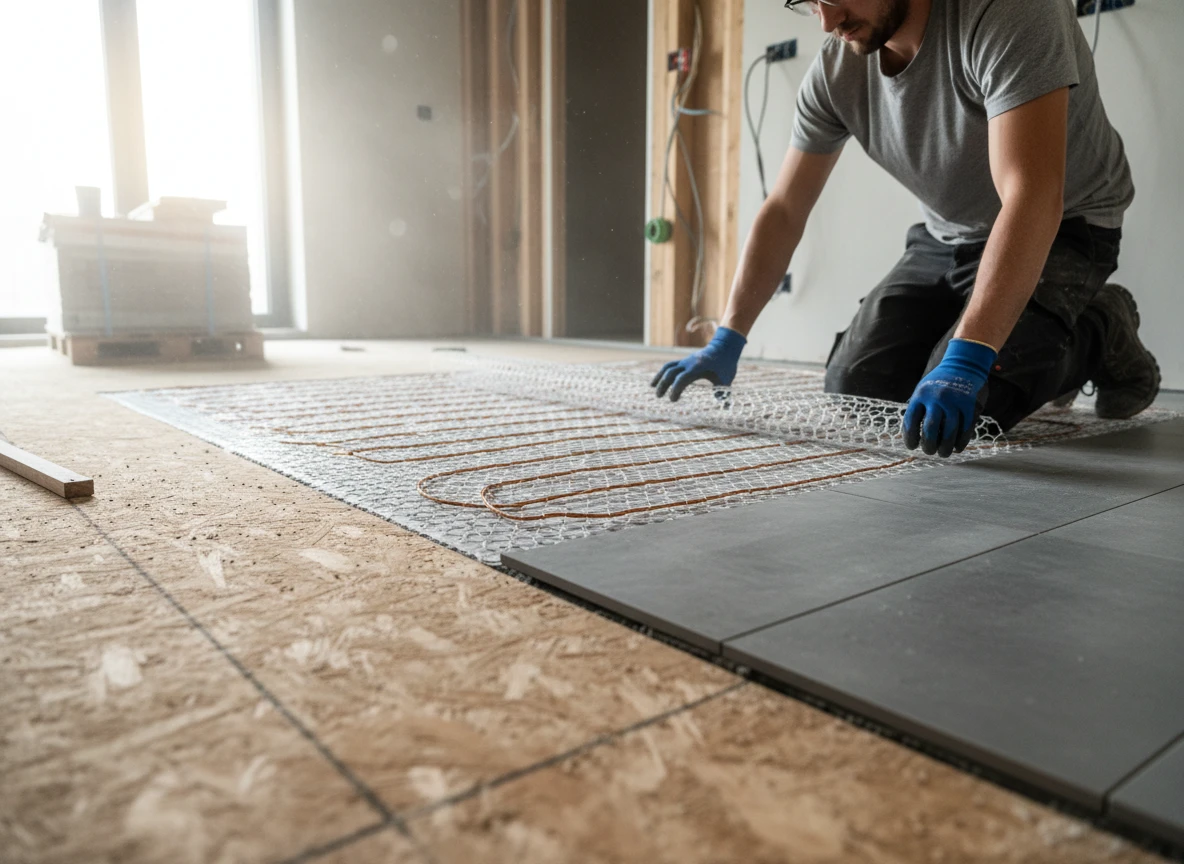
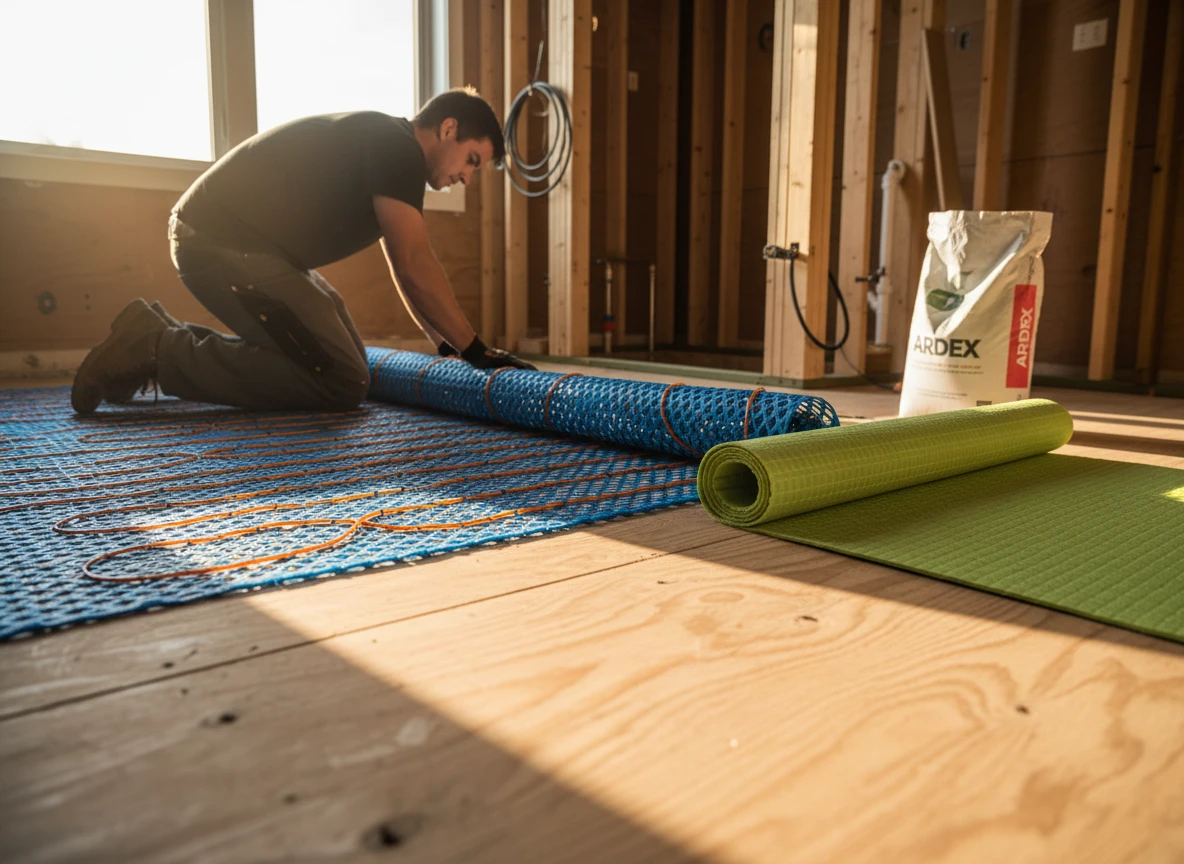
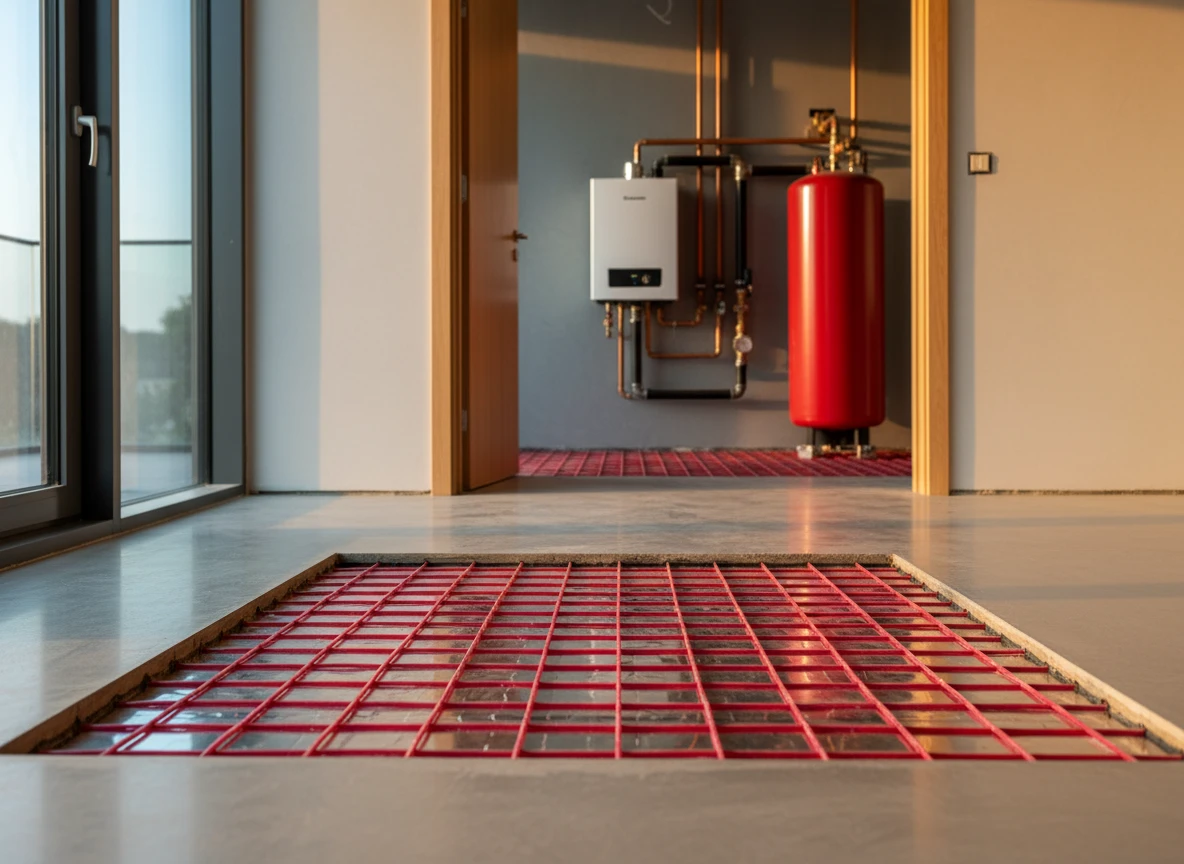
The cleanest fix is a polymer-modified self-leveling compound (SLC). First, secure your heating mat or cables in their zone. It's smart to talk to trusted underfloor heating suppliers or underfloor heating manufacturers to find low-profile cables. They minimize the initial lift. Once the cables are down, prime the entire subfloor—both the heated and unheated parts. Don't skip the primer. If you do, the dry subfloor will suck moisture right out of your SLC, ruining the bond.
Next, pour the SLC across the whole floor. You want to bury the cables and fill the unheated void until the entire room is one flat surface. Experienced underfloor heating exporters push for this step because it protects your delicate cables from sharp trowel nicks during tiling.
When buying materials, sticking with established underfloor heating system suppliers means you'll get compatible primers and levelers. Many underfloor heating system manufacturers and underfloor heating system exporters sell complete kits to make this easier. Sure, it adds some material cost. And yes, your subfloor's flexibility matters. But it's really the only way to get a perfectly flat finish.
Whether we're designing complex industrial setups with flexible heating jackets or just putting in a basic bathroom floor, precision matters. A flat SLC layer keeps your tiles level, stops you from stubbing your toe, and keeps the heat moving evenly.
The physical layers that make or break your heating system
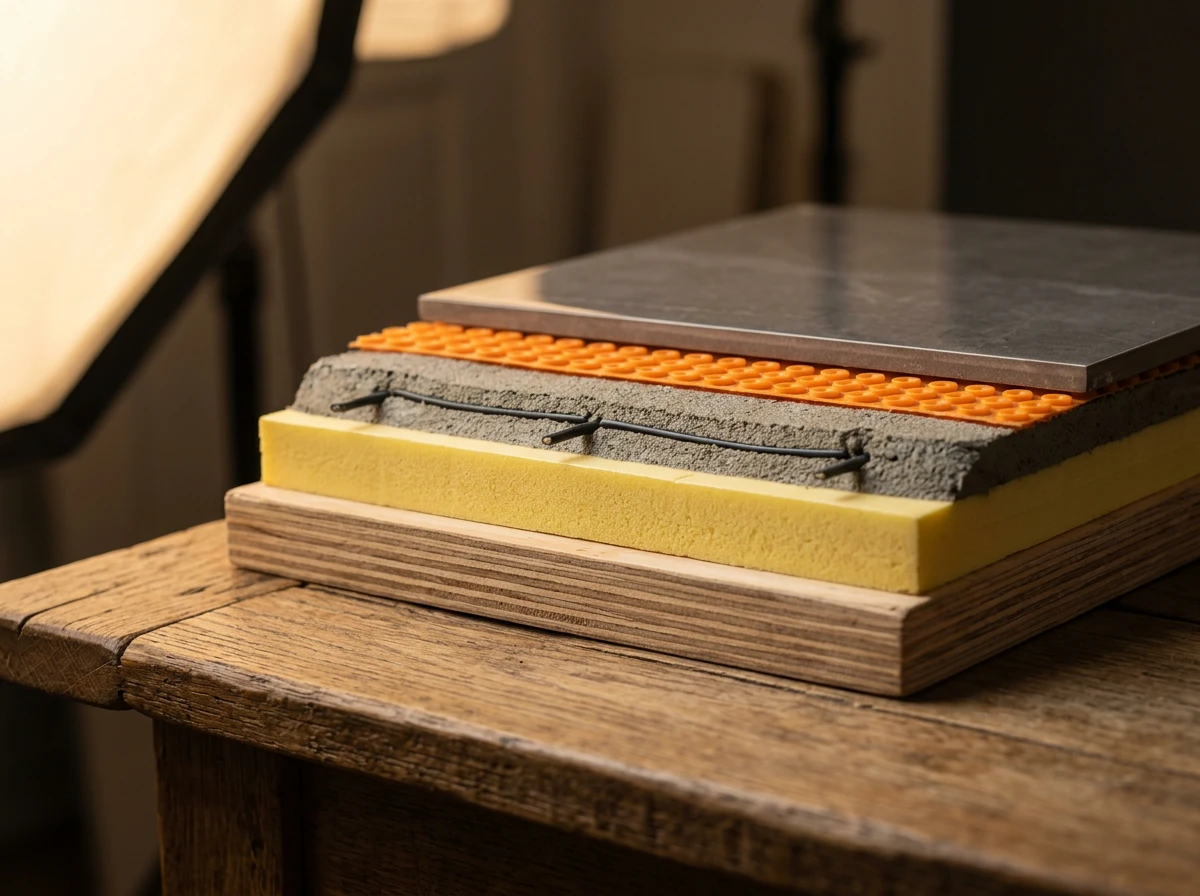
Once you resolve your floor heights, you must assemble the physical layers of your floor stack with absolute precision. Get the sequence or the material thickness wrong, and your heating elements will fail to perform.
The insulation barrier
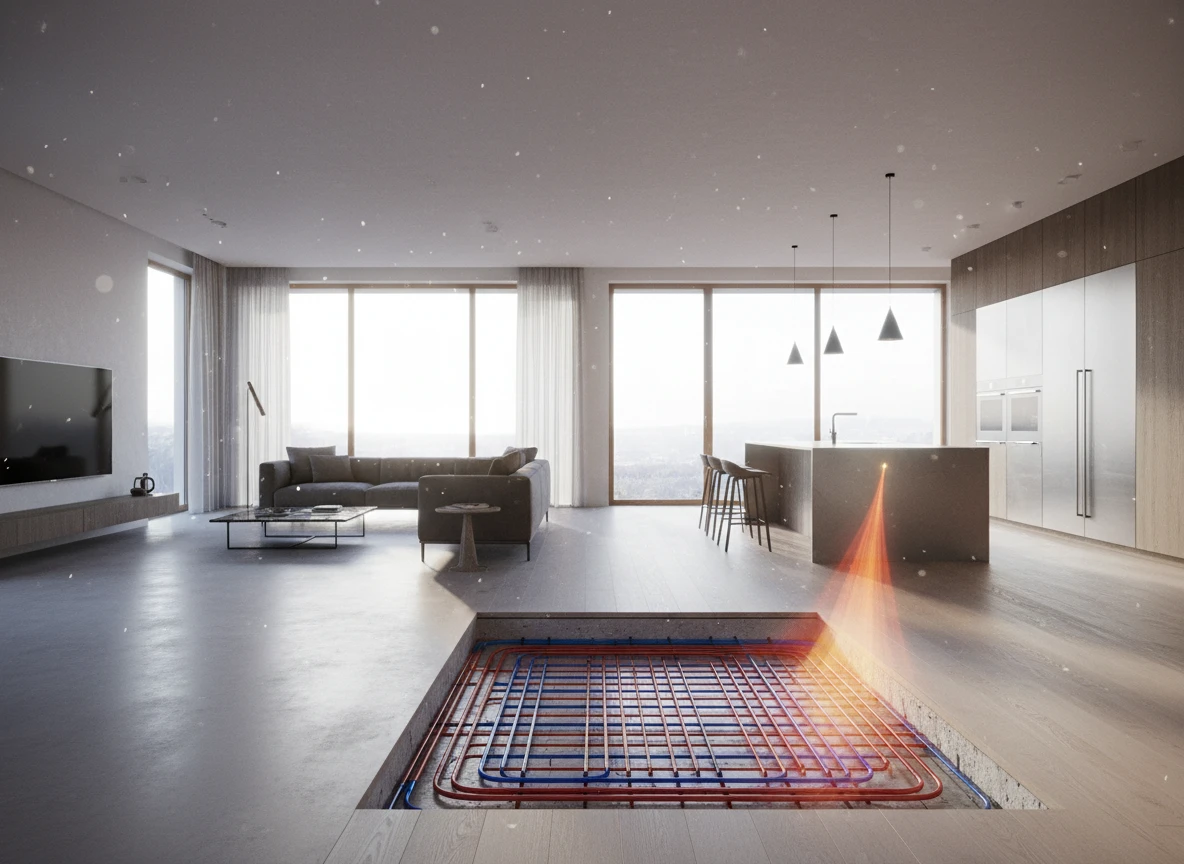
Never skip the insulation board. Laying cables directly on a cold concrete slab pulls heat downward, wasting up to 50% of your energy before it ever reaches your feet.
The decoupling membrane
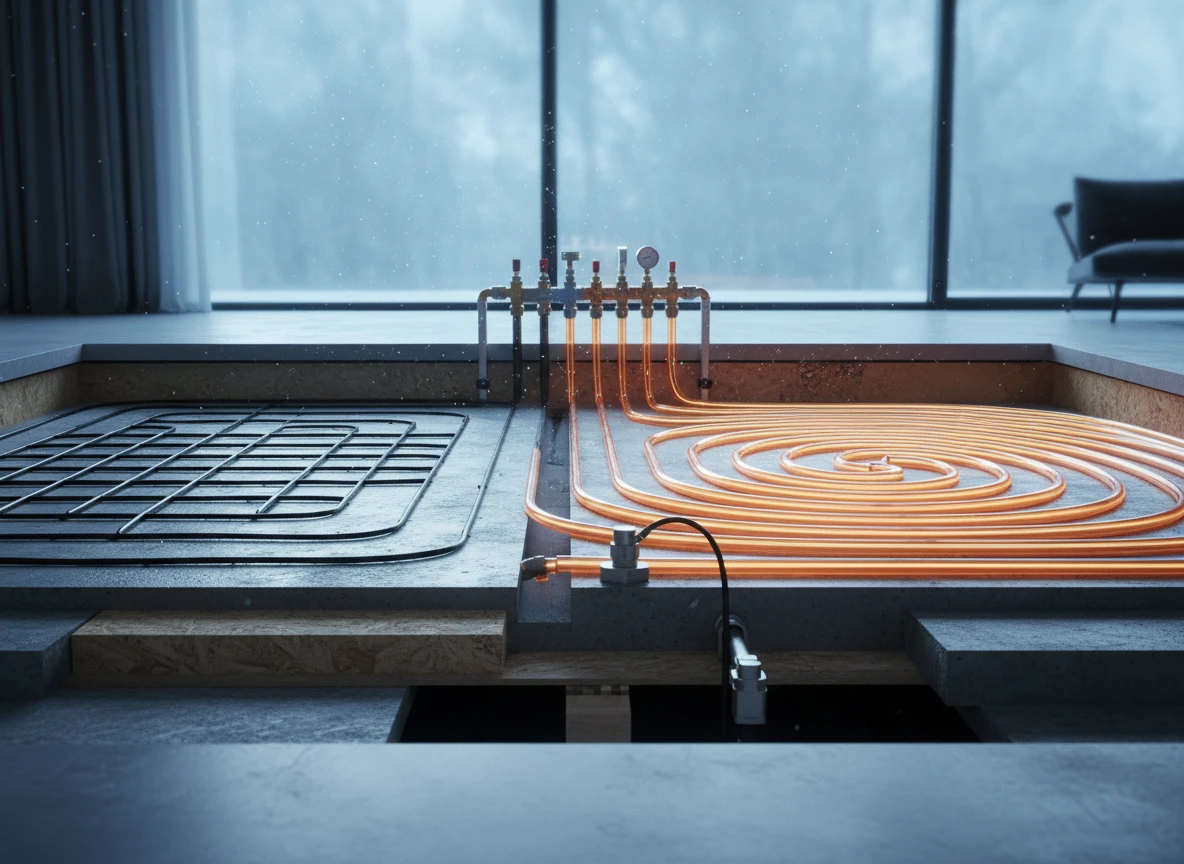
This layer prevents subfloor movement from cracking your grout lines. But it adds thermal resistance, so select a membrane that is as thin as possible, ideally around 1/8 inch. This layer sits directly below your electric floor heating systems.
The latex-modified thin-set
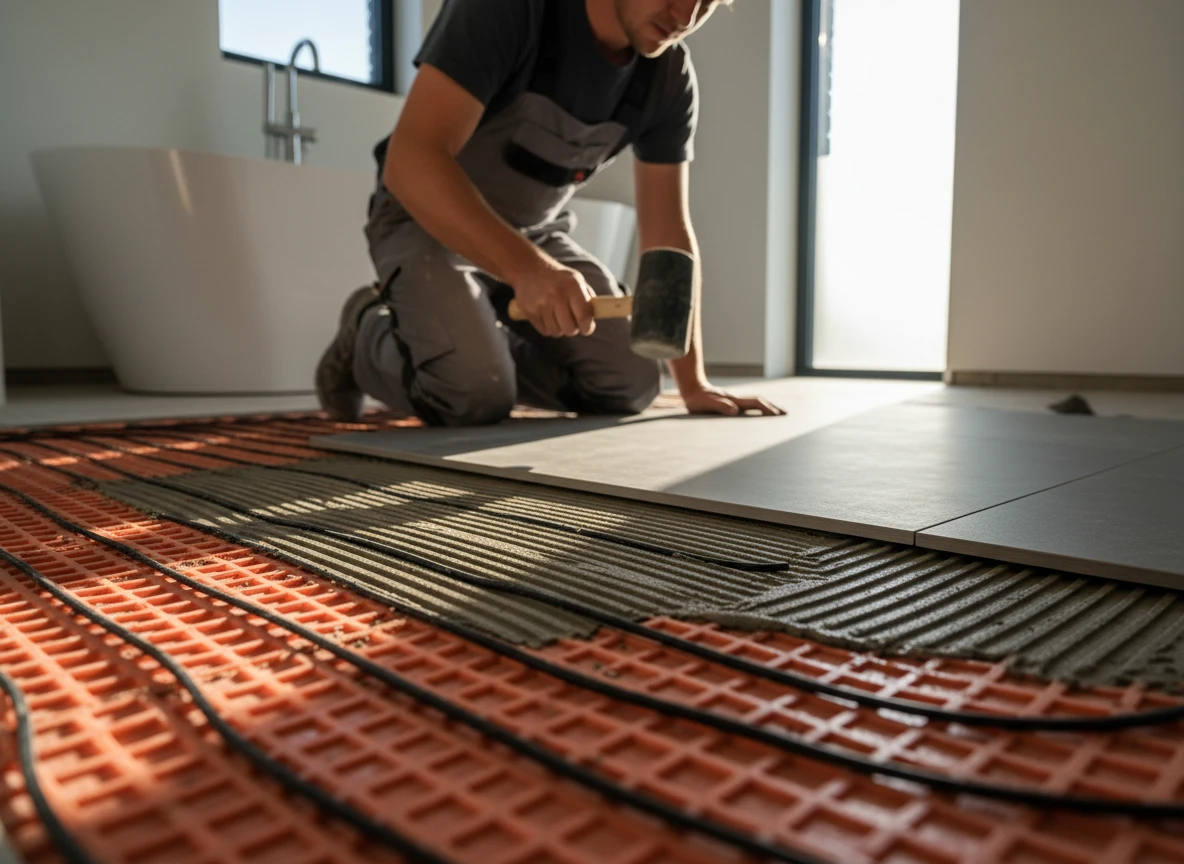
Use this to embed the cables. You must keep this layer under 3/8 inch after the tile is fully pressed down. Thick mortar acts as a thermal blanket, choking the system and preventing heat from rising.
The tile or stone surface
Keep the final tile surface under 3/4 inch thick to maintain rapid thermal response.
The thermodynamic R-value ceiling
The math here is simple. The total thermal resistance (R-value) of all layers sitting above your heating cable must never exceed 1.0. If you go past this limit, you choke the heat transfer. This forces your underfloor heating system to run constantly, driving up electric bills and risking cable failure.
At Integro Process Heating Solutions, we manage these heat transfer principles daily. Designing an industrial drum heating chamber or a specialized heating chamber requires strict thermal barrier calculations. We apply the same thermal physics when specifying insulated heating jackets or analyzing an ibc heating jacket application. This engineering discipline is exactly what makes our domestic and commercial heating projects highly efficient.
If you ignore the thickness of your thin-set or choose an overly thick decoupling membrane, you build an insulating barrier over your heat source. Stick to the limits, verify your R-values, and keep your layers tight.
Crucial installation missteps that leave you in the cold
Up to 50% of your system's heat output can be lost directly into the concrete slab if you skip subfloor insulation during a bathroom floor heating installation. This thermal drain completely undermines the work of layering your tile floor heating. If you do not have a dedicated barrier beneath the cables, you're essentially trying to heat the entire foundation of your home. At Integro Process Heating Solutions, we know that whether you're installing domestic underfloor heating systems or managing industrial processes with insulated heating jackets, thermal dynamics don't bend the rules. Heat always travels toward the coldest area, and without insulation, that direction is down.
The structural failures of bad adhesive work
Choosing the wrong mortar is another quiet system killer. If you use standard, non-modified thin-set, the repeated thermal expansion and contraction will eventually crack the adhesive. You must use a latex-modified thin-set to allow for microscopic movement. And don't let your installer use the "dot and dab" or spot bonding method. Those empty air pockets act as thermal barriers, trapping heat and creating cold spots on your floor. Under high temperatures, these pockets can cause tiles to crack when stepped on. Just as industrial systems rely on precise contact tools like drum heating jackets for uniform heat distribution, floor cables need 100% mortar coverage to transfer heat efficiently.
Why patience prevents structural cracking
But the most common point of failure is impatience. Turning on your system before the thin-set has fully cured,which usually takes 7 to 28 days,will ruin the installation. The rapid heat evaporates the moisture needed for the cement to hydrate properly, leaving you with a brittle, powdery base. It doesn't pay to rush this step because you risk permanent damage. While some fast-setting mortars claim to cure in 24 hours, actual field results vary depending on local humidity, airflow, and tile thickness. If you turn it on too early, you may have to tear up the entire floor.
Getting the warm bathroom you actually paid for
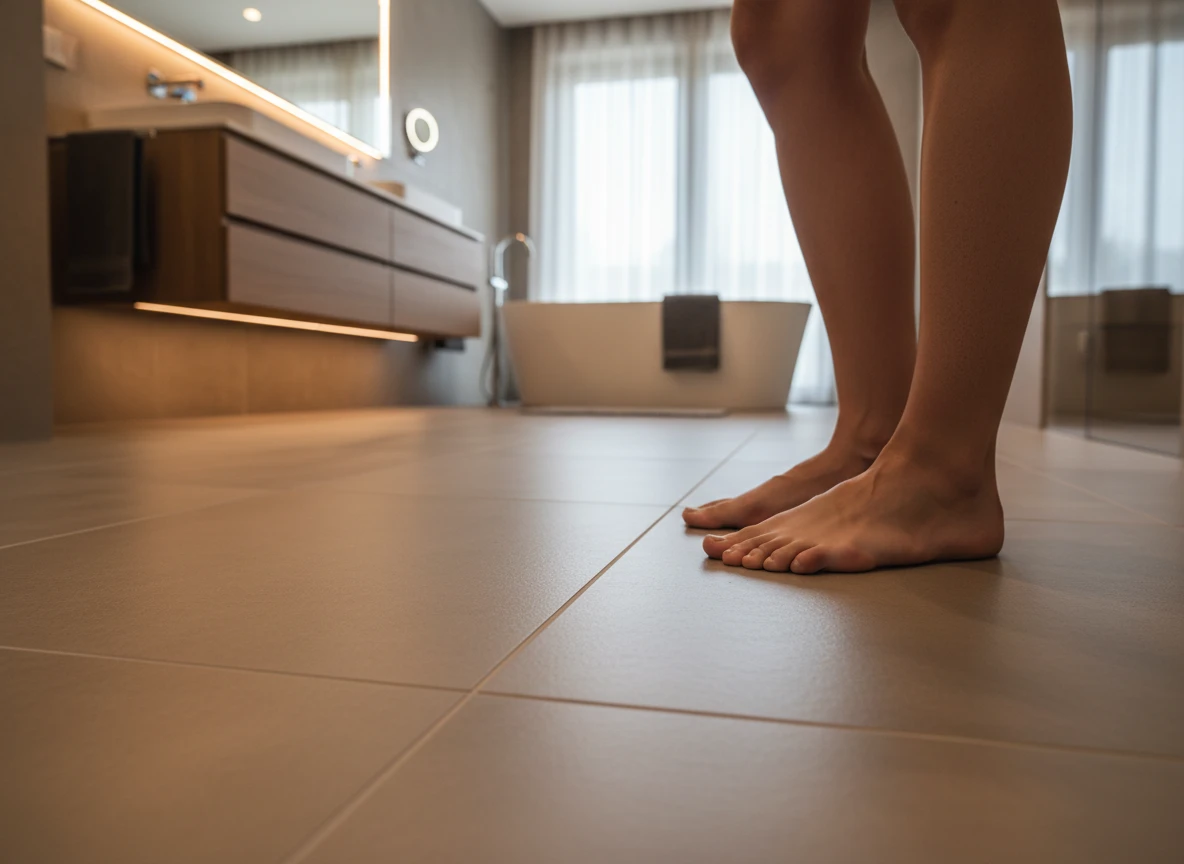
We've covered the installation traps and the shortcuts that can ruin a good upgrade. In the end, getting the actual warmth you paid for comes down to simple physics.
If you want to avoid a massive heat lag, buy tiles between 8mm and 12mm thick. Pair them with decent insulation boards underneath. This stops heat from escaping downward and pushes it up into the room instead. Most importantly, keep the total R-value of everything above the heating cable under 1.0. Go over that, and you're basically insulating the heater from your feet. The system will run constantly, your bills will spike, and the floor will still feel lukewarm.
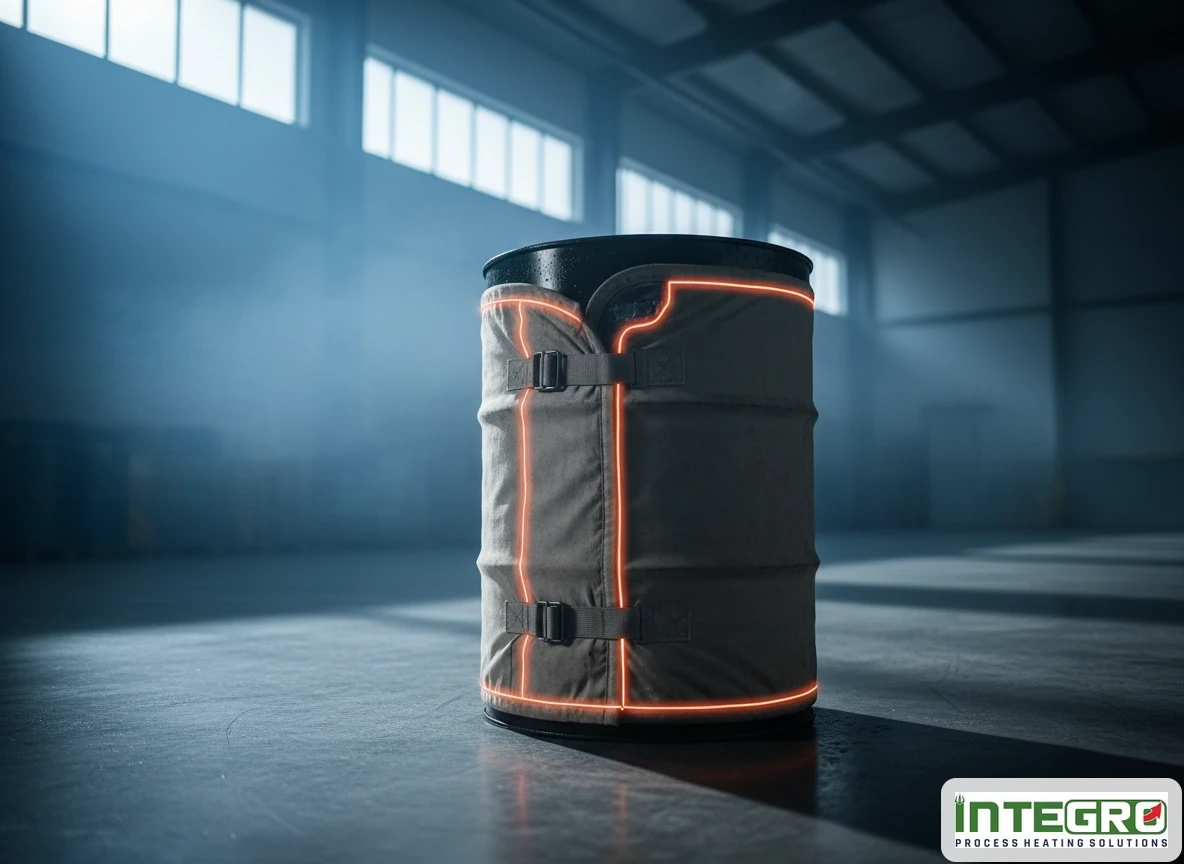
At Integro Process Heating Solutions, we design systems around these exact thermal realities. The physics of heat transfer don't change, whether you're heating a master bath or managing a massive industrial setup. For example, industrial operations use specialized drum heating jackets to keep temperatures stable without wasting power. Your bathroom floor works on the same basic concept. It needs a clear, low-resistance path for the heat to rise.
Keep your tile thickness reasonable, don't skip the insulation, and your underfloor heating will actually do its job. You'll get a warm floor right when you step onto it, without the massive energy waste.
Struggling to figure out the right build-up for your project? Integro Process Heating Solutions provides engineered heating solutions that take the guesswork out of thermal efficiency.
Frequently Asked Questions
Can I use 1-inch thick natural stone with electric floor heating?
It's not a great idea since that thickness usually pushes the R-value past the 1.0 limit. Your system will end up running constantly, and you'll wait hours just to feel a little warmth.
What happens if I turn on my heated floor right after grouting?
If you rush it, you'll dry out the thin-set and grout way too fast, which ruins the bond and cracks your tiles. Most setups need at least a week to cure properly before you flip the switch.
Why does my heated floor take over an hour to warm up?
You're probably dealing with excessive thermal mass or you skipped the insulation board underneath. Without that insulation, half your heat is just escaping downward into the concrete slab.
Is porcelain better than marble for heated bathroom floors?
Porcelain heats up much faster because it's thinner and has less thermal mass. Marble holds heat longer, but it takes forever to actually get warm in the morning.