- By Admin
- Integro
- The cold tile struggle and the toilet clearance dilemma
- Why underfloor heating can silently ruin a toilet wax ring
- Mapping your safe clearance layout step by step
- The gear that keeps your floor warm and your seals intact
- Where installers get burned trying to squeeze in extra heat
- Finding the sweet spot between warm toes and a dry subfloor
- FAQ
The cold tile struggle and the toilet clearance dilemma
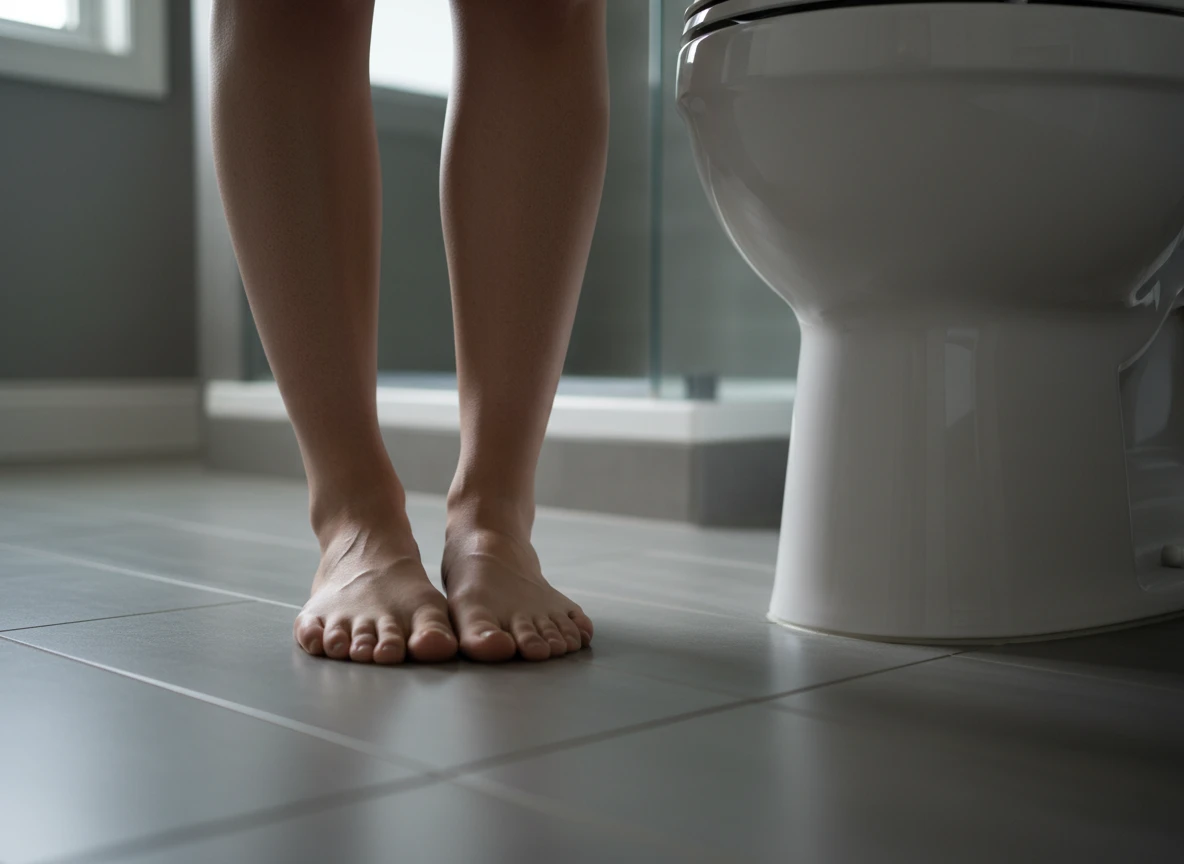
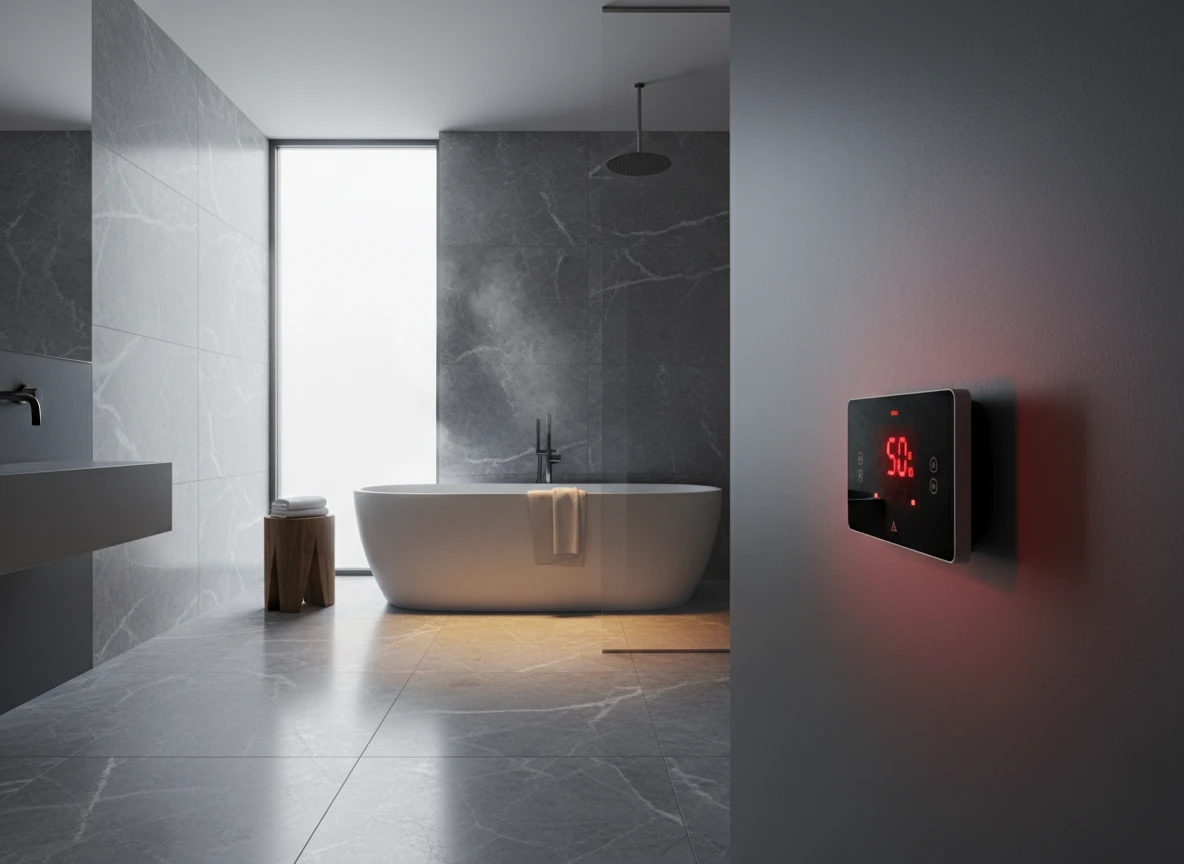
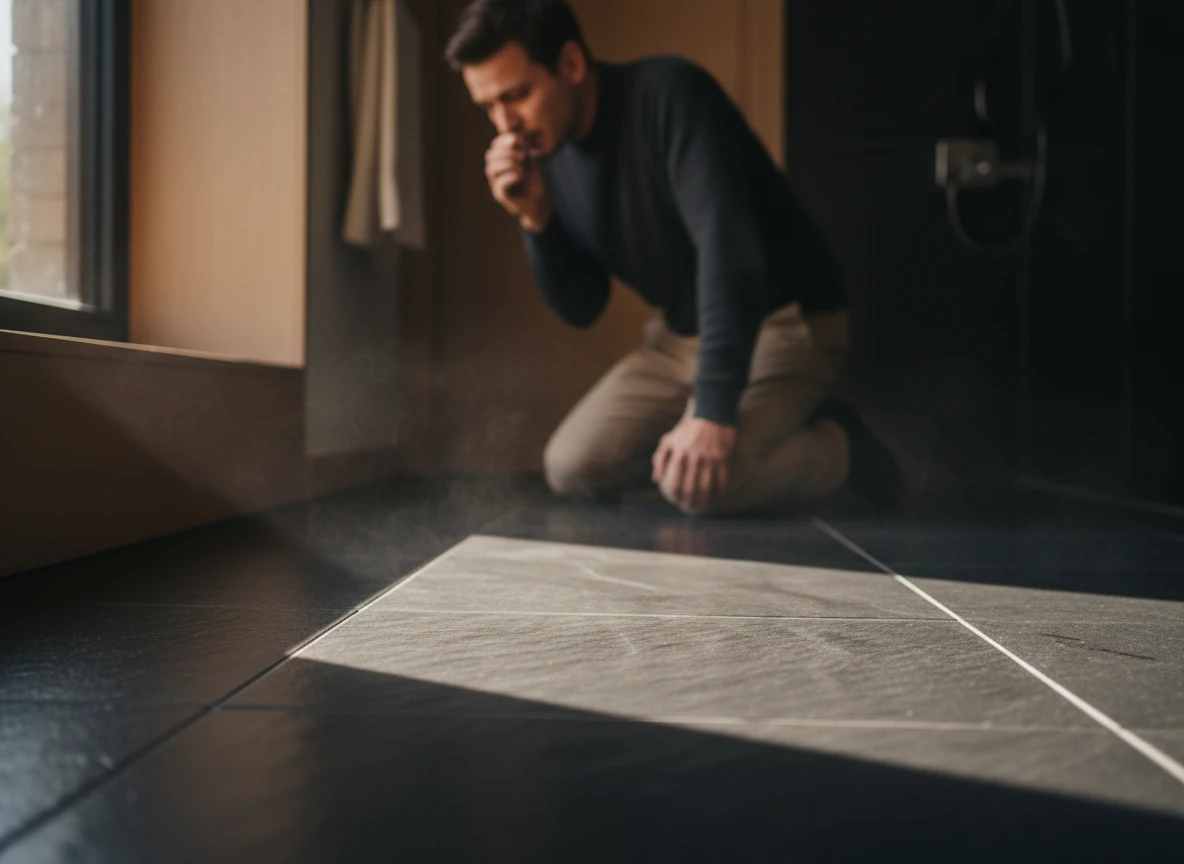
Picture this. It is six in the morning, the house is dead silent, and your bare feet hit the bathroom floor. Instead of that familiar, sharp shock of freezing ceramic, you want soothing, even warmth. But that simple comfort hides a surprisingly strict engineering puzzle that catches many a DIY remodeler off guard. When you design bathroom floor heating layouts, you inevitably run straight into the toilet flange. You want the heated tiles to wrap snugly against the porcelain, yet physics demands a safety boundary. So how close can you actually get without melting seals or cracking your subfloor? At Integro Process Heating Solutions, we often see this exact standoff between cozy design goals and basic thermal limits. The core tension revolves around thermal clearance. You need enough heat to stop your toes from freezing on winter mornings, but you cannot cook the plumbing materials hidden directly beneath the toilet base. Traditional wax rings begin losing their structural integrity right around 130 degrees Fahrenheit. Sure, most electric mats run with surface temperatures capped much lower near 85 degrees, but localized heat accumulation near tight drain penetrations tells a different story. If you carelessly loop your electric floor heating right up to the waste pipe, you risk softening that wax and inviting slow, silent leaks. Most manufacturers specify a strict six-inch buffer zone measured from the center of the drain. But results vary depending on your mortar bed thickness and tile choice. Some homeowners try to cheat this distance, thinking a digital thermostat keeps everything safe. That is usually where mistakes happen. If you want seamless, cozy tile right up to the fixture skirt, you have to plan for alternative rubber gaskets rather than relying on old-school wax. Striking the right balance requires careful geometric layout long before the first tile goes down. You are trading a little bit of floor warmth for absolute peace of mind beneath the porcelain.
Why underfloor heating can silently ruin a toilet wax ring
Thermal traps and the 130°F threshold
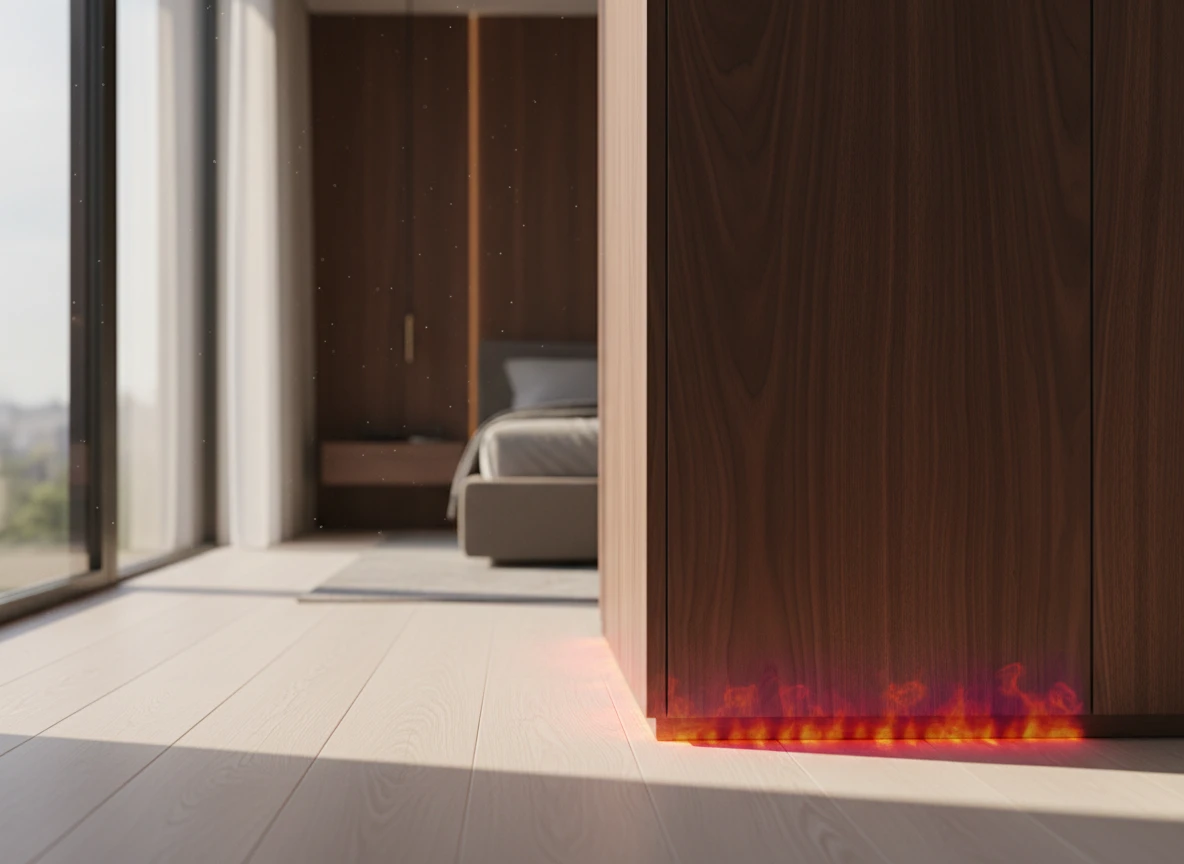
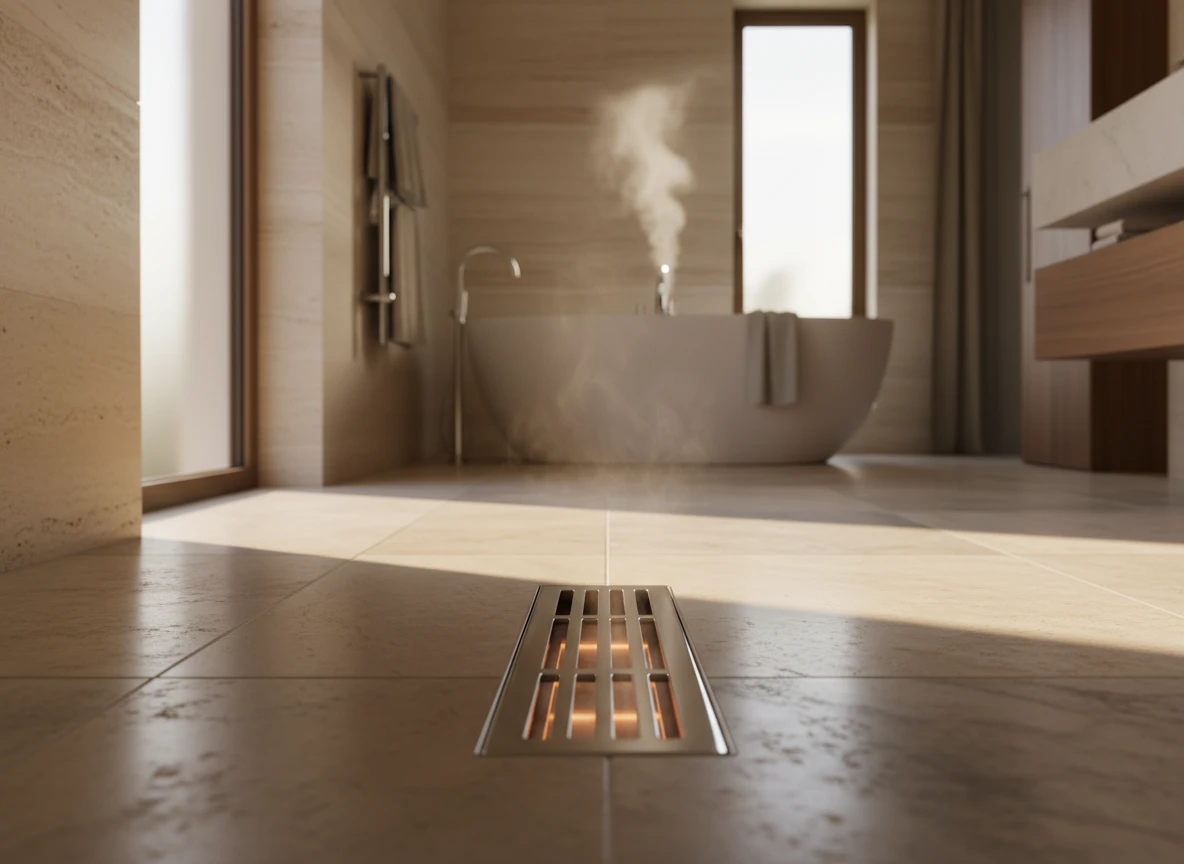
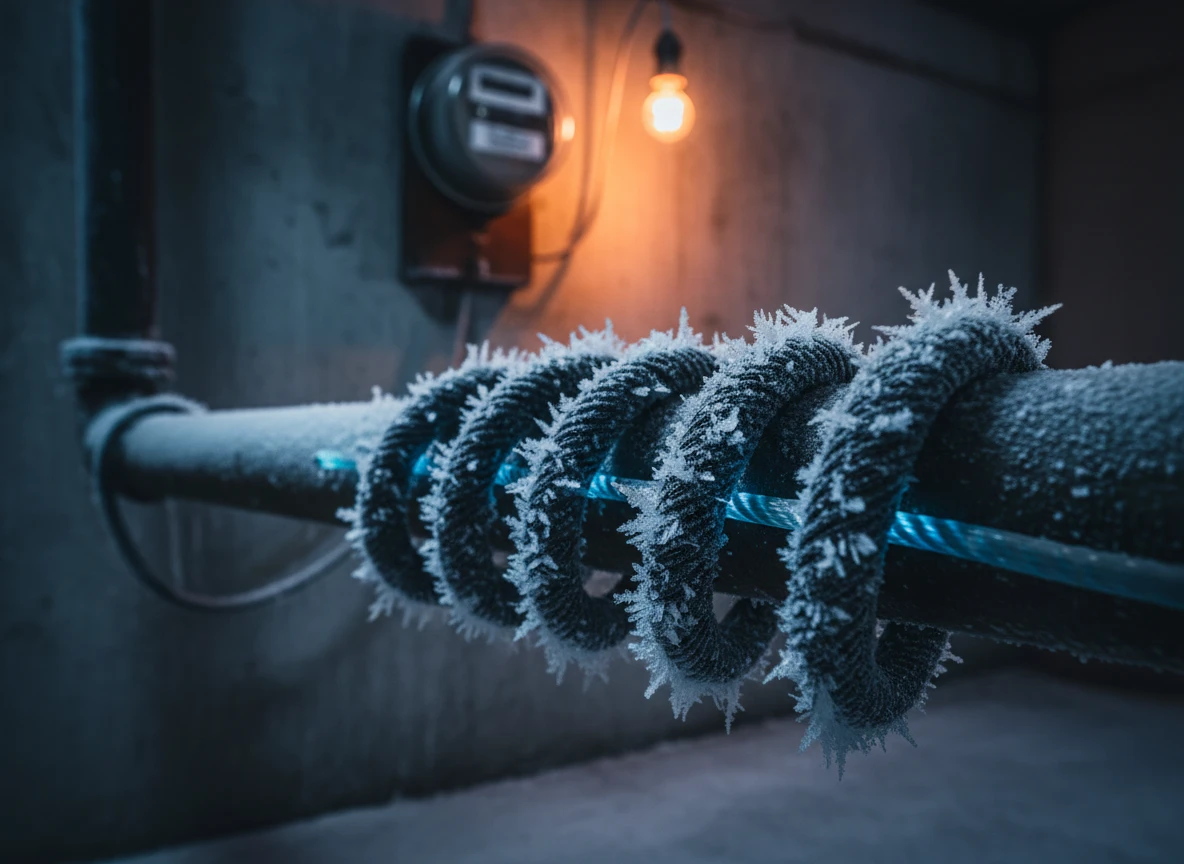
A standard petroleum-based toilet wax ring begins to lose its structural stability at exactly 130 degrees Fahrenheit (54.4°C). While a typical underfloor heating system operates at a safe surface temperature of 80 to 85 degrees Fahrenheit, the enclosed environment beneath a porcelain toilet base acts as a thermal trap. Over hours of continuous operation, heat builds up within this dead air space. Because porcelain is an effective thermal insulator, it absorbs and holds this energy, slowly raising the internal temperature of the cavity until it exceeds safe limits, leading to a disastrous toilet wax ring melt.
In our thermal engineering assessments at Integro Process Heating Solutions, we often observe how heat acts in confined architectural voids. When you install under-floor heating without maintaining a strict floor heating installation distance of at least six inches from the closet flange, the wax seal is subjected to constant, low-grade baking. It doesn't liquefy instantly. Instead, the wax undergoes a slow phase transition, softening into a viscous sludge that slowly creeps away from the closet flange. While this doesn't happen overnight on every heated floor, the compounding risk of slow thermal degradation is exceptionally high, leading to hidden water leaks and sewer gas leaks long before you notice any pooling water on the tiles.
Designing out the risk of structural seal failure
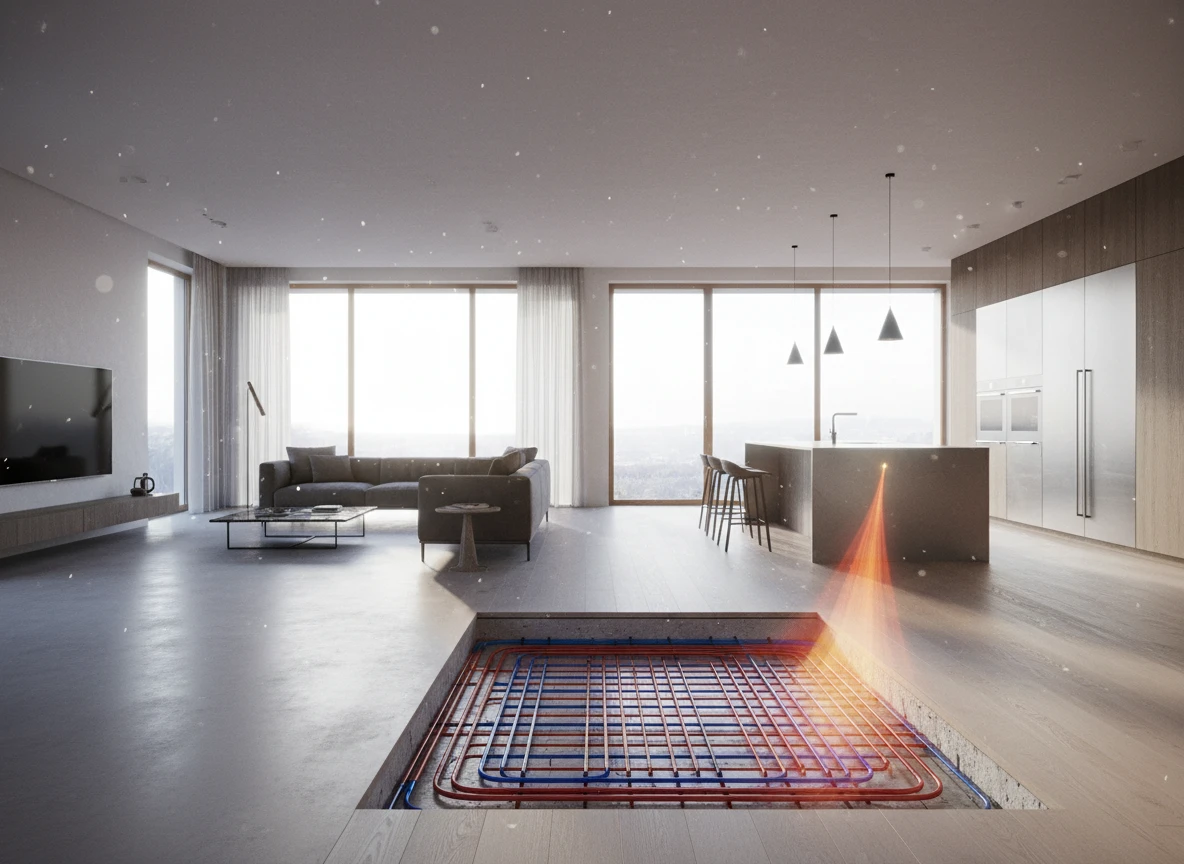
This thermal vulnerability is particularly pronounced when dealing with electric floor heating systems. Unlike hydronic radiant floor heating, which relies on fluid loops, electric cables can develop localized hot spots if they are compressed or laid too close to structural penetrations. If your installation team fails to consult experienced underfloor heating suppliers or underfloor heating system suppliers, they might run heating cables directly under the toilet footprint. This oversight bypasses the critical thermal clearance zones required to keep the wax seal stable. Over time, even minor temperature fluctuations will break down the structural integrity of the seal.
To prevent this physical breakdown, professional installers and underfloor heating manufacturers specify a clear safety margin. By partnering with reputable underfloor heating exporters and underfloor heating system exporters, you can access detailed layout templates that carve out a 2-to-4 square-foot unheated buffer zone around the waste pipe. This design layout ensures that even during extended winter runs, the ambient temperature surrounding the flange remains well below the wax's softening point. It is a simple geometry rule that prevents costly structural remediations down the road.
If you're working with underfloor heating system manufacturers on a custom layout, you might also consider modern wax-free foam or rubber gaskets. These elastomeric seals easily withstand temperatures up to 180 degrees Fahrenheit without losing their compression memory. For high-performance domestic and commercial heating projects, eliminating the traditional wax ring entirely is often the most reliable way to design out the risk of thermal seal failure, allowing you to enjoy warm tiles without worrying about silent subfloor water damage.
Mapping your safe clearance layout step by step
Step-by-step layout planning
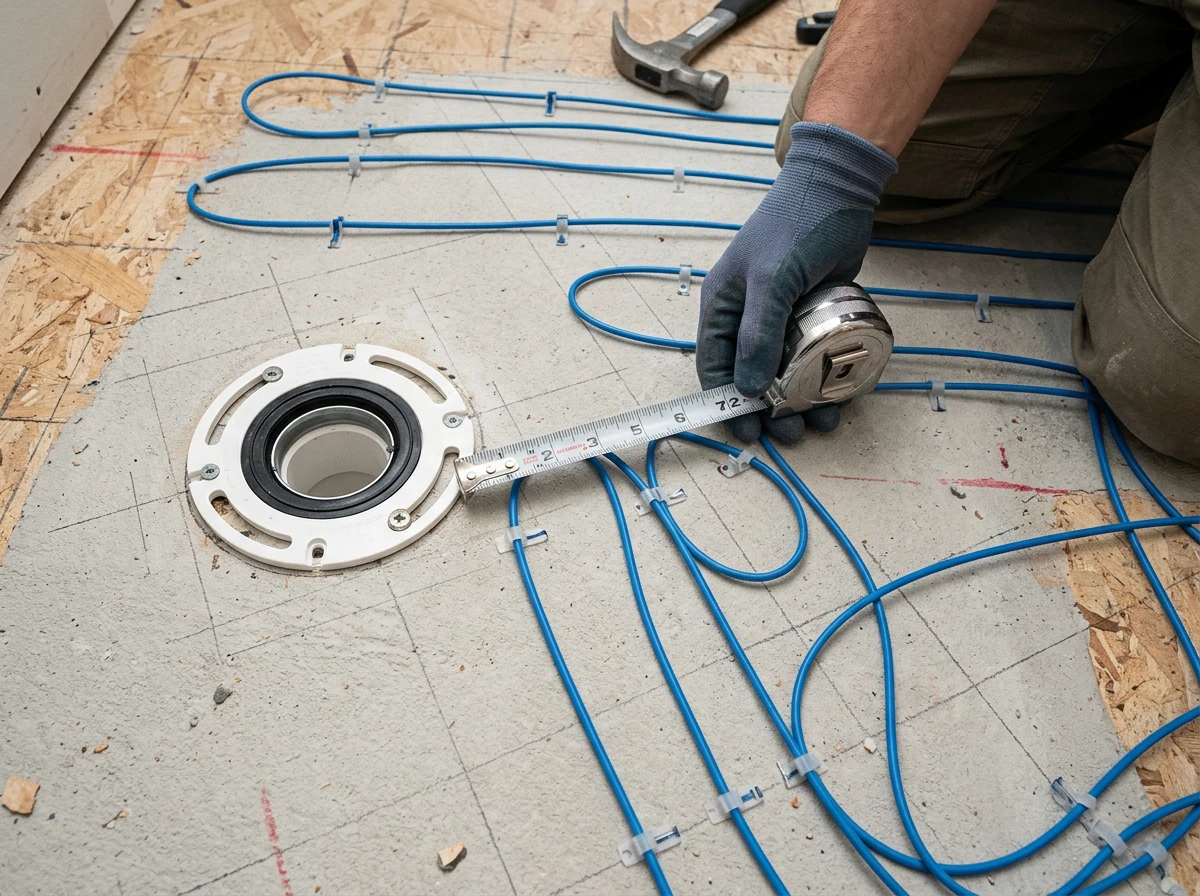
Understanding wax seal physical limits is only half the battle. Translating that science to a subfloor requires exact geometry. If you don't map out heating paths before laying thinset, you risk permanent plumbing damage. Let's configure your layout to protect those waste lines and keep your feet warm.
Step 1: Establish the baseline datum
Before unrolling mesh or running PEX lines, locate the exact center of the closet flange. This is your zero-point. Draw a permanent crosshair on the subfloor through this center. This step maintains a consistent radius, even if the rough-in plumbing is slightly off-square from the framing.
Step 2: Drawing the clearance boundaries
Next, scribe your exclusion zones. For standard installations using a traditional wax ring, mark a circle with a 6-inch radius from the outer edge of the flange. This marks the primary radiant heat toilet clearance zone.
If you are installing high-output electric cables or certain hydronic systems that run continuously, expand this boundary. In those setups, drawing an 8 to 12-inch buffer zone is a much safer bet. This extra space prevents lateral heat creep through dense tile and mortar assemblies. Admittedly, this doesn't always hold true if the underlying subfloor lacks proper thermal insulation, but it remains the safest industry baseline. At Integro Process Heating Solutions, we often design industrial thermal systems where thermal dissipation profiles dictate these larger safety margins.
Step 3: Map the heating run paths
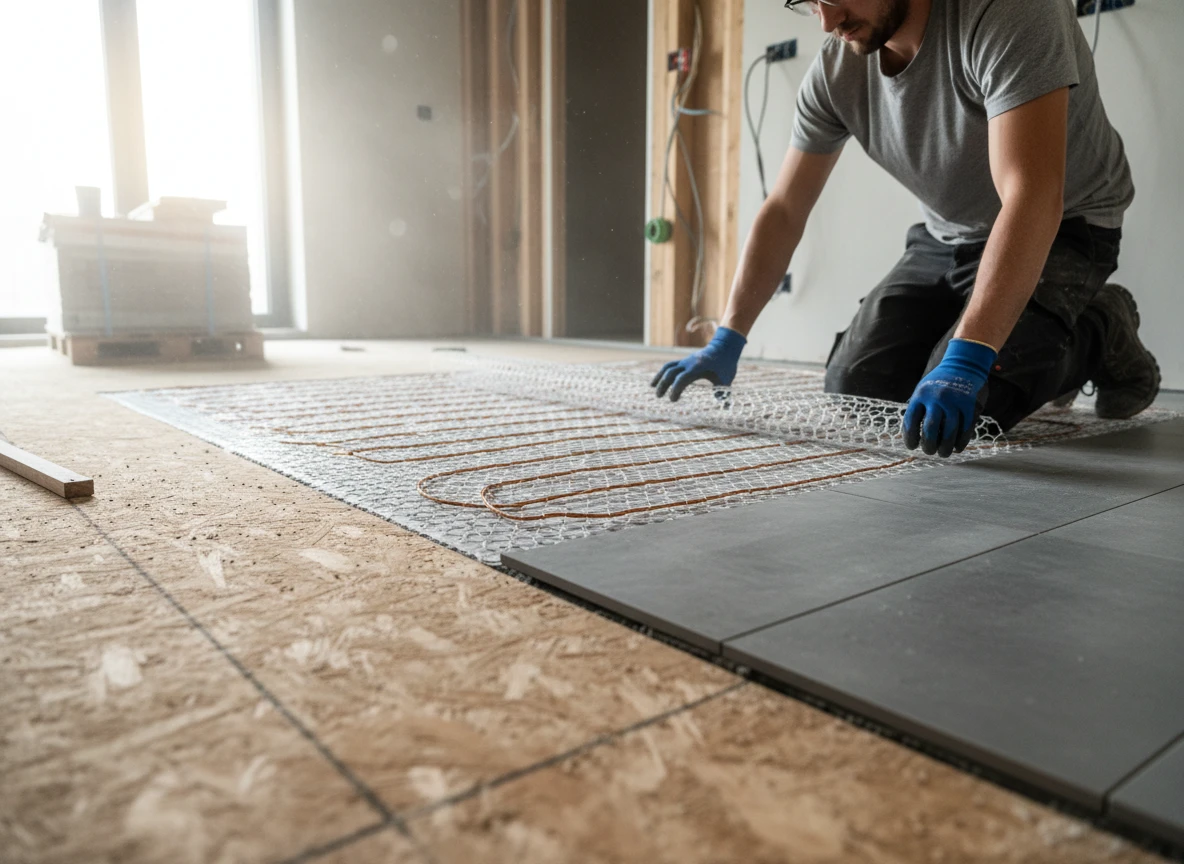
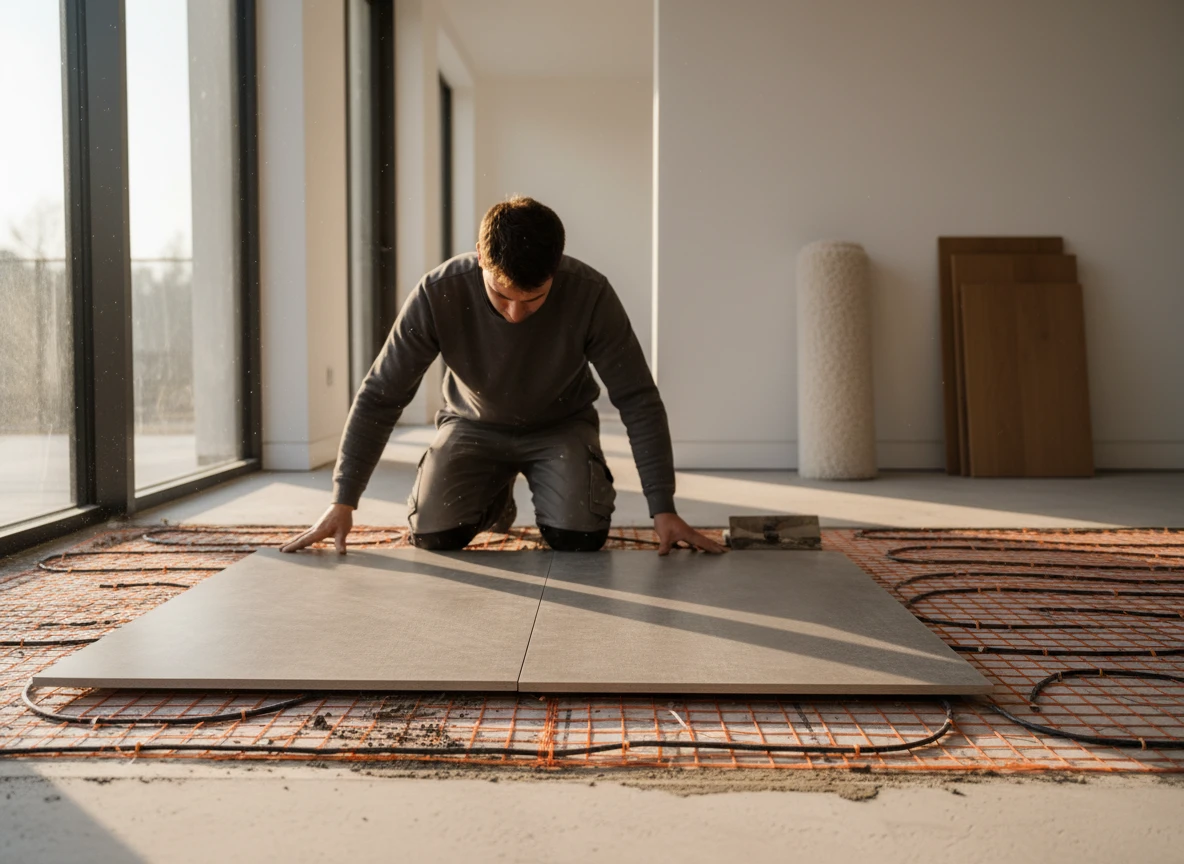
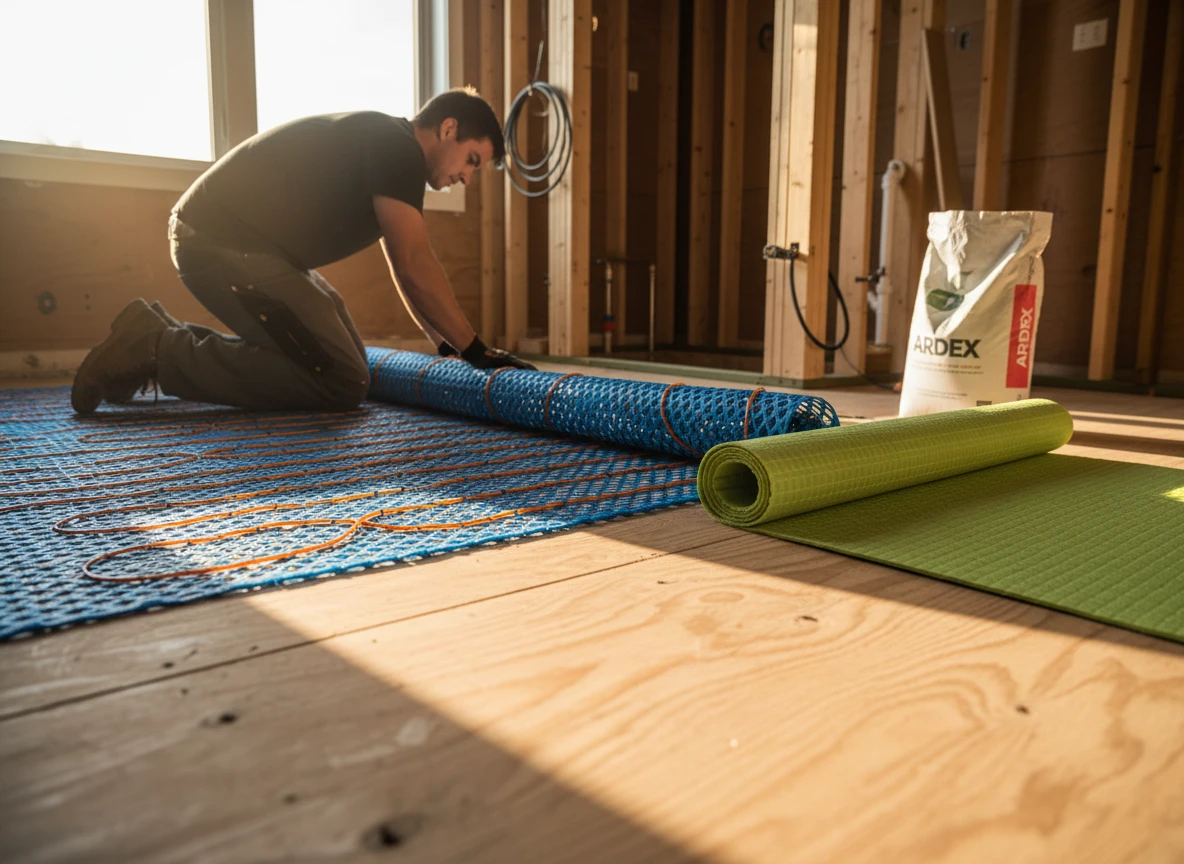
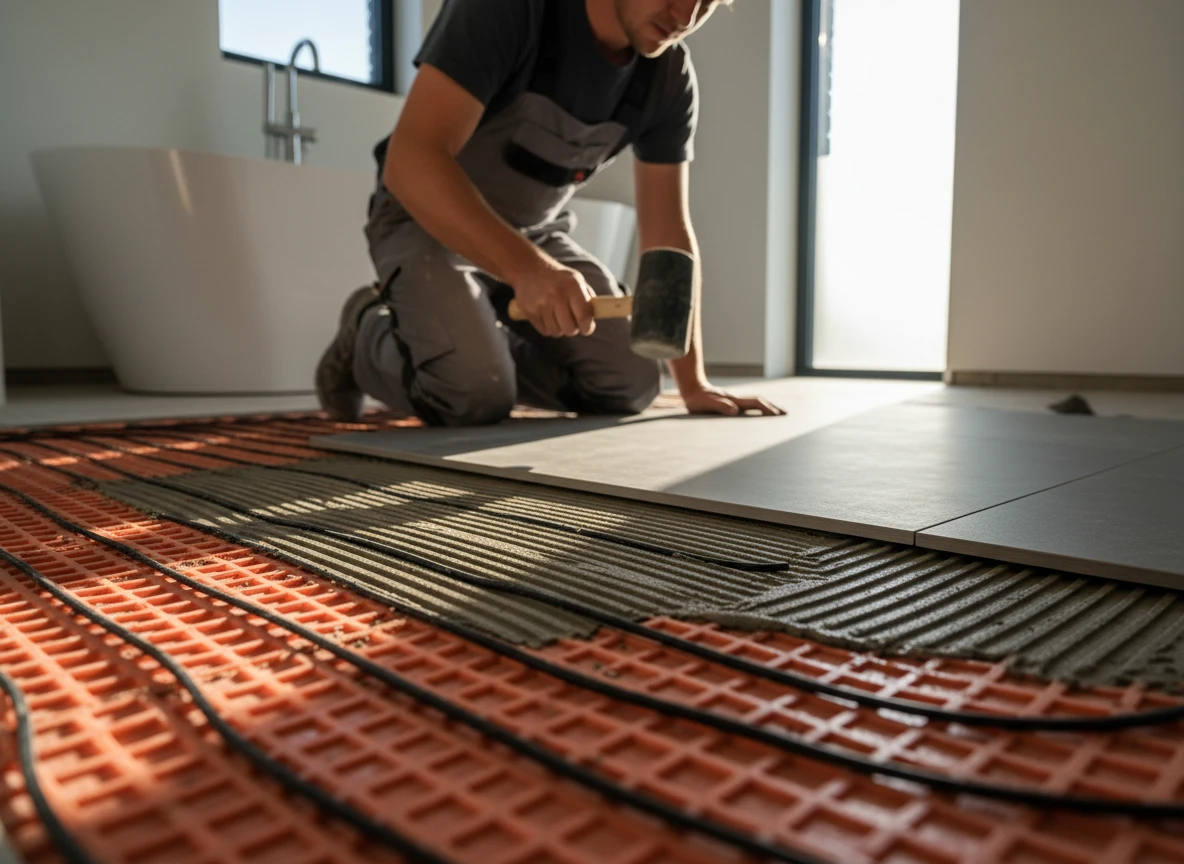
With your exclusion circles marked, plot the path of your floor heating solutions. Start by routing the cold leads from the thermostat wall box down to the floor. When laying down electric mats, never cut the blue heating element wire to force it into a tight space near the toilet. Instead, cut only the fiberglass mesh backing to turn and angle the mat around your scribed safety circle.
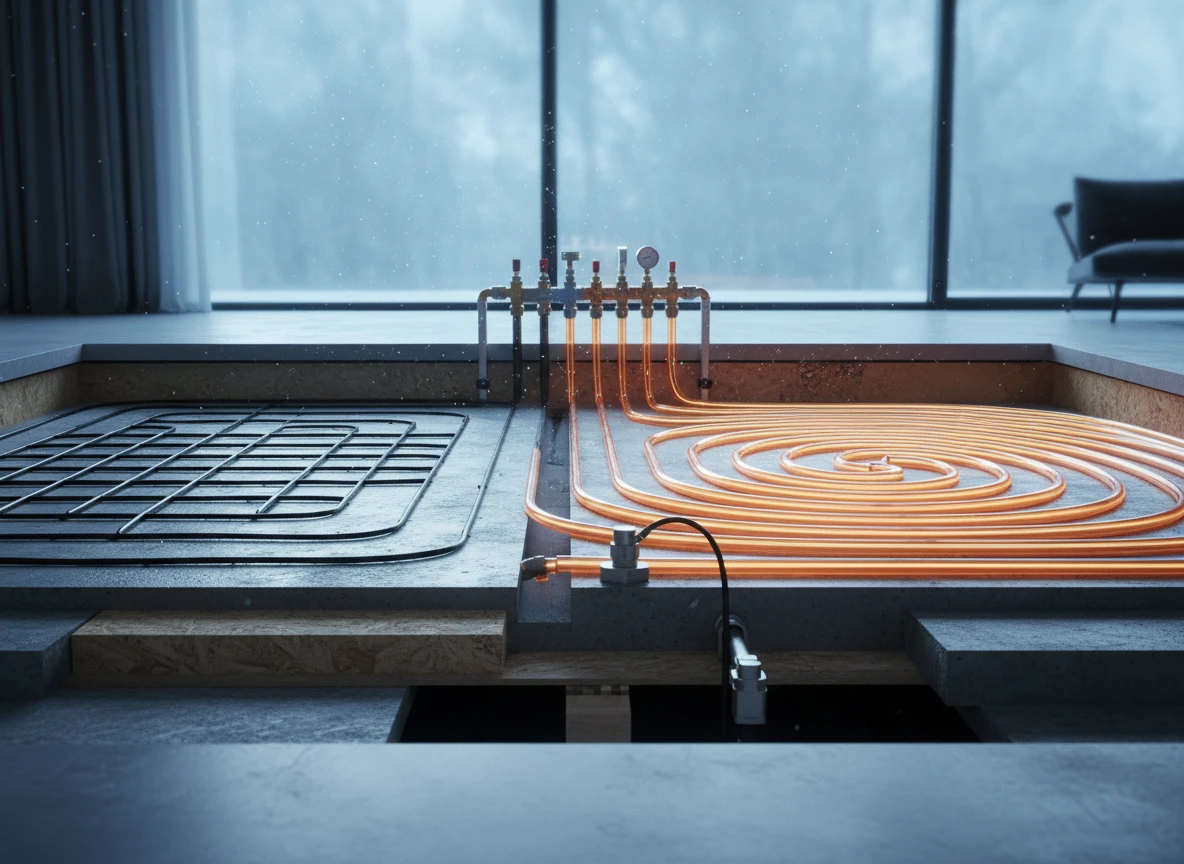
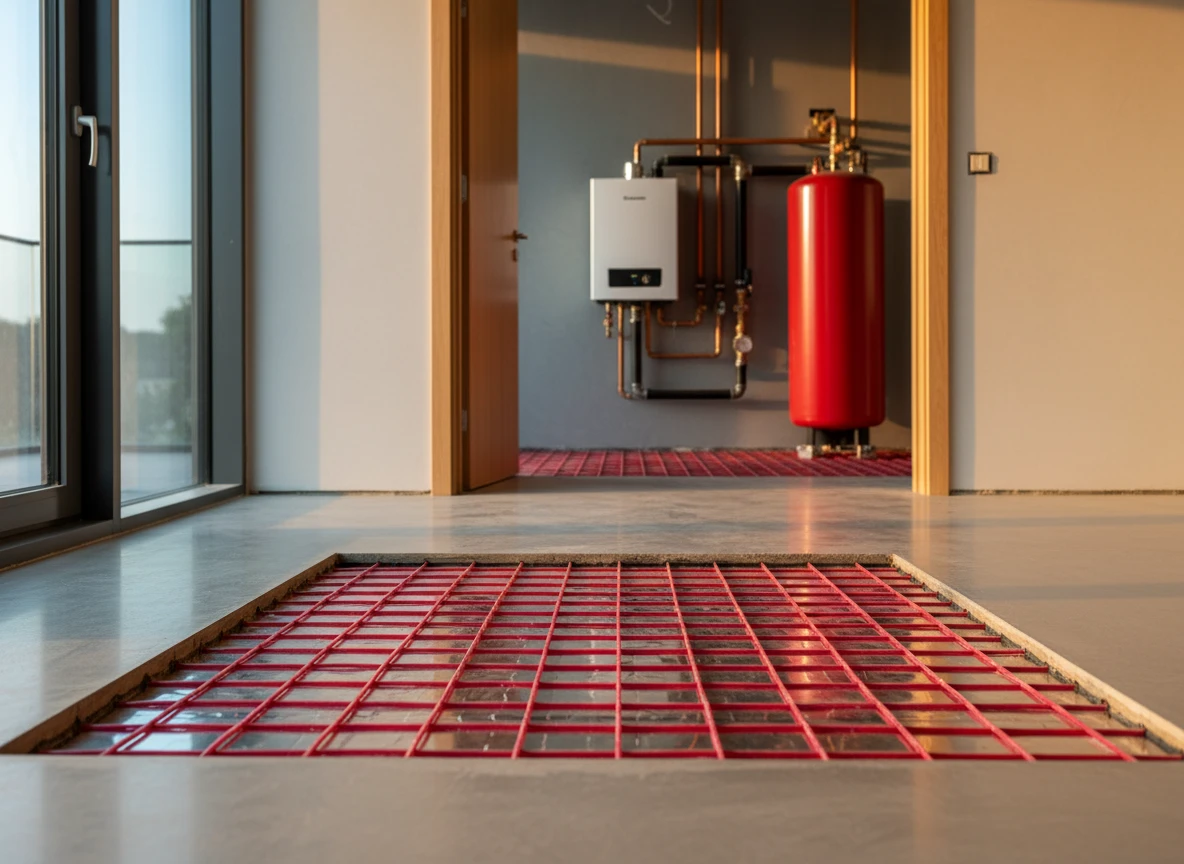
If you are installing a hydronic radiant floor heating system, maintain a minimum spacing of 2 inches between the tubing and any wall framing. Maintain your strict floor heating installation distance from the toilet flange. For tighter spots, we sometimes see installers try to bend the tubing beyond its rated radius. Don't do this. It kinks the pipe, restricts flow, and creates localized hot spots. This layout phase requires the same precision we apply to industrial projects using flexible heating jackets or drum heating chambers, where improper placement ruins the thermal balance.
Step 4: Incorporating thermal barriers
Sometimes, heat spreads sideways through the floor assembly faster than expected. To combat this, score a shallow, non-structural relief joint in the cement backer board just outside the clearance circle. This physical break is a simple thermal block. It keeps the heat focused on your main walking path rather than letting it migrate toward the toilet wax.
It's a trick borrowed from industrial engineering. We use drum heating jackets or insulated heating jackets to keep heat strictly targeted to specific zones. For larger setups, think of it like isolating an industrial ibc heating jackets zone to prevent heat bleed.
Step 5: Verify sensor placement and test
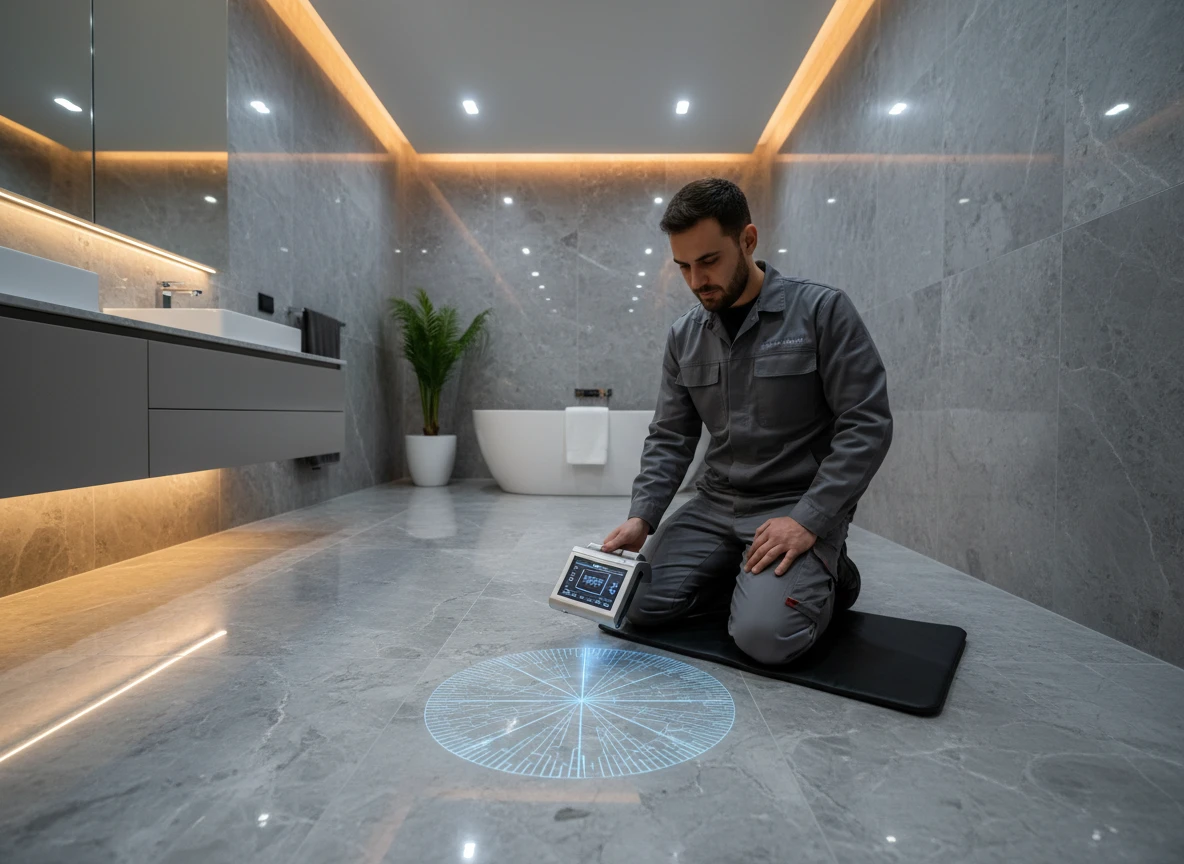
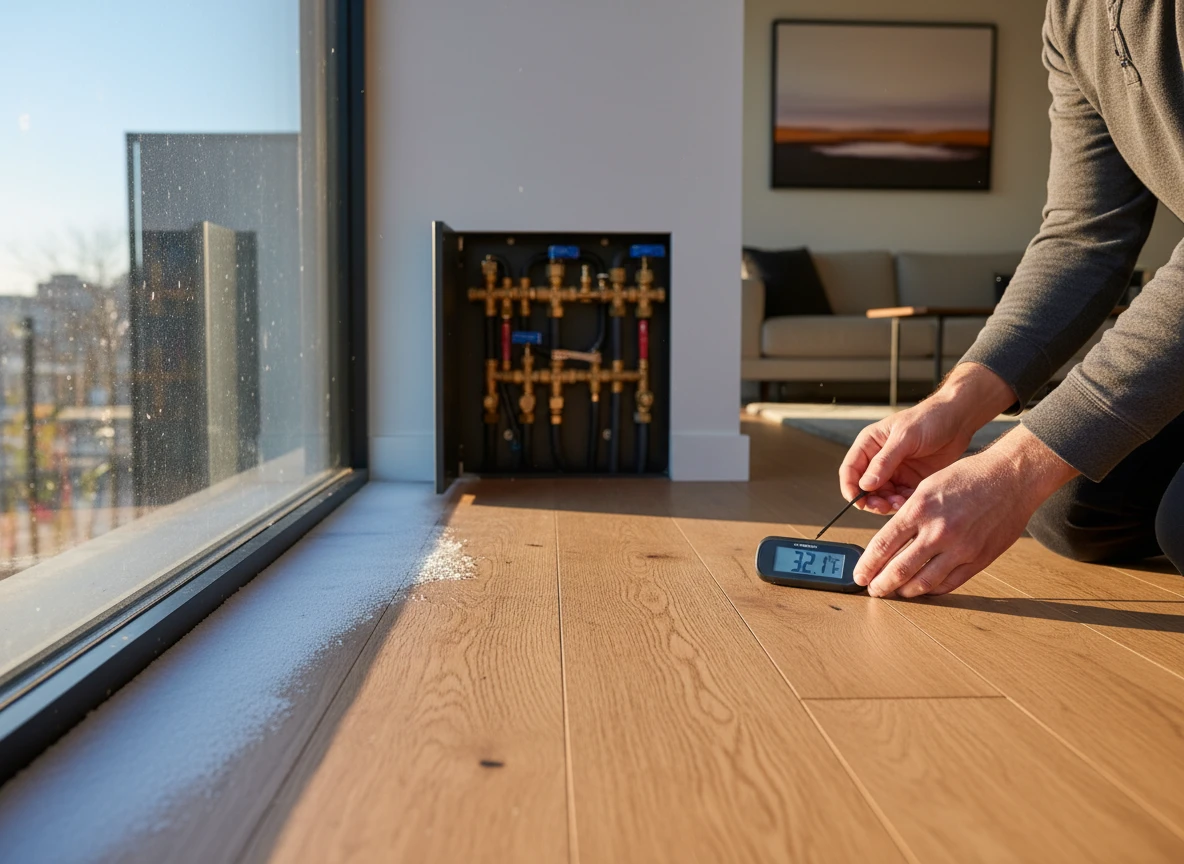
Position your floor temperature sensor probe exactly midway between two active heating runs, at least 12 inches away from any external walls. Make sure the probe is not placed within the toilet clearance zone. If the sensor is too close to the unheated toilet area, it will read artificially low temperatures. This forces the system to overwork and overheats the rest of the floor.
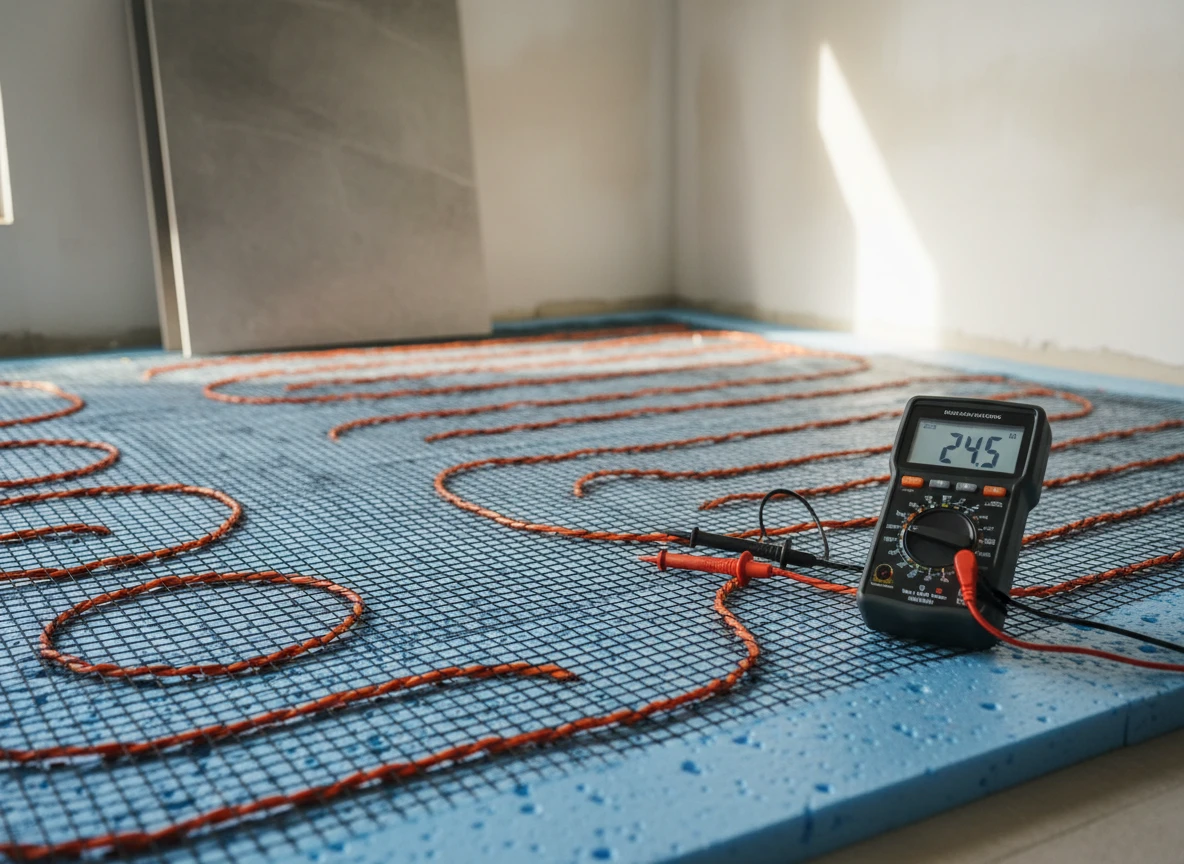
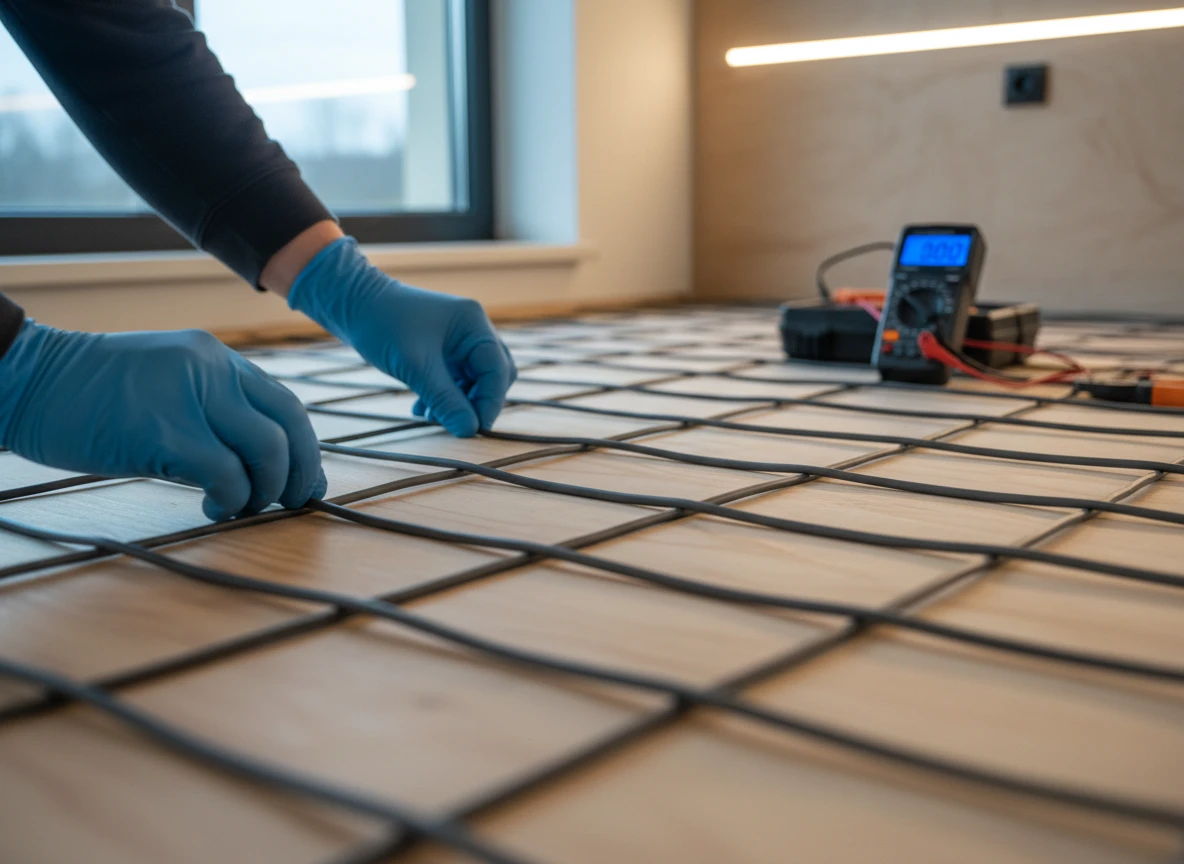
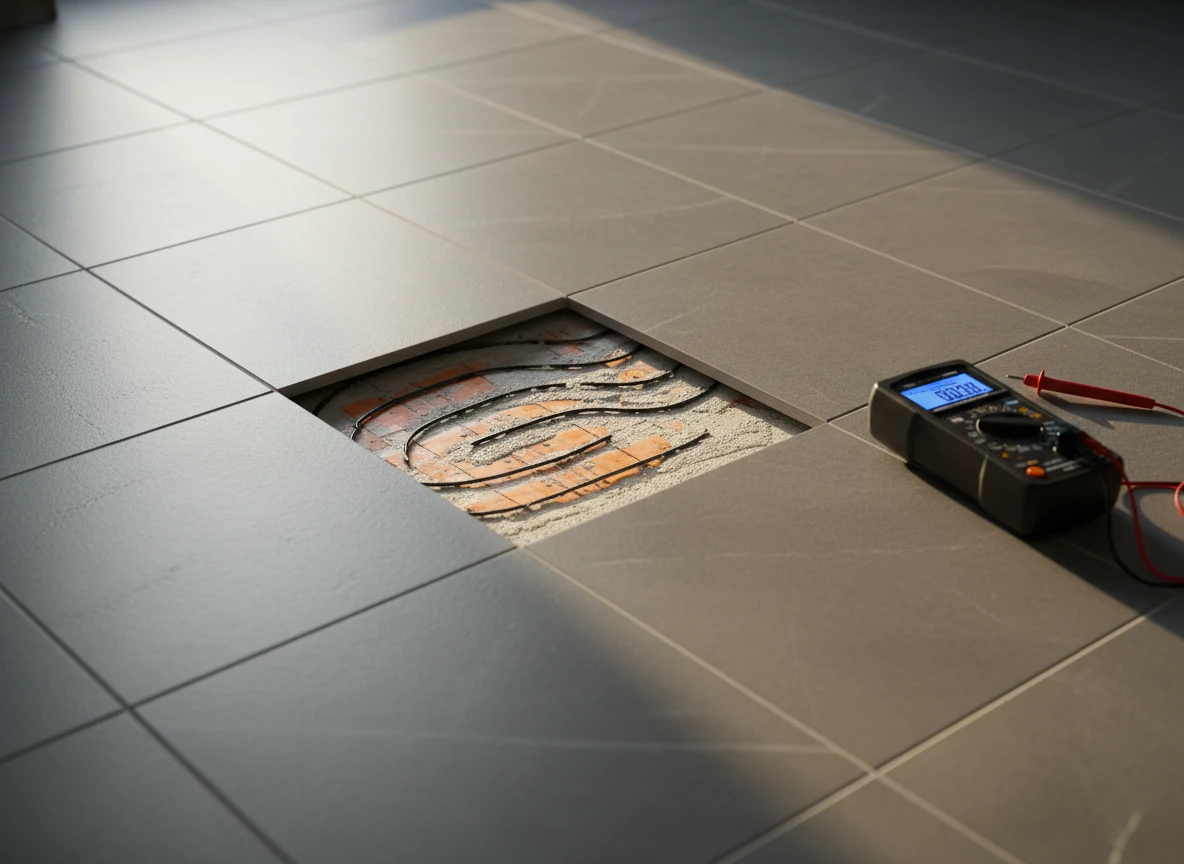
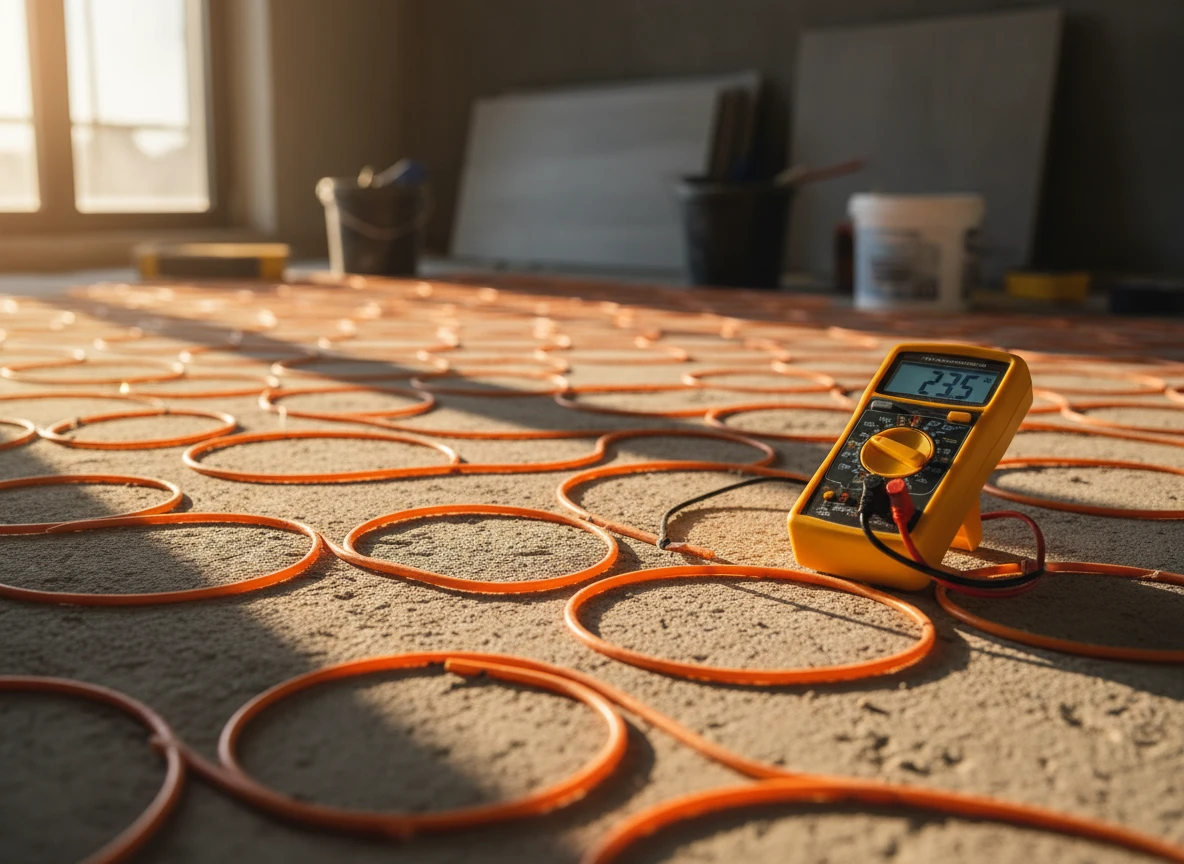
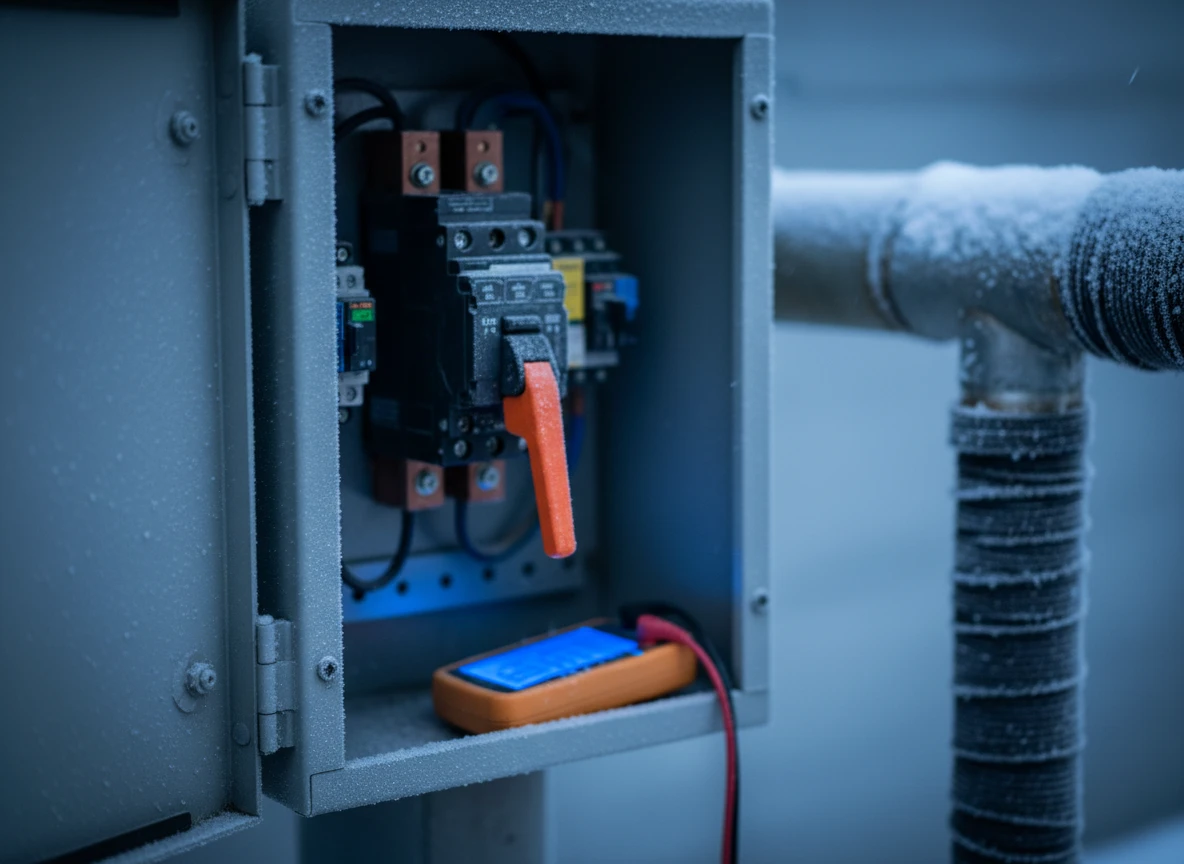
Before pouring self-leveling underlayment or setting tile, use a digital multimeter to test the resistance of your heating elements. This verifies that no cables were nicked or compressed during the layout process. Testing now saves you from the nightmare of chipping up cured tile later.
The gear that keeps your floor warm and your seals intact
Selecting the right installation hardware
Imagine walking into a freshly renovated bathroom on a freezing morning, enjoying the immediate warmth underfoot, only to notice a faint, chemical sewer odor near the toilet. You pull the porcelain fixture and discover a sticky puddle of melted wax that has slowly seeped into the subfloor because a loose heating cable drifted too close during installation. This frustrating scenario happens more than you'd think, but the right physical barriers prevent it entirely.
To stop cable drift, professional installers rely on studded uncoupling membranes rather than loose-stapling wires. These plastic membranes feature pre-spaced nodules that lock the cable into precise geometric pathways, preventing any shifting while you pour the self-leveling underlayment. This ensures your heating elements maintain a strict, permanent distance from the toilet flange. It's a basic principle of thermal isolation,similar to how we manage precise heat containment in industrial settings using insulated heating jackets or drum heating jackets to keep energy exactly where it belongs.
But what if your bathroom layout is incredibly tight and you can't avoid bringing the warmth closer to the fixture? The solution lies in swapping out the traditional wax ring for a modern, wax-free toilet seal. These seals use high-grade, temperature-resistant silicone rubber or closed-cell foam. They don't soften, degrade, or lose their compression seal when exposed to continuous low-level heat from your electric floor heating system. And unlike wax, they can survive multiple toilet removals if you ever need to clear a clog.
At Integro Process Heating Solutions, we're aware that reliable thermal performance depends on using the right materials for the job, whether dealing with heavy industrial applications or domestic and commercial heating projects. While a standard wax ring might survive under perfect conditions, results vary wildly depending on your exact subfloor insulation. Upgrading to a foam or rubber gasket is a simple, inexpensive way to build safety into your design. By pairing a structured cable mat with a temperature-resistant seal, you get both maximum warmth and total structural integrity for your floor heating solutions.
Where installers get burned trying to squeeze in extra heat
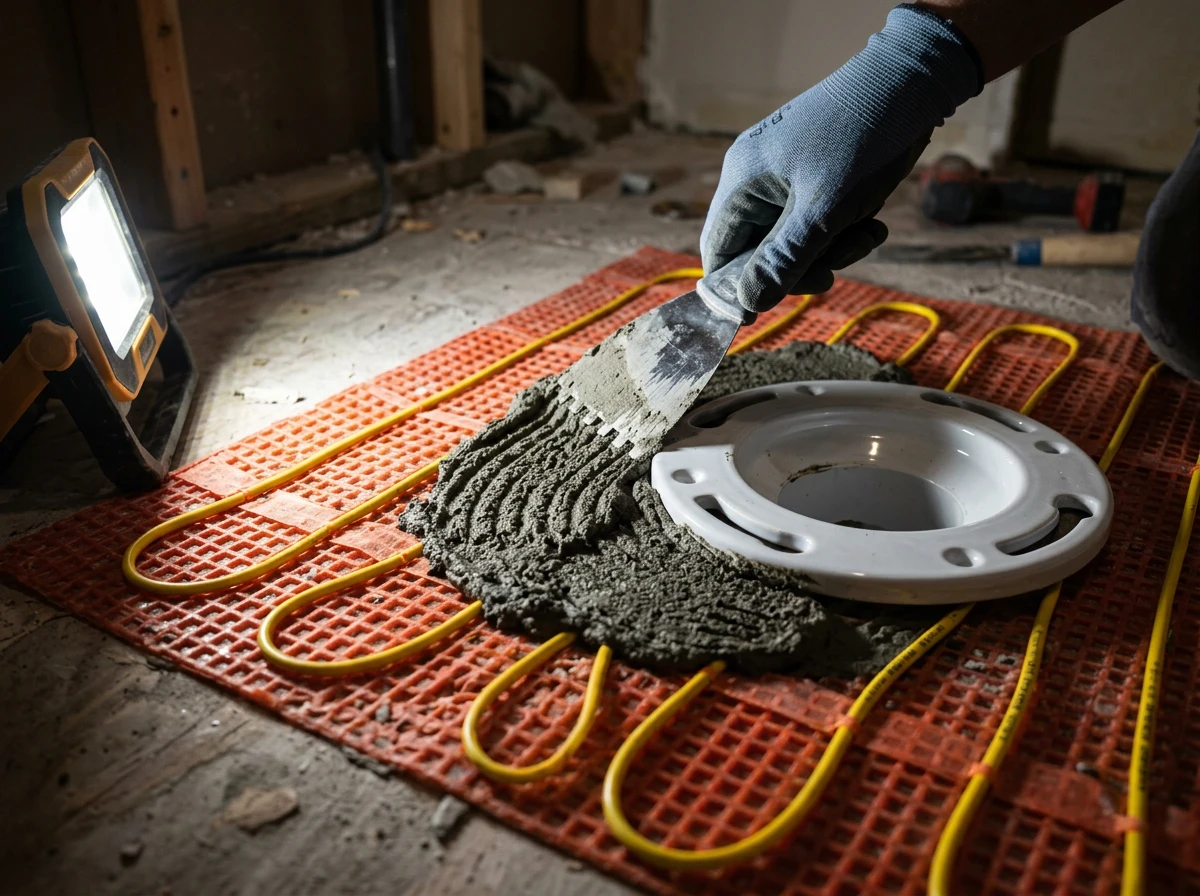
Even the best gear fails when installers try to outsmart physics. I've watched field technicians make the same fatal mistake on site: trying to squeeze an extra square foot of warmth out of a pre-fabricated mat. They assume a little overlap won't hurt.
But you cannot cut or shorten resistance cables to fit a tight nook. Doing so alters the electrical resistance, skyrockets the current, and turns your electric floor heating into a literal fire hazard. It's a binary system,it either fits as designed, or it burns out. If you have excess cable, you must route it elsewhere, never shorten it.
Another critical blunder is shoving loose wire loops directly under the porcelain footprint of the toilet. Installers think the heavy ceramic will just absorb the heat. Instead, the trapped thermal energy builds up with nowhere to escape. This leads directly to toilet wax ring melt, sewage leaks, and a foul-smelling bathroom floor.
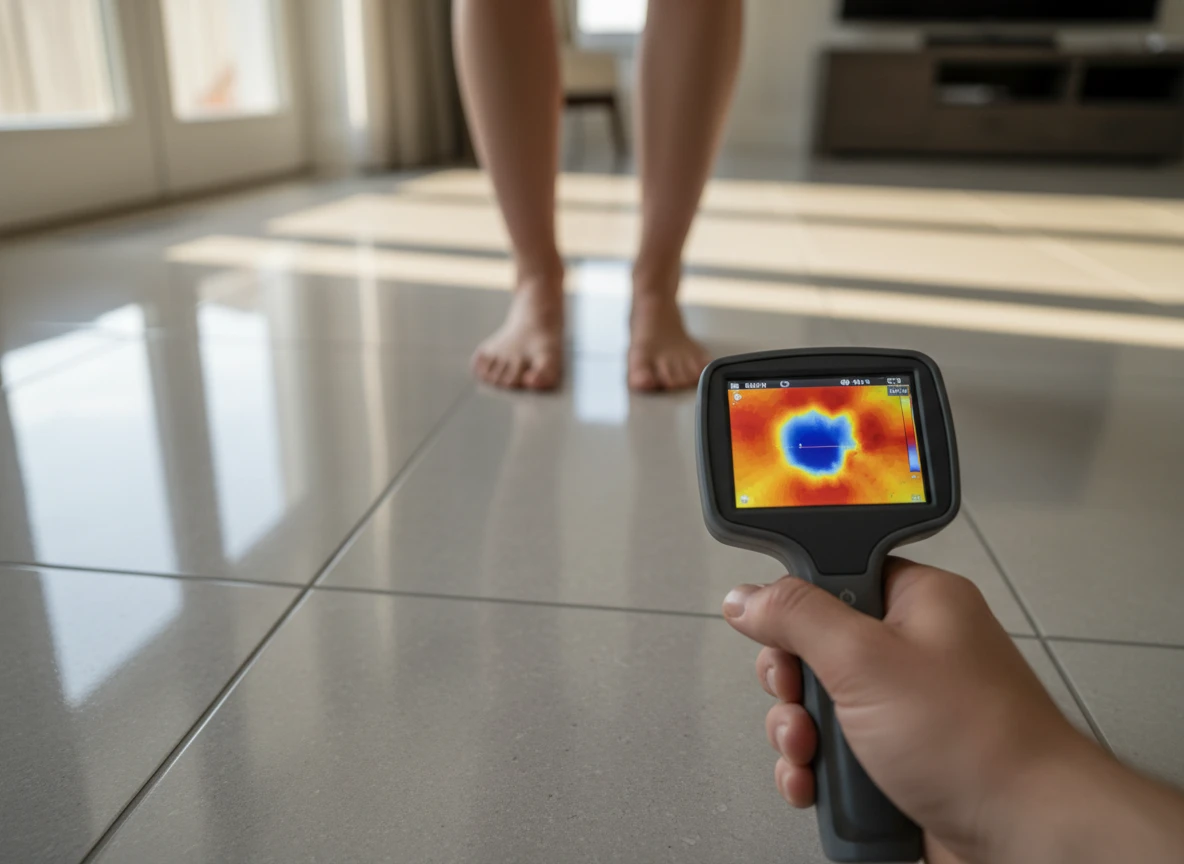
Miscalculating tile mortar bed thickness also ruins thermal performance. If the mortar is too thin, you get dangerous hot spots that can crack tiles. If it's too thick, the heat never reaches the surface. While we design massive industrial heating chambers with complex sensors to avoid these exact thermal lag issues, residential bathroom underfloor heating installers often rely on guesswork.
For reliable underfloor heating systems, precise geometry is non-negotiable. Do not try to bypass the manufacturer’s clearance rules. If you force the cable where it doesn't belong, you will ruin the seal, crack your tiles, and end up tearing out the entire floor.
Finding the sweet spot between warm toes and a dry subfloor
Avoiding a costly installation disaster comes down to one simple decision before you even open a bag of mortar.
You have two options here. You can stick to a strict six-inch boundary around the toilet flange to protect a standard wax seal. Or, you can swap that wax out for a modern, heat-resistant silicone gasket. If you go with silicone, you can run the heating cables slightly closer without worrying about a slow, hidden leak rotting your subfloor. It's a simple swap, but it makes a massive difference in how warm your floor actually feels.
At Integro Process Heating Solutions, we design thermal systems for everything from massive industrial plants to cozy home bathrooms. If there's one thing we've learned, it's that you have to double-check your boundaries before they become permanent. Once that mortar cures, there's no going back.
So, grab your tape measure before pouring any thinset. Physically map out the heating wire against the actual footprint of your toilet. A quick five-minute check now means you won't have to choose between warm feet and a dry floor later.
If you're designing a complex layout with circulation heaters or custom thermal equipment, Integro Process Heating Solutions provides engineered heating solutions that keep operations efficient.
FAQ
How far should underfloor heating be kept from a toilet?
You'll want to maintain a buffer zone of at least 6 inches from the center of the toilet flange. That gap stops the heat from breaking down the seal beneath your porcelain base.
Can electric floor heating actually melt a toilet wax ring?
Yes, it's totally possible. Traditional wax starts losing its structure around 130 degrees Fahrenheit, and trapped heat under a toilet skirt can hit those trouble spots over time.
What's the best fix if I want warm tiles right up to the toilet?
Just swap out the old wax ring for a modern rubber or foam wax-free gasket. They handle temperature shifts easily and won't melt when your floor heating's cranked up.
Is it safe to cut electric heating mats to fit tight bathroom corners?
Don't ever cut the actual resistance wire. You can cut the mesh backing to turn the mat, but snipping the wire creates dangerous hot spots and ruins the circuit.