- By Admin
- Integro
- The terrifying rumor about broken underfloor heating
- How a single slip of the trowel kills a floor heating mat
- Diagnosing the break without ripping up your master bath
- The single-tile swap: how surgical wire splicing actually works
- Why you absolutely need a licensed electrician for the final splice
- Where clean repairs go sideways: mistakes that double your costs
- Restoring your warm floors with minimal disruption
- Frequently Asked Questions
The terrifying rumor about broken underfloor heating
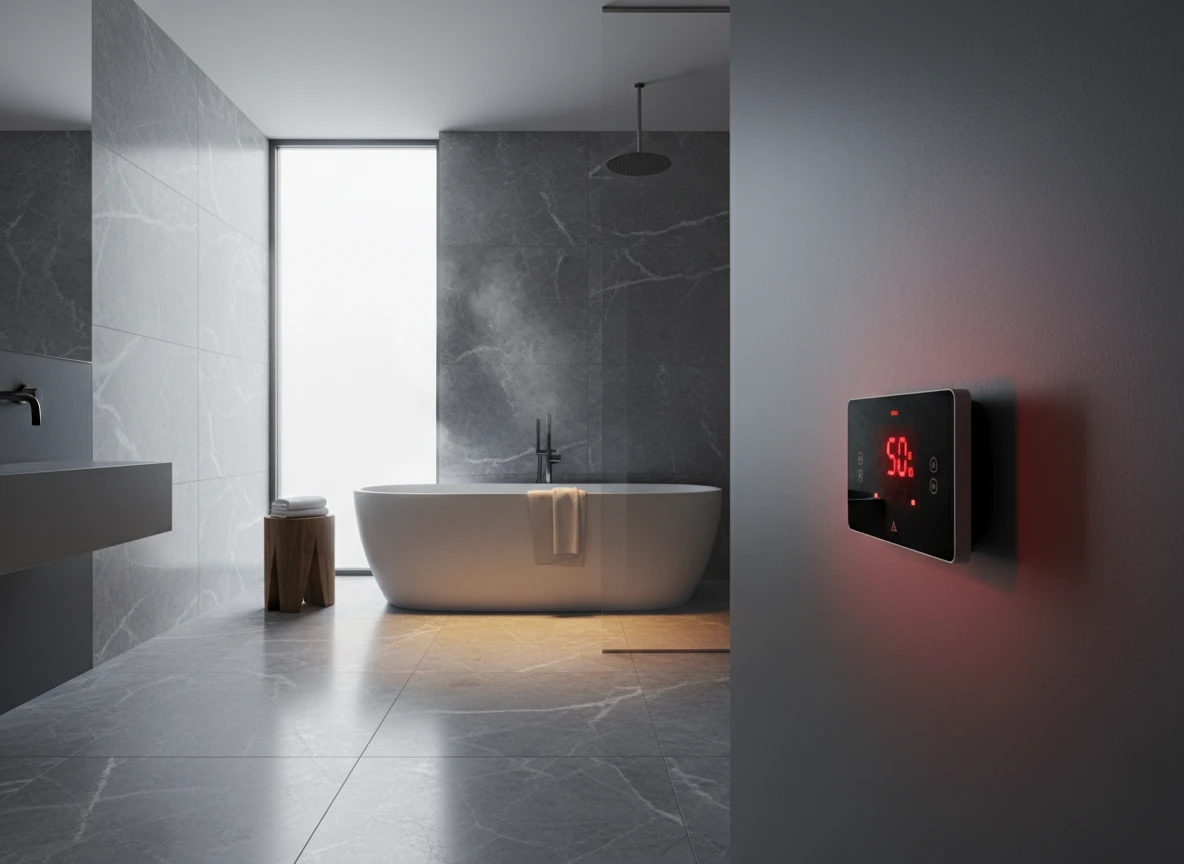
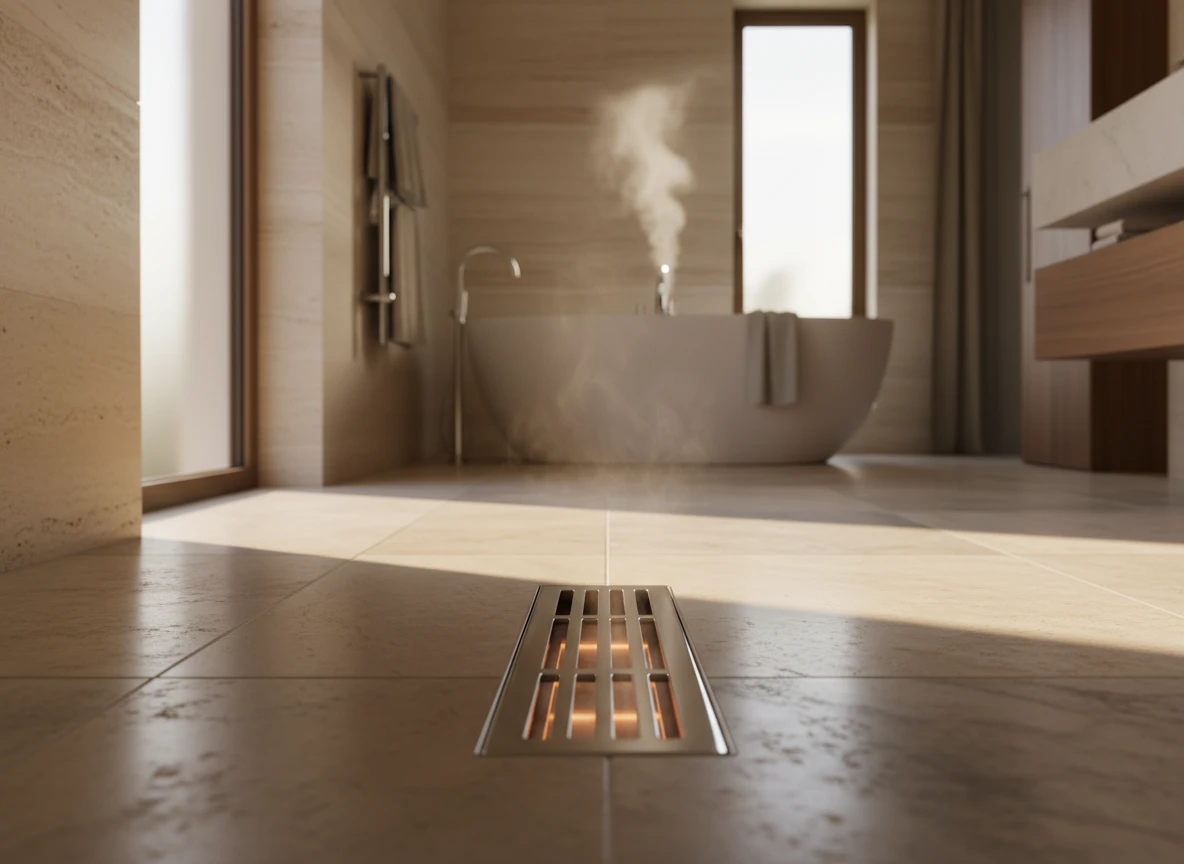
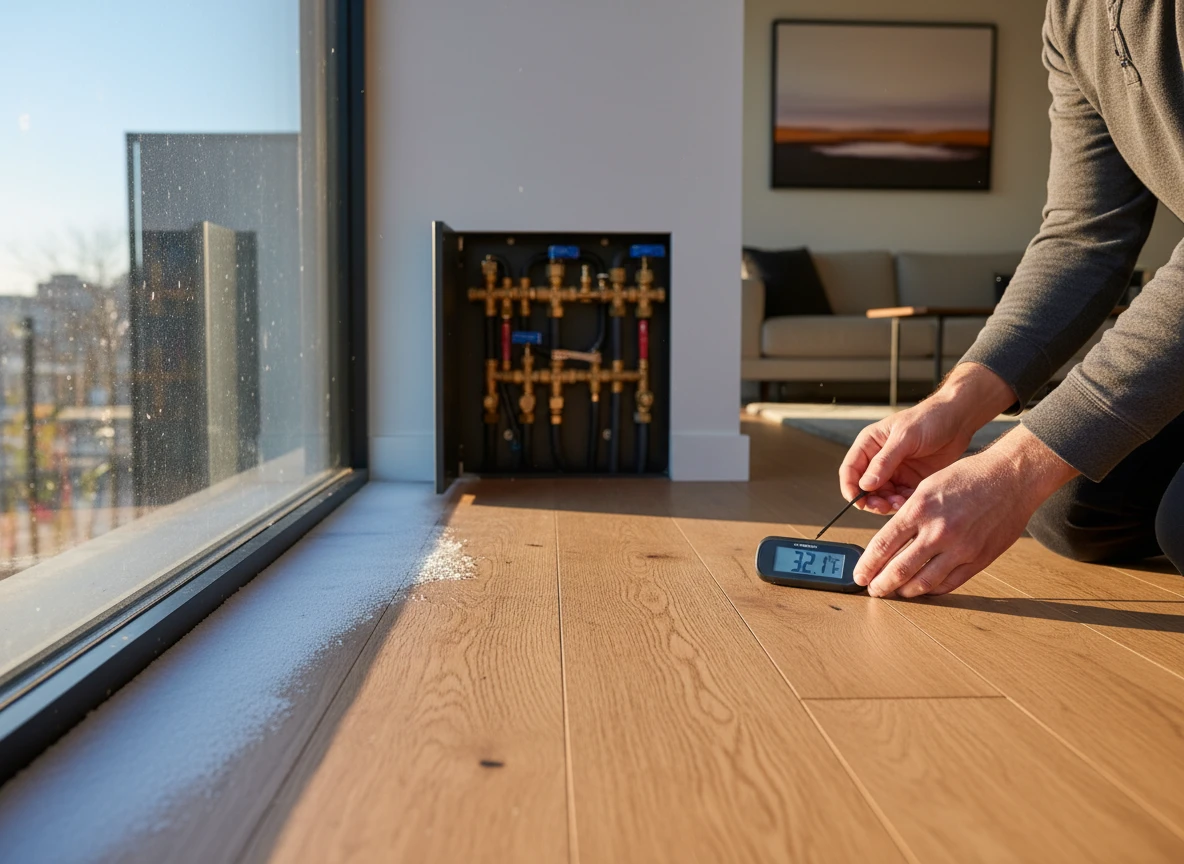
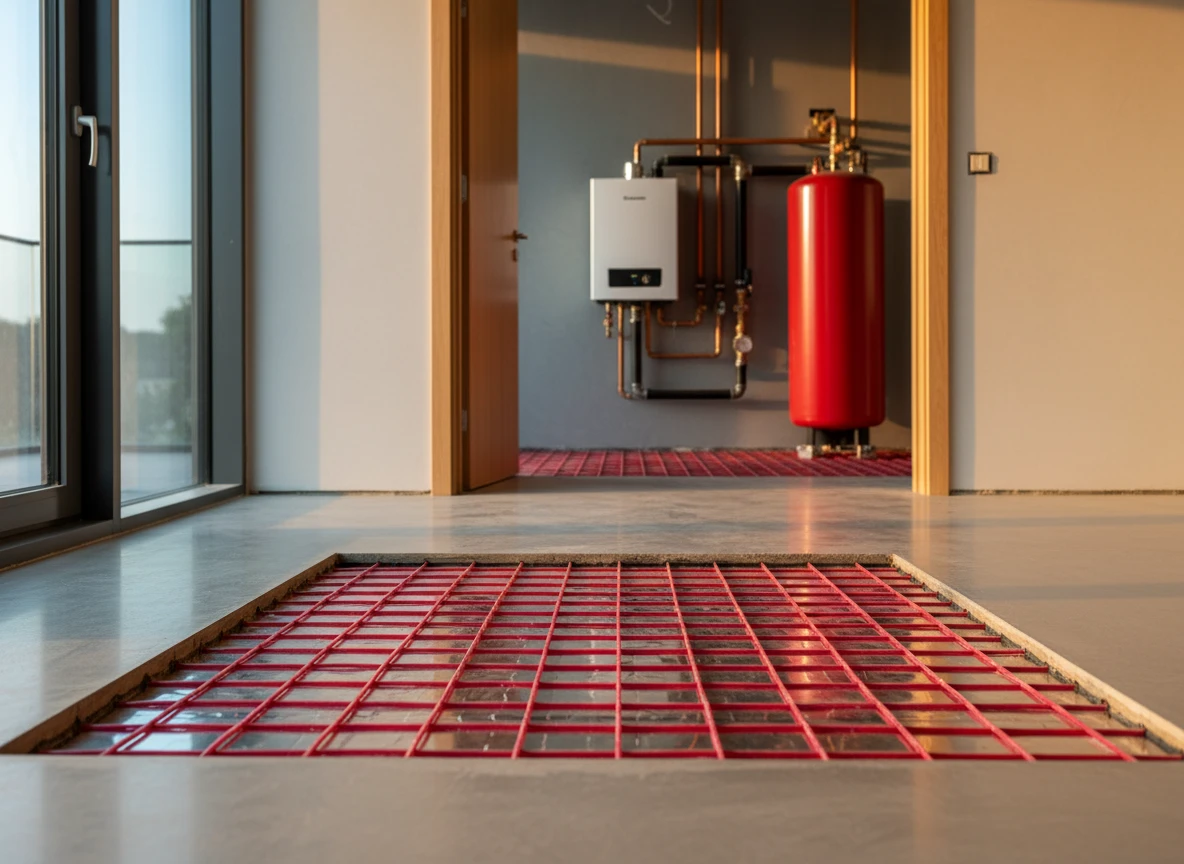
You wake up, step onto a freezing bathroom floor, and flip the thermostat. Nothing happens except a blinking error code. Naturally, you panic. You probably picture a dusty jackhammer tearing up your expensive imported porcelain tiles just to find one tiny break in a wire. It's a common fear. Honestly, it's the main reason people hesitate to install an underfloor heating system in the first place.
But that total demolition rumor is wrong. You don't have to start over.
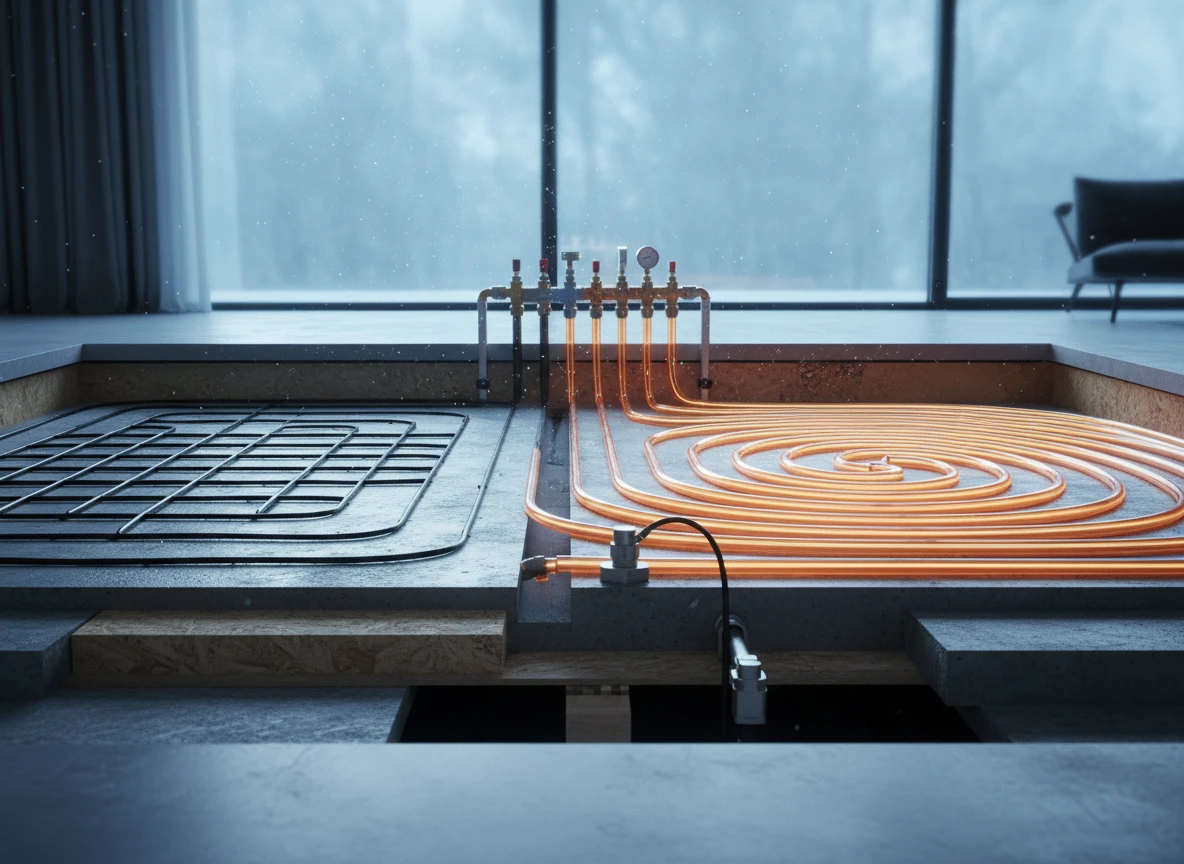
At Integro Process Heating Solutions, we look at thermal issues through a practical engineering lens. Whether we're dealing with a massive industrial setup or a small residential bathroom, the physics don't change. When an electric underfloor heating cable breaks, you don't need to gut the room. We can pinpoint the break down to the exact inch.
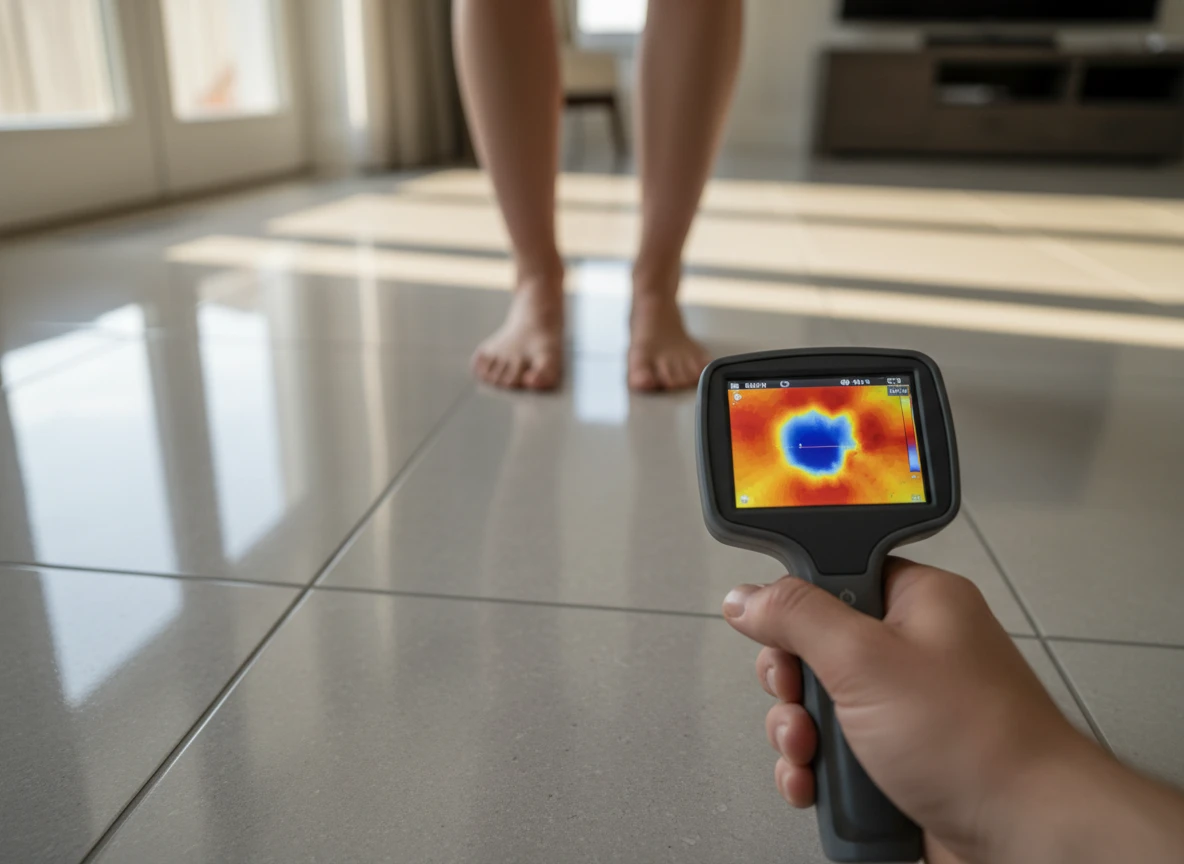
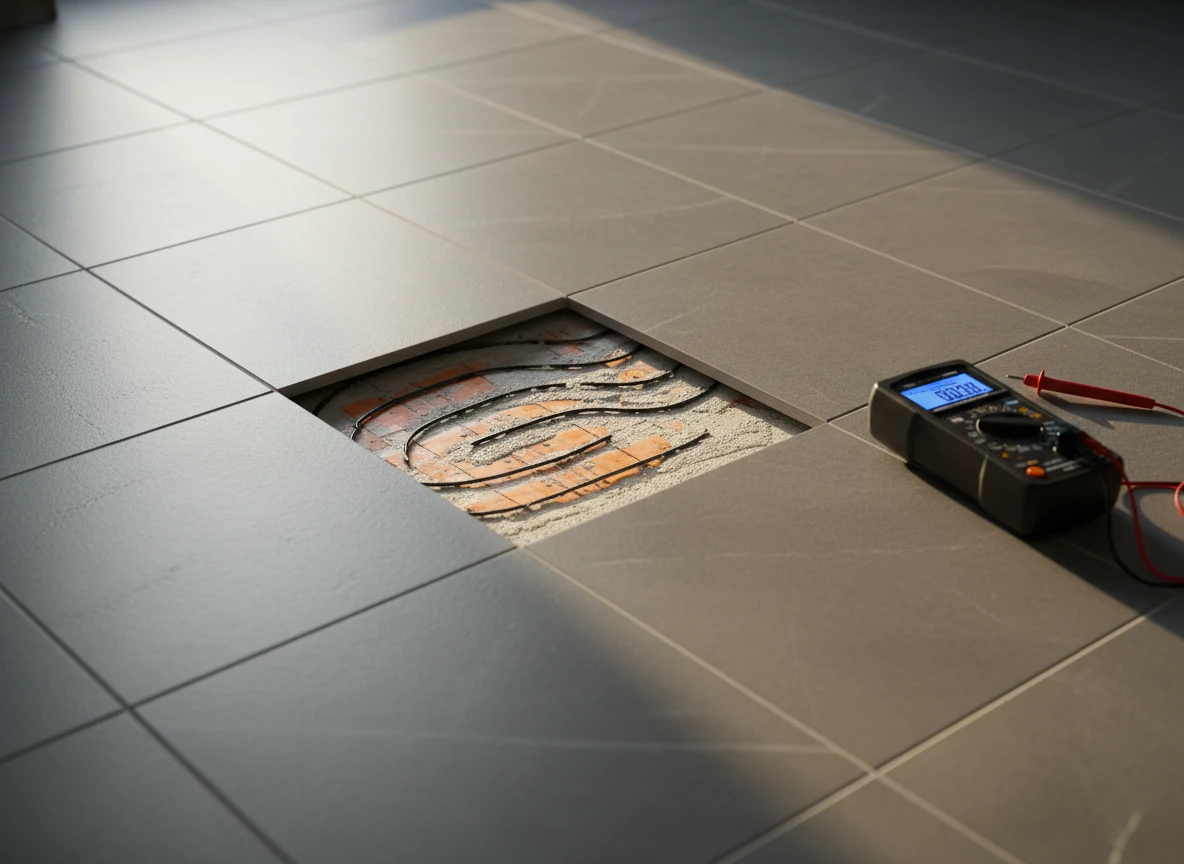
Think of it as a targeted fix rather than major surgery. By using specialized diagnostic tools like high-potential generators and thermal imaging cameras, technicians can find the exact spot where the electrical current stops. That means you only have to pop out one or two tiles to make a permanent, waterproof splice.
Now, this isn't to say the fix is effortless. Results depend on who installed the system, and you still have to carefully chip away the old mortar and match your existing grout. Still, sacrificing a single tile is nothing compared to paying thousands of dollars to rebuild the entire floor. If your floor goes cold, don't panic. It's completely fixable, and the process is way less invasive than the rumors make it out to be.
How a single slip of the trowel kills a floor heating mat
The moment a bathroom floor heating system goes silent
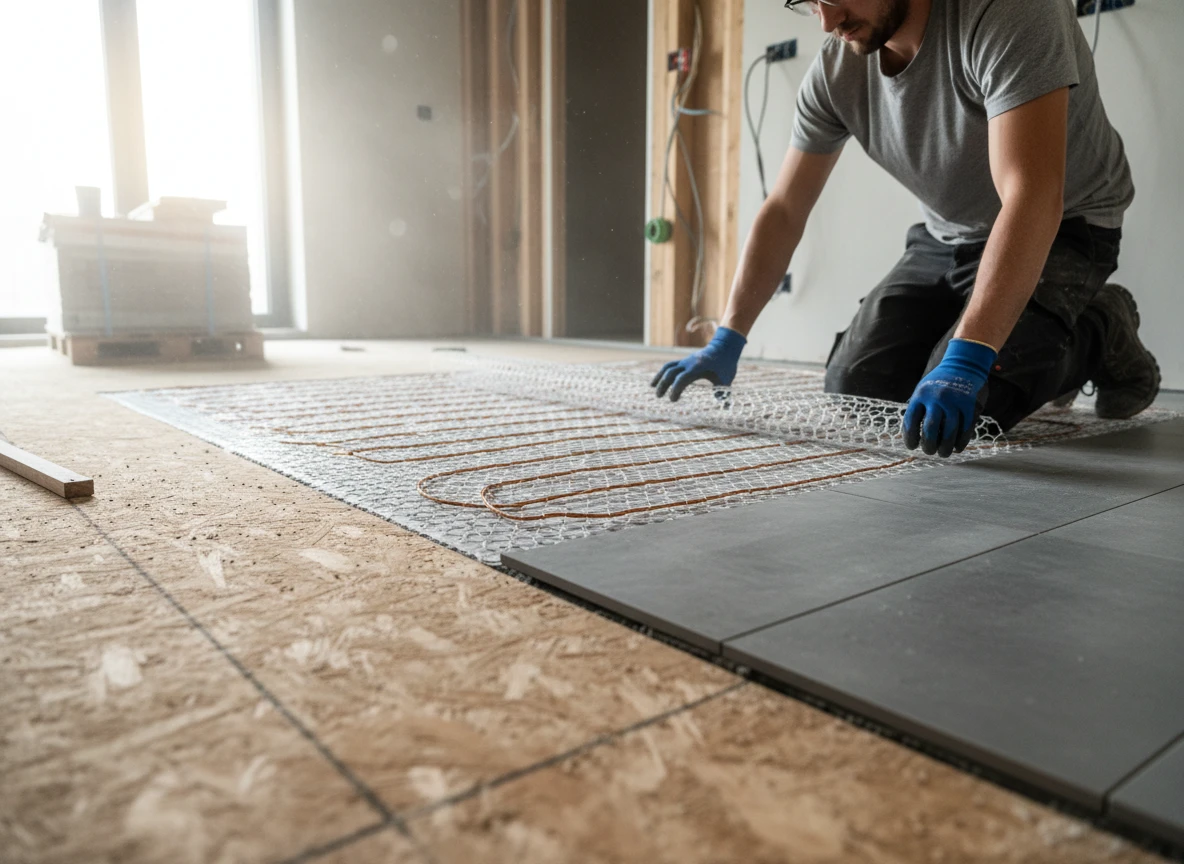
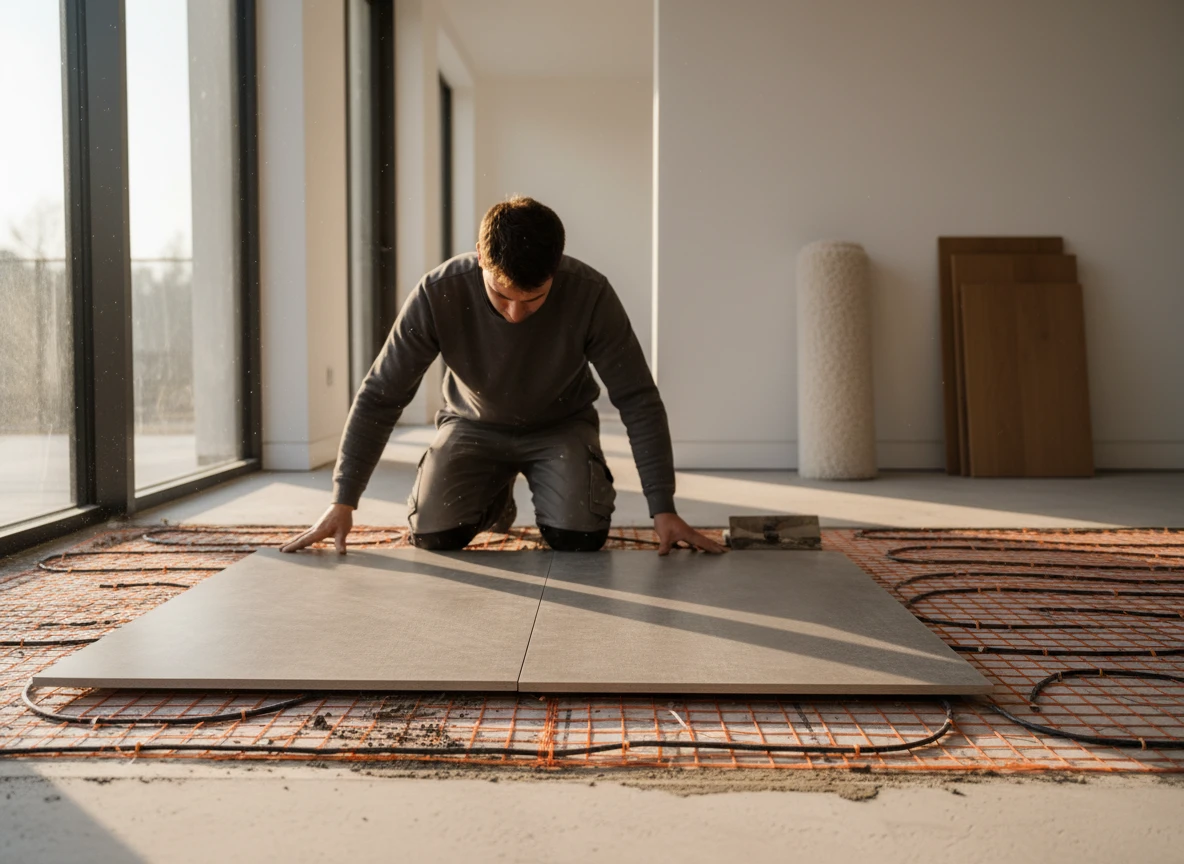
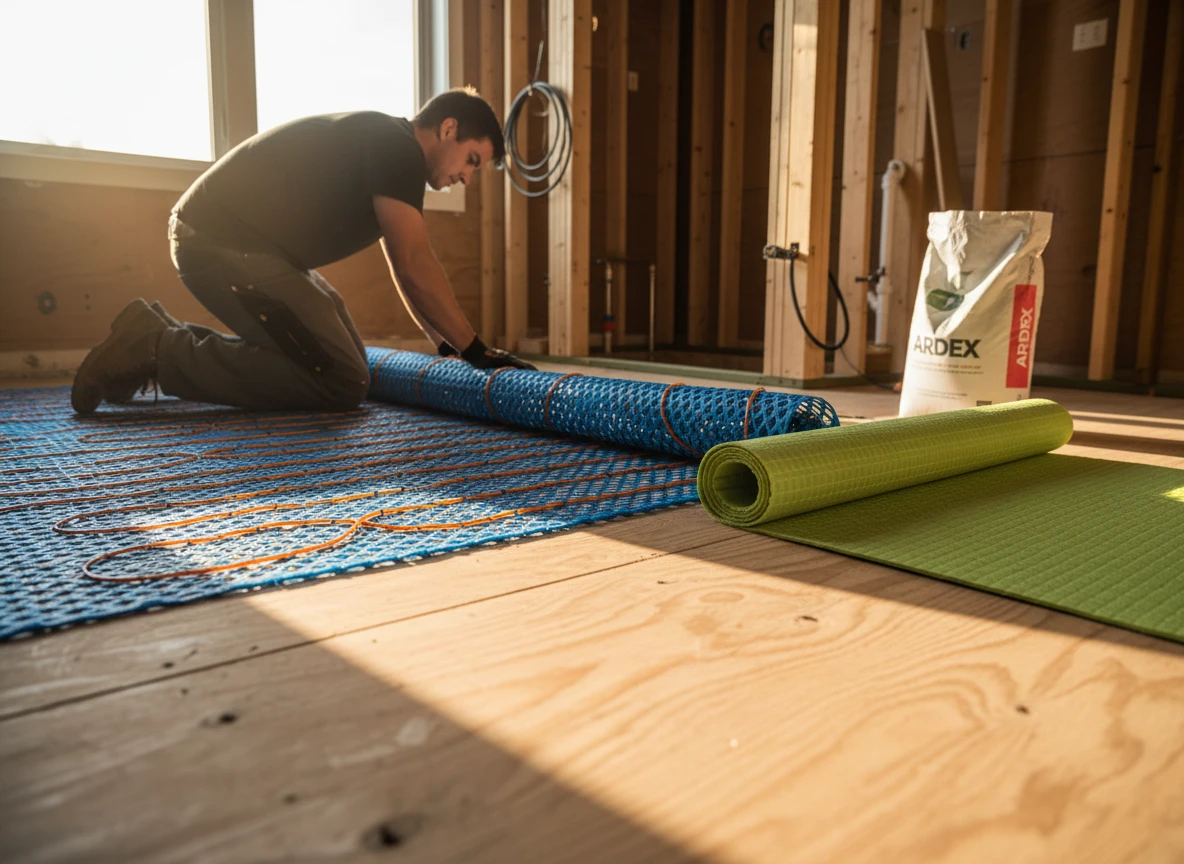
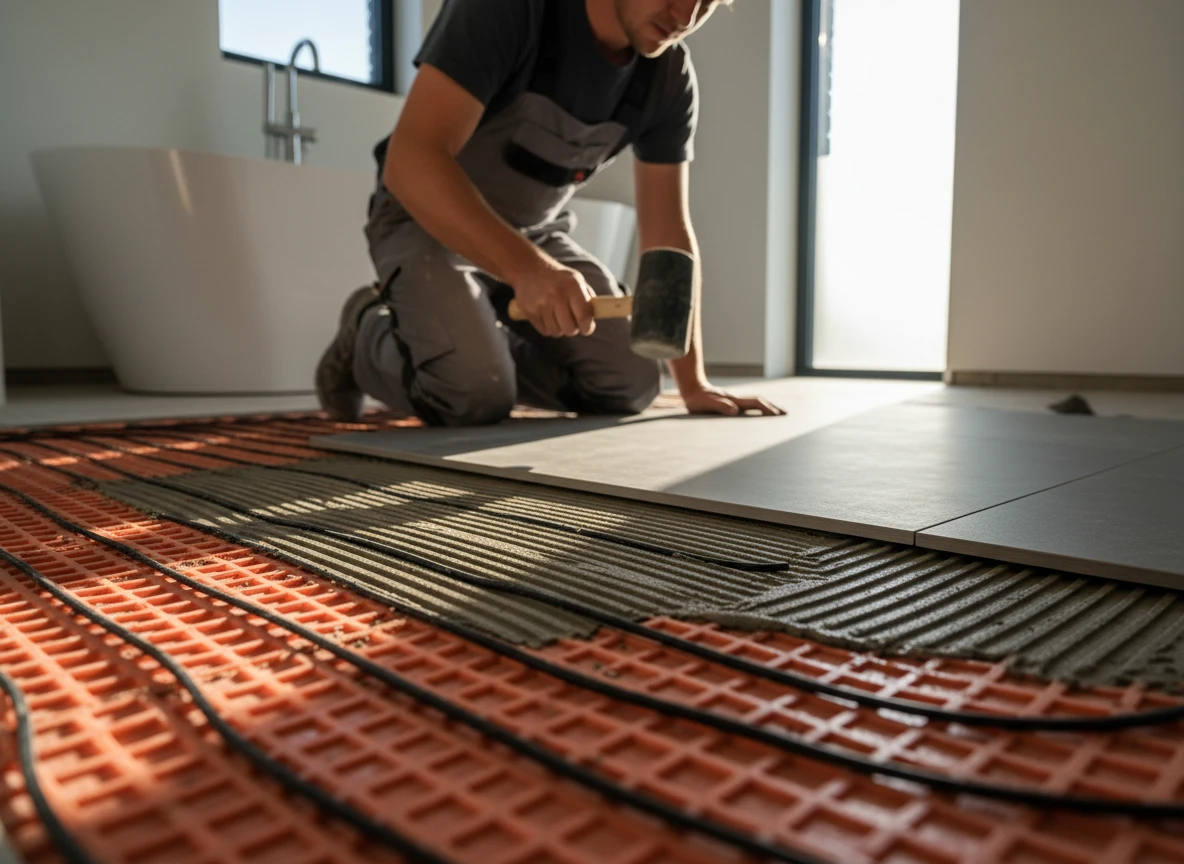
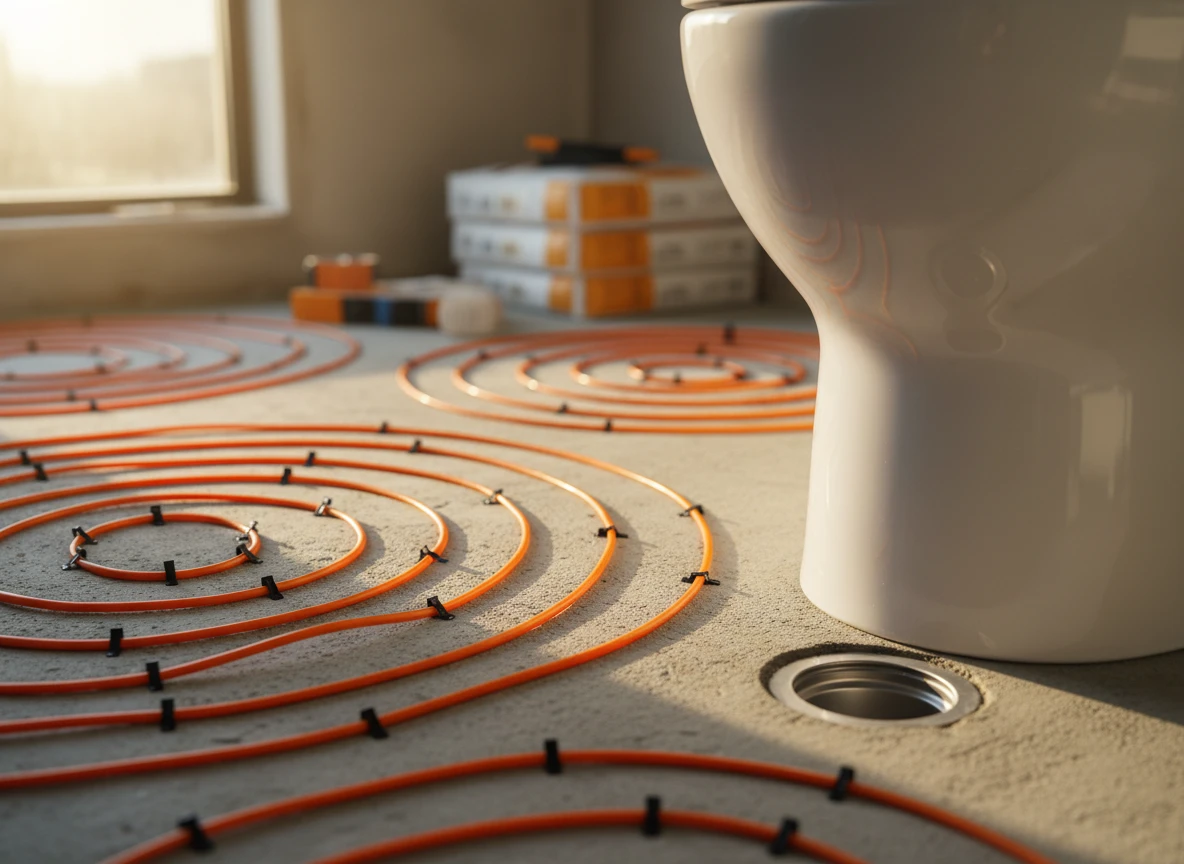
Imagine the bathroom remodel is nearly complete. The tile installer is spreading thinset over a newly laid electric floor heating mat, working with a heavy metal trowel. To clear some excess mortar from the blade, they tap the metal edge against the floor. It's a quick, rhythmic tap,something they've done a thousand times.
But this time, the sharp corner of the trowel nicks the thin protective jacket of the heating cable. It doesn't look like much, just a tiny scratch in the insulation. When the power is turned on weeks later, the system fails to heat up.
This microscopic damage is how most failures in bathroom underfloor heating systems actually happen. The physical core of the cable is incredibly thin. When a metal tool scrapes it, the conductor inside is either severed outright or exposed to the alkaline environment of the wet thinset.
Over time, moisture penetrates this tiny breach. What starts as a minor scrape quickly degrades into a short-circuit, rendering the entire loop useless.
Another common failure point happens long after the tile is set. A homeowner decides to install a heavy glass shower door. The installer drills into the tiled floor to mount the bottom guide, completely unaware that a floor heating mat lies just millimeters below. The drill bit easily bites through the porcelain tile and chews straight through the heating wire.
These mistakes are frustratingly common, but they don't mean your floor is ruined. While some homeowners assume they have to gut the whole room, the reality is that the damage is highly localized. At Integro Process Heating Solutions, we often see these issues when troubleshooting why electric radiant floor heating systems fail to perform. Instead of tearing up the entire room, a technician can pinpoint the exact spot of the nick or cut, allowing for a precise, single-tile repair.
Diagnosing the break without ripping up your master bath
Measuring resistance before making the first cut
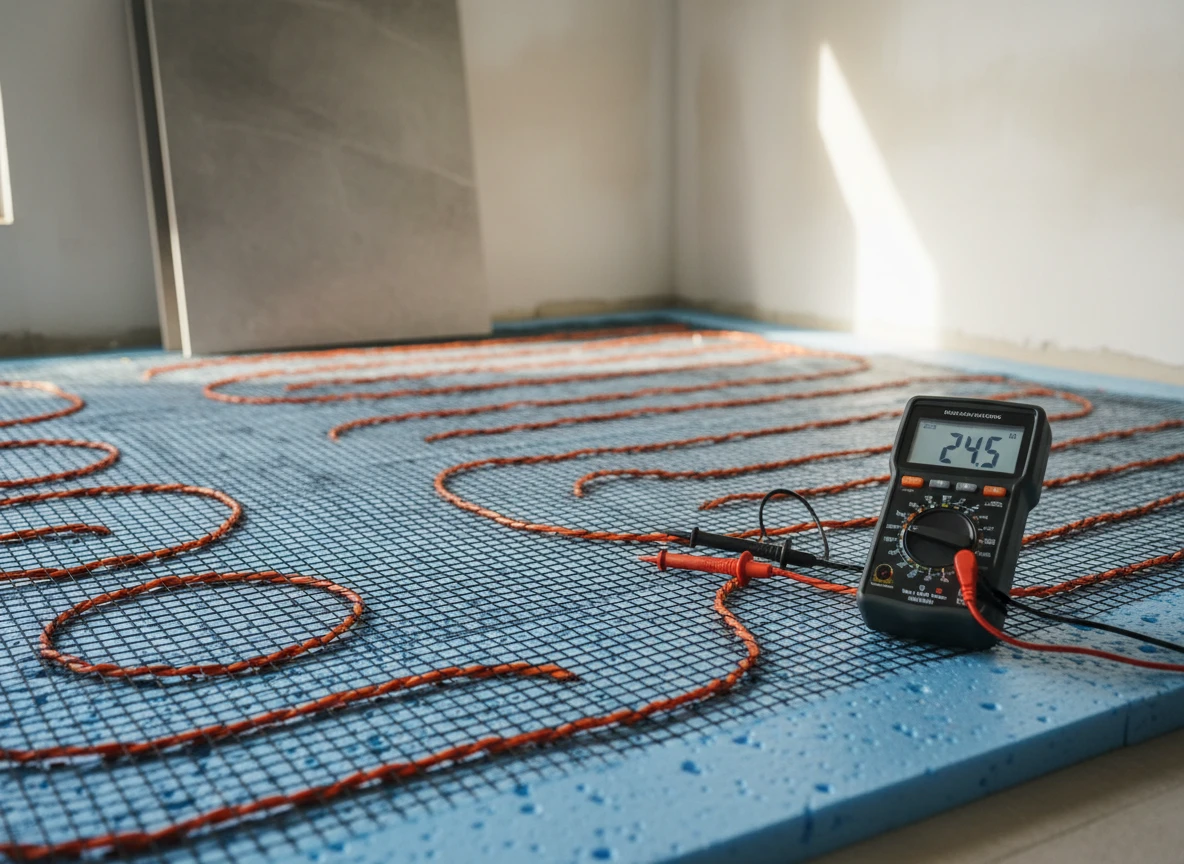
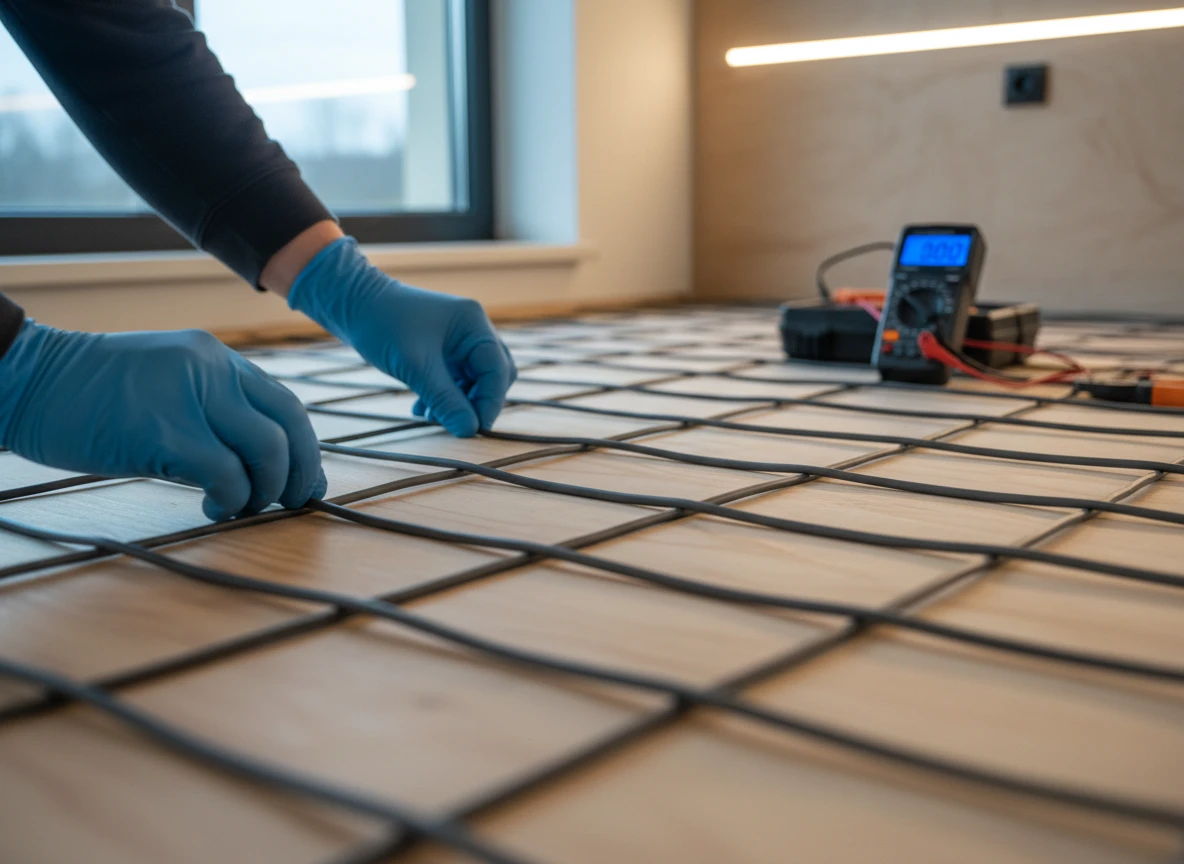
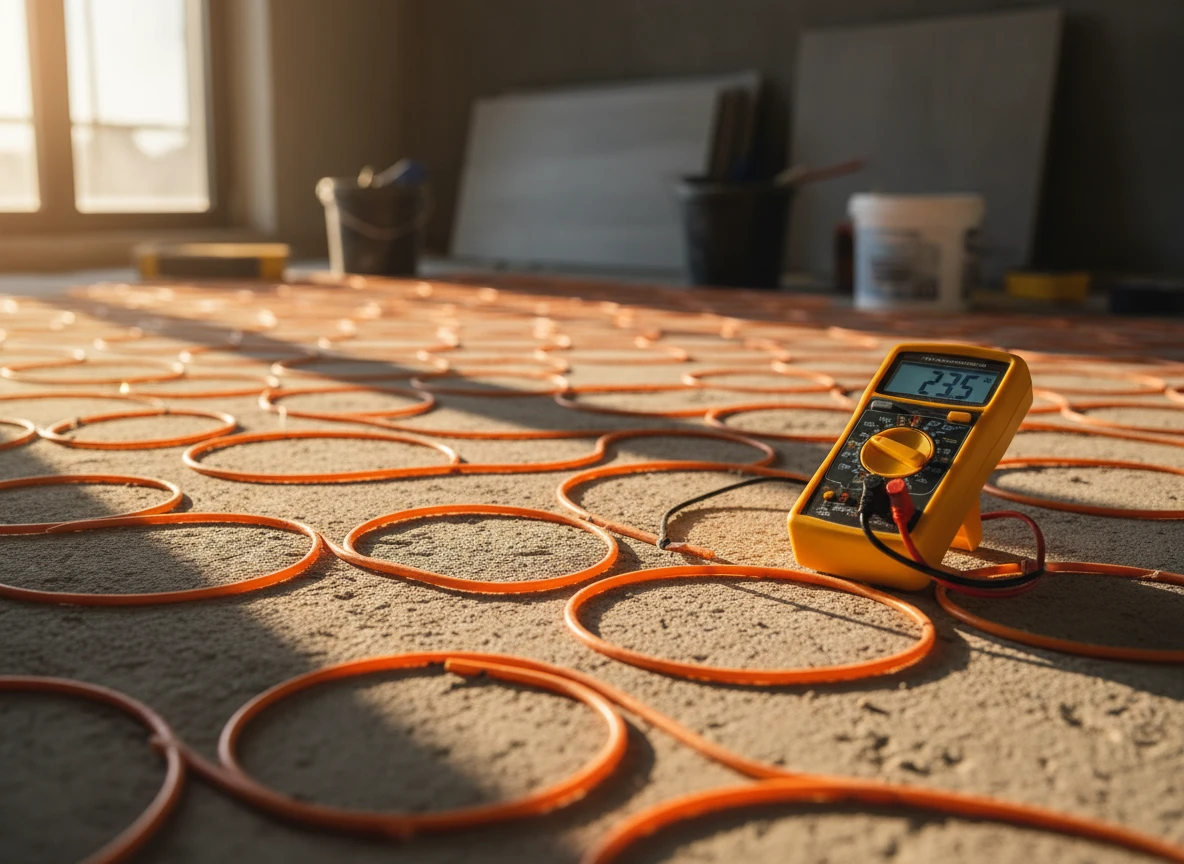
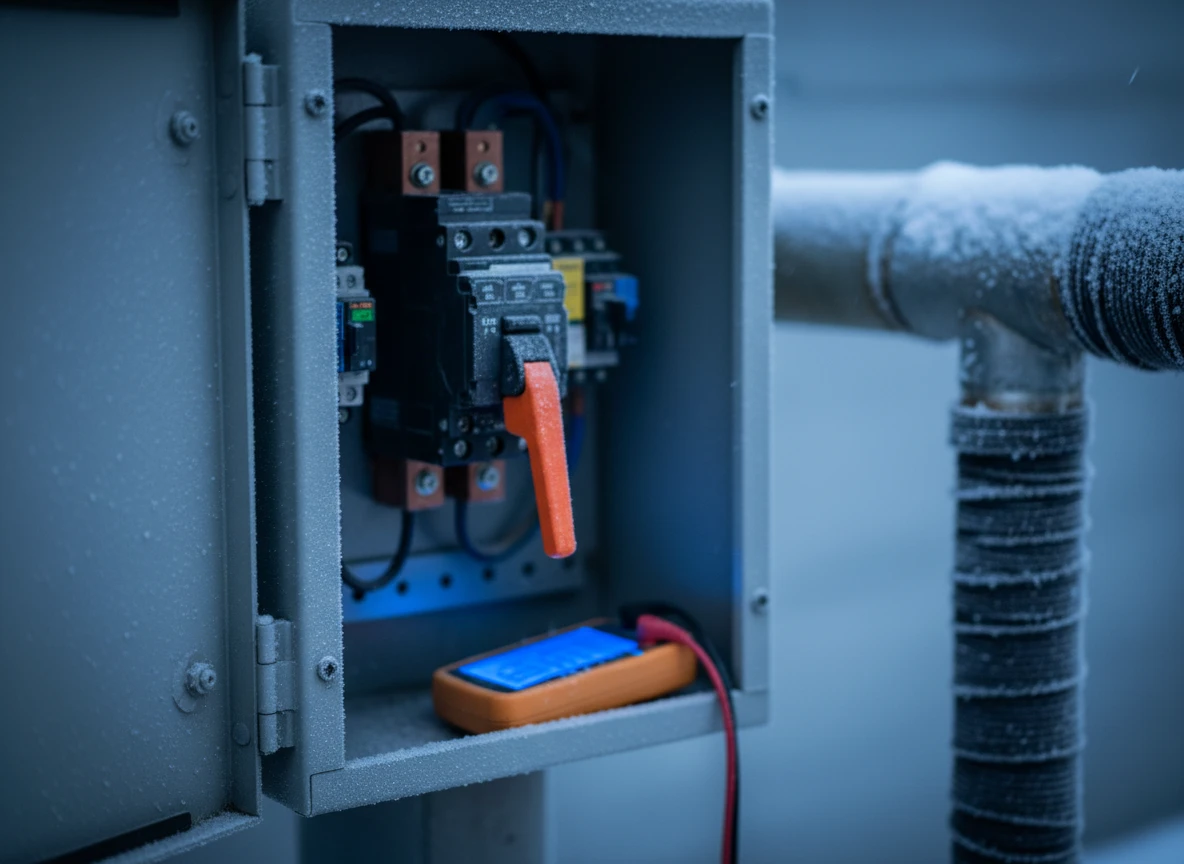
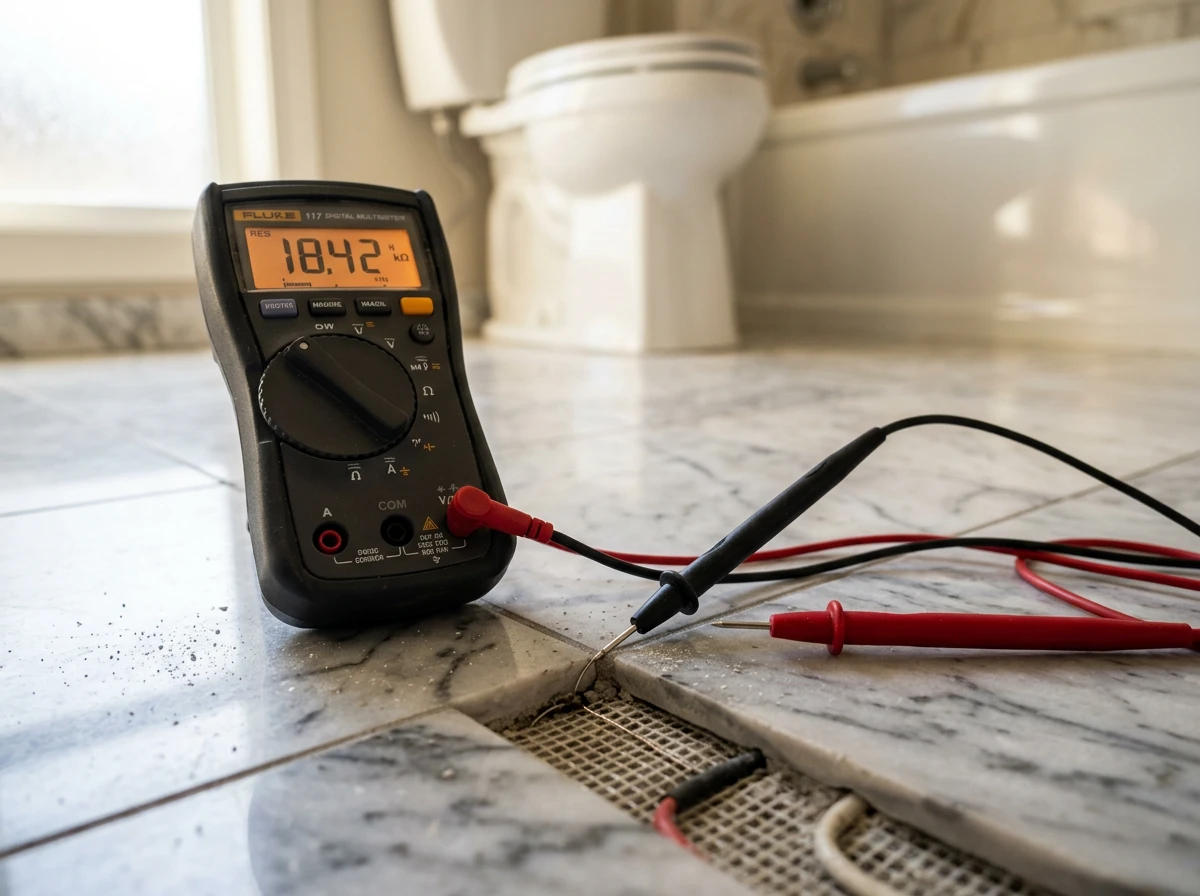
Almost 95% of electrical faults in an electric radiant floor heating mat happen within a tiny two-inch radius of some physical disruption. You don't need to tear up the whole master bath to find it. Start with a basic digital multimeter set to measure resistance up to 20,000 ohms.
First, run a core-to-core test. Compare your current reading against the manufacturer's original specs. Next, test core-to-ground by connecting the red or black wire to the grounding braid. If that ohm reading is infinite, you have an open circuit. The wire is severed.
But here is the catch. As manufacturers of underfloor heating systems, we know a resistance check only tells you if there is a break. It won't tell you where it is. For that, you need a Time Domain Reflectometer (TDR).
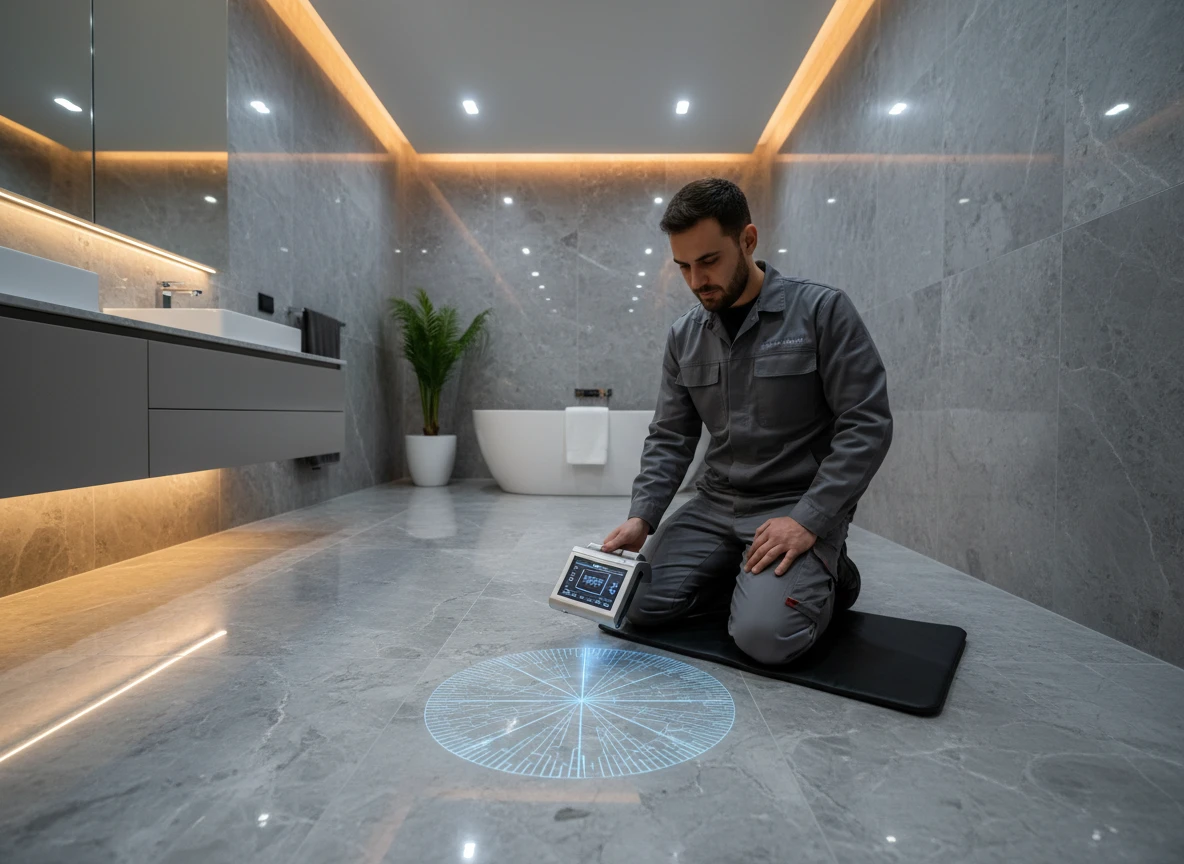
Think of a TDR as radar for cables. It sends a high-frequency electrical pulse down the wire and measures how many nanoseconds it takes to bounce back. Multiply that time by the copper conductor's propagation velocity, and you get the distance to the break down to the inch. Cable winding patterns can throw this math off slightly on the first try, but it narrows your search area immediately.
If the fault is stubborn, we use a high-potential (Hi-Pot) generator to send a controlled voltage spike down the line. This spike creates a tiny micro-arc right at the break point. The arc generates localized heat, which shows up clearly on a thermal imaging camera. Now you know exactly which tile to target.
We use these exact testing protocols across all our thermal projects at Integro Process Heating Solutions. It does not matter if we are troubleshooting a home installation or acting as suppliers of underfloor heating systems for commercial builds—the physics remain the same.
We apply this same level of engineering to our heavy-duty industrial systems. We design custom drum heating chamber setups and larger industrial heating chamber units for processing sensitive materials. On a smaller scale, we build specialized gear like flexible heating jackets, drum heating jackets, and insulated heating jackets to keep materials at precise temperatures.
Finding a break in an underfloor heating system takes some specialized gear, but it saves you from ripping up a gorgeous floor. It is a surgical approach. It is very similar to diagnosing other underfloor heating system issues like poor thermal conductivity. Do the math first, and you only have to lift one single tile.
The single-tile swap: how surgical wire splicing actually works
Step-by-step repair execution
Once the diagnostic tools pinpoint the exact fault, the physical intervention begins with surgical precision. You don't need to demolish the entire floor; you only need to remove a single tile.
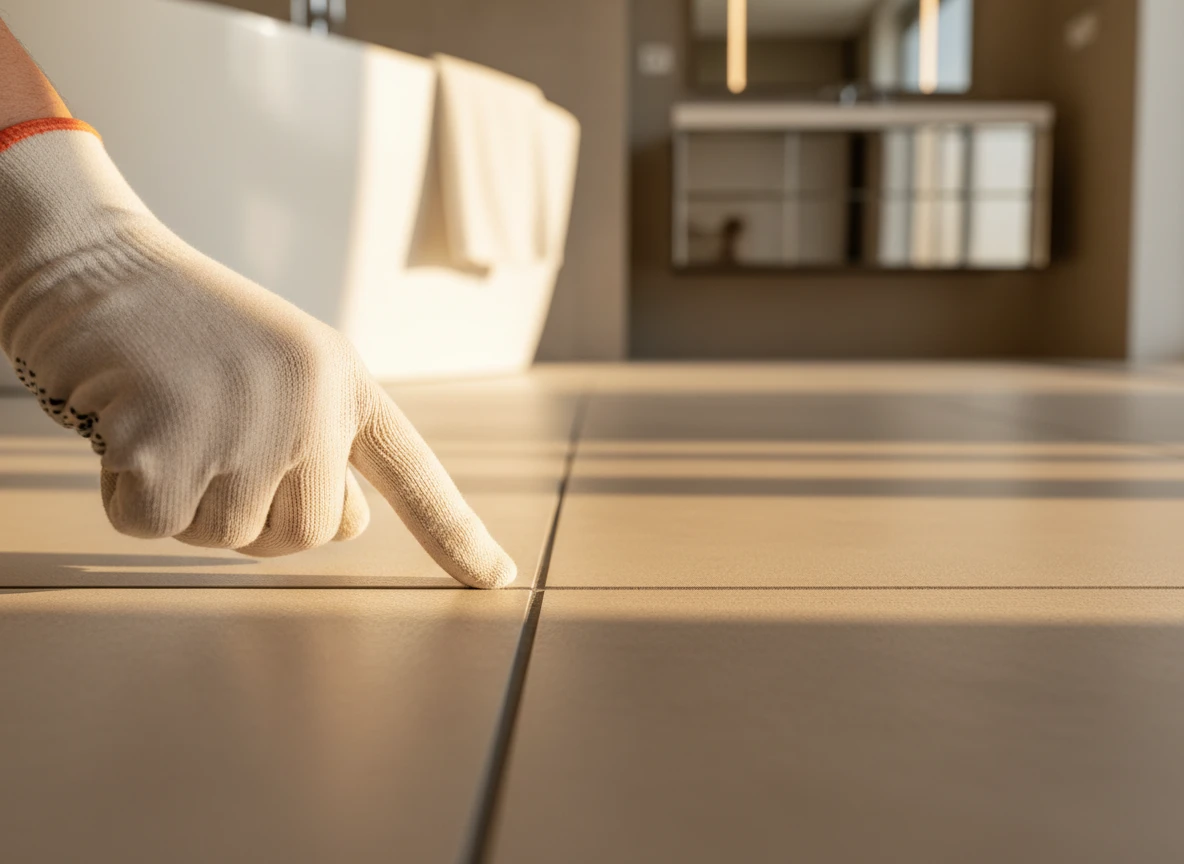
First, score the grout lines around the target tile completely. Prying the tile without scoring transfers mechanical shock, which can crack adjacent tiles or sever nearby intact strands of your electric underfloor heating system.
Once the tile is up, gently chip away the cured mortar to expose the damaged floor heating mat. You'll need to expose four to five inches of clean cable on both sides of the break. Don't use utility knives to strip the jacket; they easily nick the delicate inner conductors. Instead, thermal wire strippers are the safest choice to prevent secondary failure points.
Now, evaluate the physical tension. A direct splice crimps the original wires together if there's enough slack. If the wire is taut, we use a jumper splice to bridge the gap. This logic of secure physical connections is just as vital here as it is when installing industrial self regulating heating cables.
Next comes waterproofing. Bathrooms are high-moisture environments, so using non-adhesive heat shrink or electrical tape is a critical error. Moisture will eventually penetrate, causing a ground fault. Slide adhesive-lined heat shrink tubing over the connection and cure it with a heat gun reaching roughly 1,000°F. The inner adhesive melts to form an airtight, waterproof seal.
At Integro Process Heating Solutions, we always advise running a final multimeter resistance test before laying any new mortar. Re-tiling without this test means you risk burying a faulty splice. Minor reading variances can occasionally occur due to ambient temperature shifts, but the core resistance must match manufacturer specifications. While larger layouts might benefit from hydronic radiant floor heating, electric systems remain highly repairable through this localized approach. Once confirmed, you can reset the tile and restore your domestic and commercial heating system.
Why you absolutely need a licensed electrician for the final splice
Choosing the right splice type
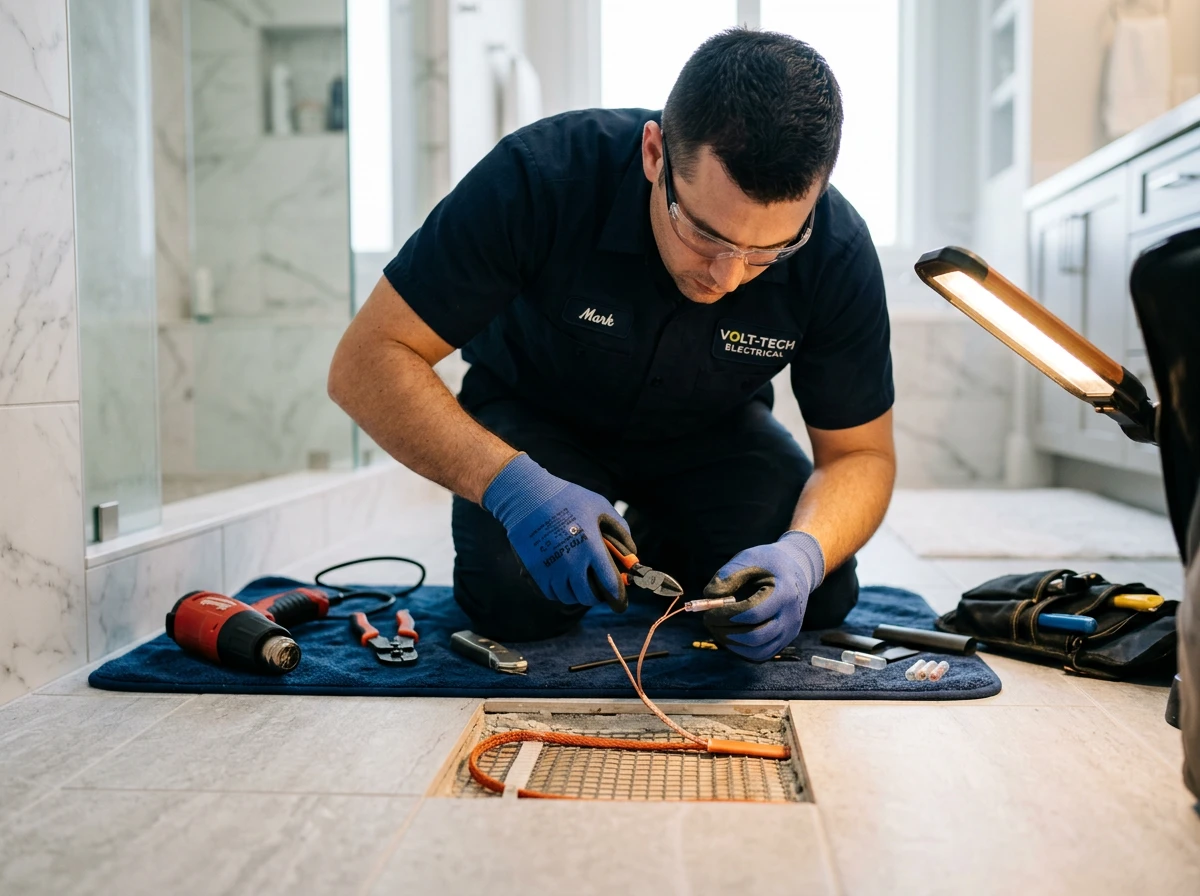
You've got two ways to fix a severed heating cable. A direct splice works when you have enough slack to overlap and crimp the original wire ends directly. But when a trowel or drill destroys a section of wire, you can't stretch it. If the repair is taut, a direct splice will snap under the thermal expansion of the floor. That's why jumper wires are necessary for structural stability. This method bridges the gap with a short piece of matching heating wire. At Integro Process Heating Solutions, we design large-scale thermal systems, and we know that every joint introduces a point of resistance. A poor splice will fail under a tiled floor.
Why DIY is a massive liability
Don't perform this final hookup yourself. If you do, you throw your system warranty away. Manufacturer warranties for underfloor heating systems strictly require a licensed electrician to sign off on the final electrical connections.
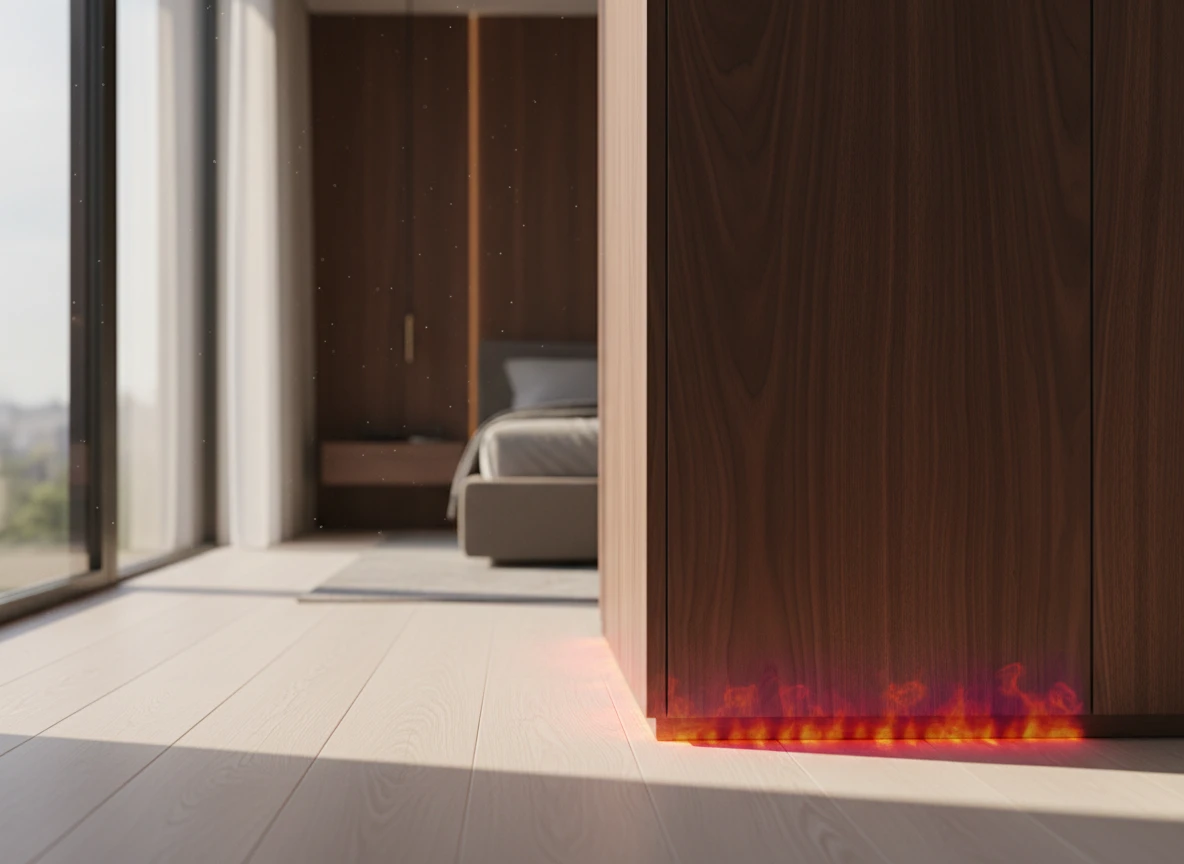
And this isn't just about keeping your paperwork intact. It's a matter of safety. A bad splice under a bathroom floor is a direct fire hazard. Wet thinset and moisture will eventually penetrate a weak seal, causing a ground fault. Just as we use heavy duty containment for insulated heating jackets in industrial settings, your floor heating solutions require flawless, waterproof seals.
Only a licensed professional has the tools to test the repaired circuit properly. They'll run a final multimeter check and a high-potential test to ensure the splice does not leak current. Local building codes dictate that all high-voltage connections must be certified. If you bypass this step, your home insurance won't cover future claims. Whether you're dealing with industrial setups or domestic and commercial heating, cutting corners on electrical work always ends badly. Hire a professional to make the final splice.
Where clean repairs go sideways: mistakes that double your costs
Even if you have a certified sparky on standby, the physical prep work is where most surgical repairs fall apart. I've seen simple, one-tile fixes turn into entire floor replacements. All it takes is one impatient move. If you're tackling the prep yourself or watching over a technician, keep an eye out for these classic blunders. They can easily turn a minor headache into a financial disaster.
The domino effect of skipped grout scoring
Prying up a damaged tile seems simple enough. But if you don't score the surrounding grout lines first, you are asking for trouble. The force from your chisel will travel. It transfers directly to the adjacent tiles, cracking them or, even worse, slicing through a perfectly good section of your heating mat nearby. Always use a manual grout saw or an oscillating tool to isolate that target tile completely before you start prying.
Stripping wires with utility knives
You need to expose about four or five inches of clean cable for a splice. Reaching for a standard utility knife here is a massive mistake. Those sharp blades easily nick the delicate copper or alloy conductors inside the heating wire. It might not fail today. But that tiny nick creates a hot spot that will eventually burn out under your floor. We deal with similar precision issues in industrial thermal applications all the time. Whether you are installing heavy-duty flexible heating jackets or repairing delicate underfloor heating systems, using proper thermal wire strippers is non-negotiable.
The moisture trap of cheap heat shrink
Bathrooms get wet. It's just what they do. Because of this, using standard electrical tape or cheap, non-adhesive heat shrink is a recipe for ground faults. Thinset mortar and moisture will eventually seep into the splice, triggering your GFCI breaker weeks after you think the job is done. Some people get lucky with cheap materials, but the odds are against you. Use heavy-duty, adhesive-lined heat shrink tubing instead. You will need a heat gun that hits around 1,000°F to melt the internal glue into a truly waterproof seal.
Skipping the final pre-grout test
Do not mix your mortar until you have run a final multimeter resistance test on the cured splice. It is incredibly painful to lay new tile, grout the joints, and wait for it all to dry, only to find out a faulty splice left you with a cold floor. Checking the resistance against manufacturer specs takes five minutes. Don't skip it.
Restoring your warm floors with minimal disruption

Imagine standing in your master bathroom on a freezing Tuesday morning, feeling nothing but cold porcelain because a single wire was nicked during renovation. It’s easy to panic and assume the entire floor is a write-off. Yet, as we've seen, avoiding the common pitfalls of hasty DIY fixes (like skipping grout scoring or using improper wire-stripping tools) clears the way for a highly localized, surgical recovery.
At Integro Process Heating Solutions, we approach residential thermal issues with the same precision we apply to high-stakes industrial projects. Whether we are designing complex domestic and commercial heating systems or engineering heavy-duty drum heating jackets for manufacturing plants, the core principle remains identical: locate the fault, isolate the damage, and restore electrical continuity with minimal downtime.
Fixing a broken underfloor heating system does not require gutting your home. By utilizing precise diagnostic tools like thermal imaging and time domain reflectometers, you can isolate the issue to a single tile space. Modern floor heating solutions are incredibly resilient once properly spliced and sealed with adhesive-lined shrink tubing. You don't need to live with cold feet or tolerate a half-broken system.
Proactive troubleshooting is always cheaper than procrastination. Leaving a damaged system dormant can sometimes lead to moisture ingress or unexpected grounding issues down the line. Why live with cold tiles when a targeted, single-tile intervention can bring the warmth back before the winter peak? Grab your digital multimeter, call in a certified locator specialist, and take the first step toward reclaiming your comfortable space.
Tired of dealing with cold spots and system faults? Integro Process Heating Solutions provides engineered heating solutions to keep your residential and industrial systems running smoothly.
Frequently Asked Questions
Do I really need to rip up my entire floor if my heating mat stops working?
No, that's a common myth. Most breaks happen in a single spot that technicians can locate using thermal imaging and TDR tools, meaning you only need to pull up one or two tiles.
How do professionals find the exact break under the tile?
They use advanced gear like Time Domain Reflectometers, thermal cameras to spot hot and cold boundaries, and high-potential generators that pinpoint the exact inch of the damaged wire.
Can I use standard electrical tape to patch a heating cable?
Definitely not, since bathrooms trap a lot of moisture. You'll need adhesive-lined heat shrink tubing and a high-heat gun to create a waterproof, permanent seal that won't short out in the mortar.
Why did my heating mat stop working right after installation?
It's usually caused by accidental physical damage during the tile-setting phase, like a metal trowel tapping the floor or a stray drill bit clipping the hidden wire.